
Dombra
It started with something and kept going and going; then while doodling around Wikipedia, I saw the image of Wakhi musicians and I was absolutely smitten. It is difficult for me to express just how hard that picture hit me. What are they looking at? What are they playing? How does it sound? What is that instrument? So many questions, so few answers.
Thus was born the desire to create yet another string instrument; something simple enough for my limited musical skill, yet robust enough to make complex enthralling music. What I found that seemed to suit my wants, is the dombra/dombyra, a 2 stringed popular in central Asia. Oh, hold on a tick, that is the instrument made internet famous in the Aughts with Freestylo! Heck yea I want one.
What I came up with, isn't exactly a dombra. My instument is open backed, like a banjo, but it still has 2 strings like a dombra, and is tuned like a dombra.
So on that note, it's time to move on to the build, and off to the wood shop we go!
Using what already exists
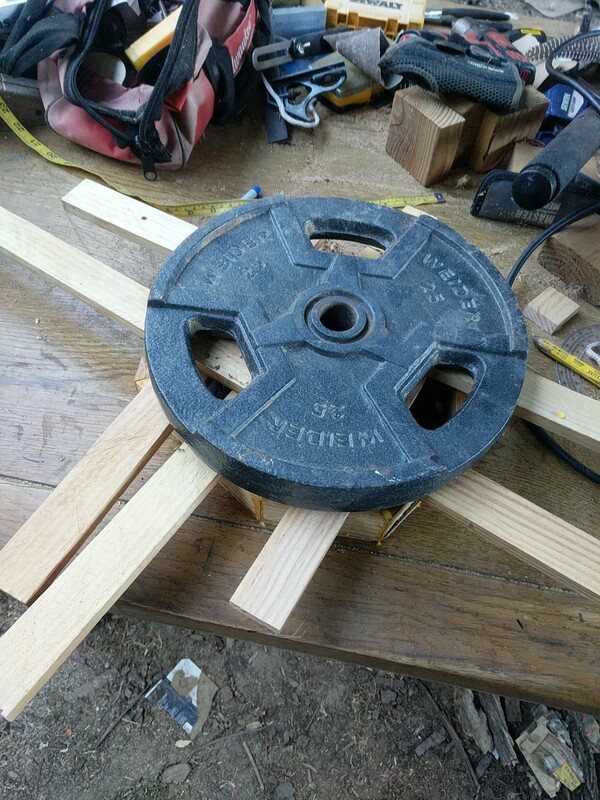
 Out in the scrap pile was an odd shaped piece of 6mm plywood that happens to be the largest piece of scrap from woofsnaval.
This piece will be used as the resonant plane. Is resonant plane even a thing in string instrument creation? I have no idea. If I were making a drum, this would be the head.
Out in the scrap pile was an odd shaped piece of 6mm plywood that happens to be the largest piece of scrap from woofsnaval.
This piece will be used as the resonant plane. Is resonant plane even a thing in string instrument creation? I have no idea. If I were making a drum, this would be the head.
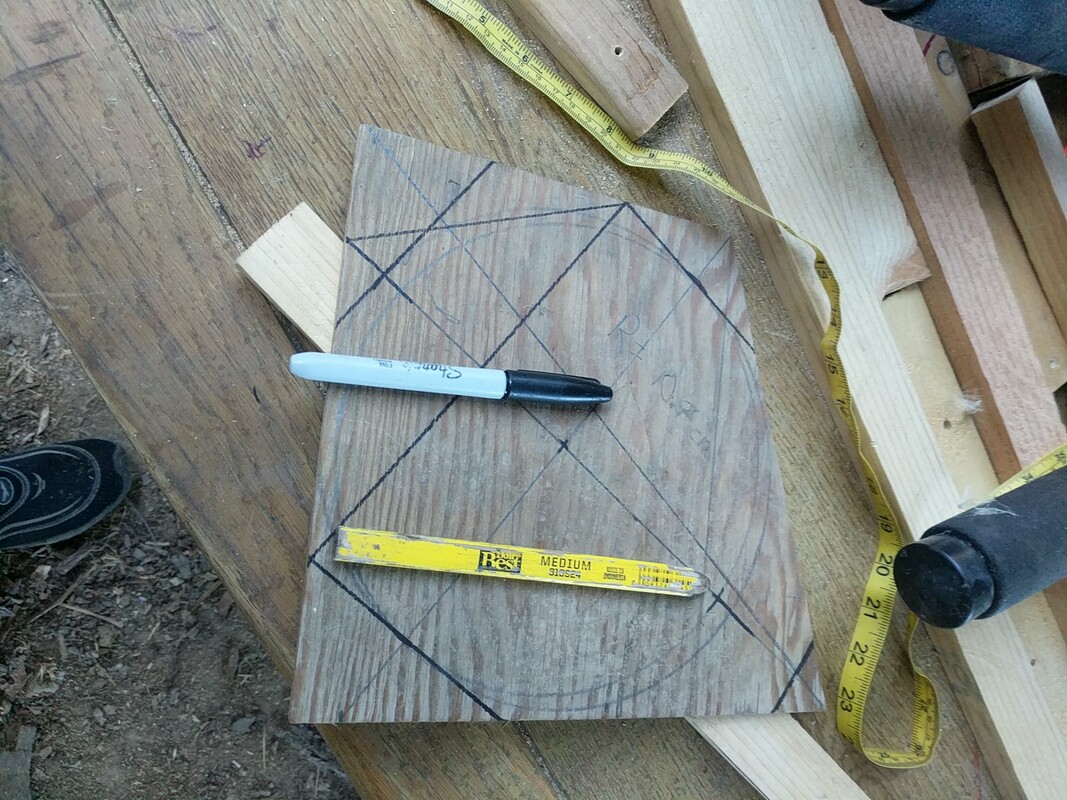
Measure lots of angles
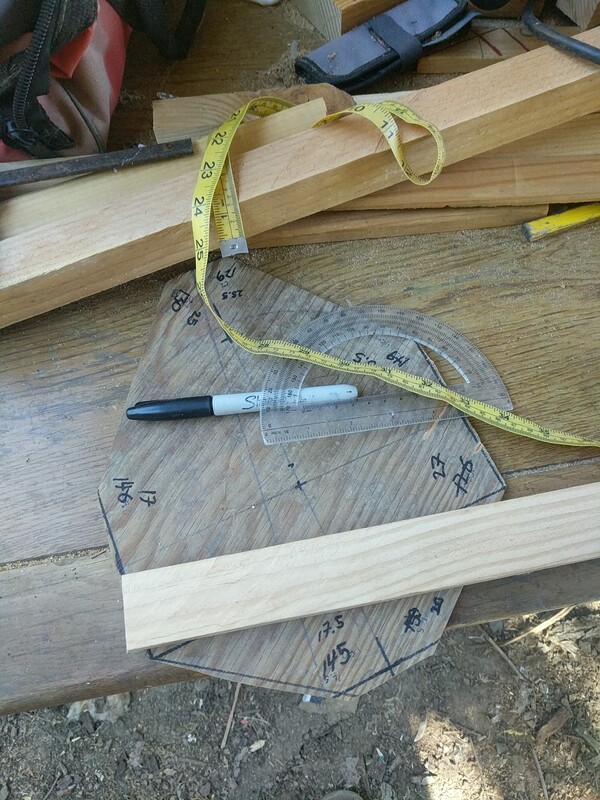 The basic "drop" shape was drawn on the plywood and cut.
Using what already exists
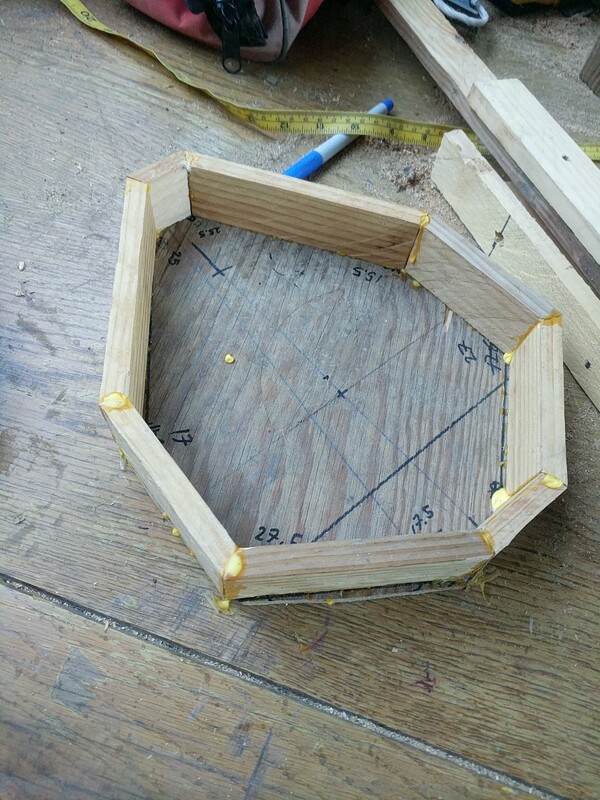
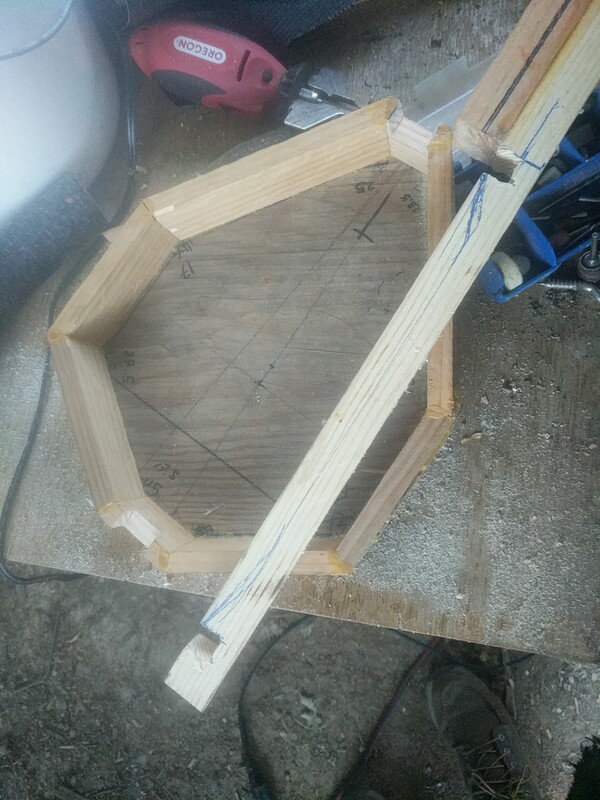
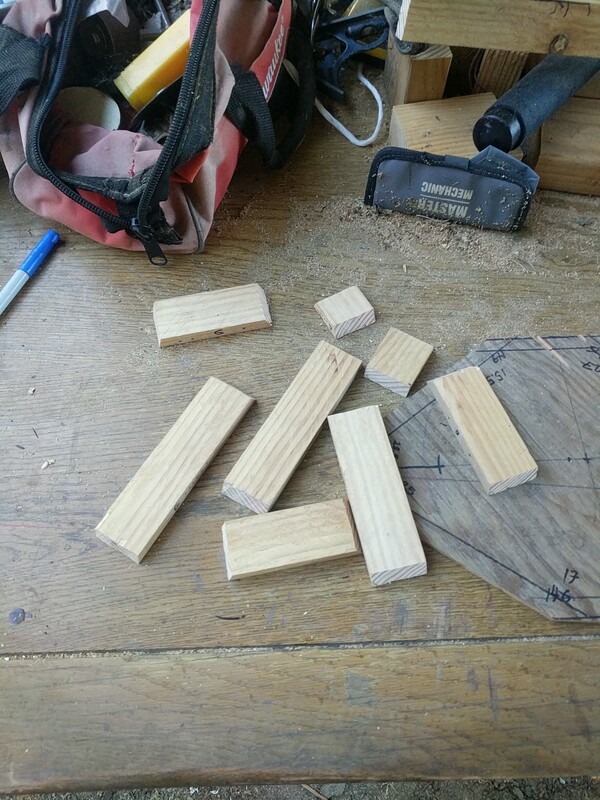 For the body/frame that the resonant plane attaches to, I used some rejected pieces of the ger frame, cut to length, with appropriate angles.
Neck and frame mount
 The neck and frame mount are also pieces of left over scrap wood from the Ger build.
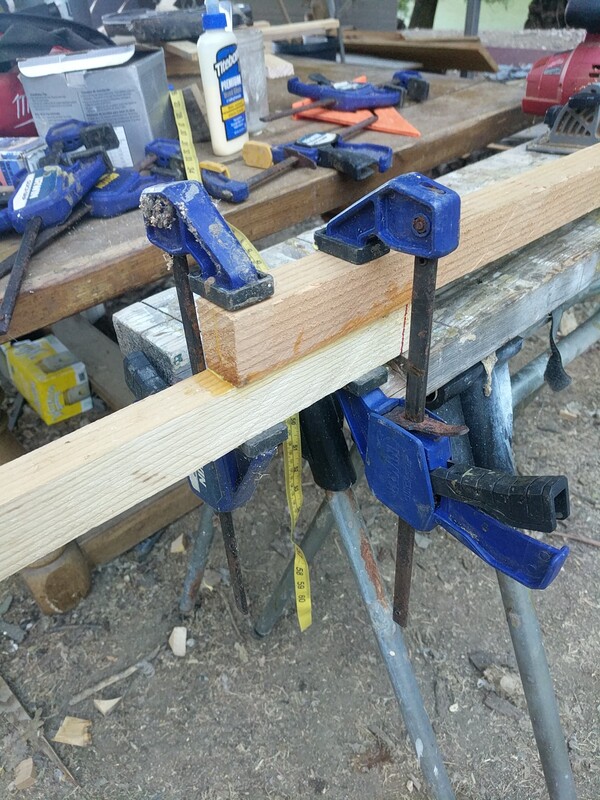
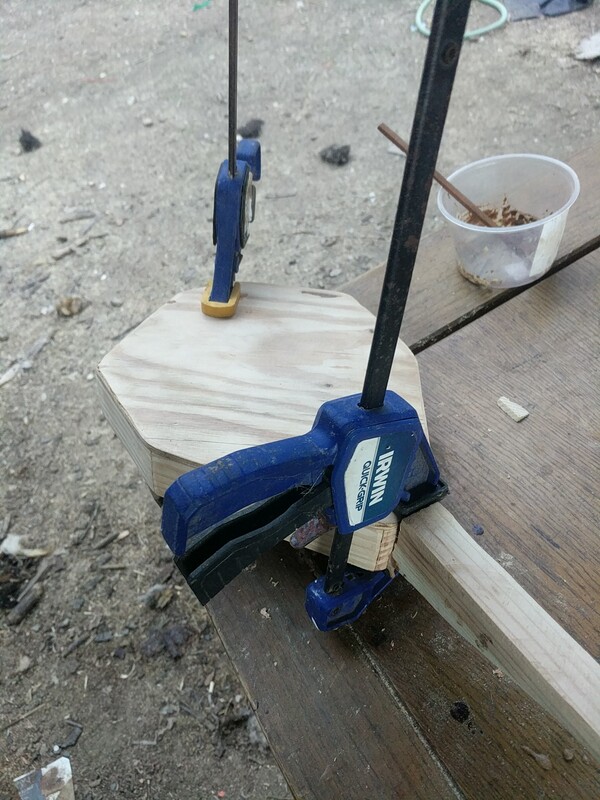
Glueing the resonant plane to the frame
 The resonant plane was glued to the frame and left to sit overnight.
The body
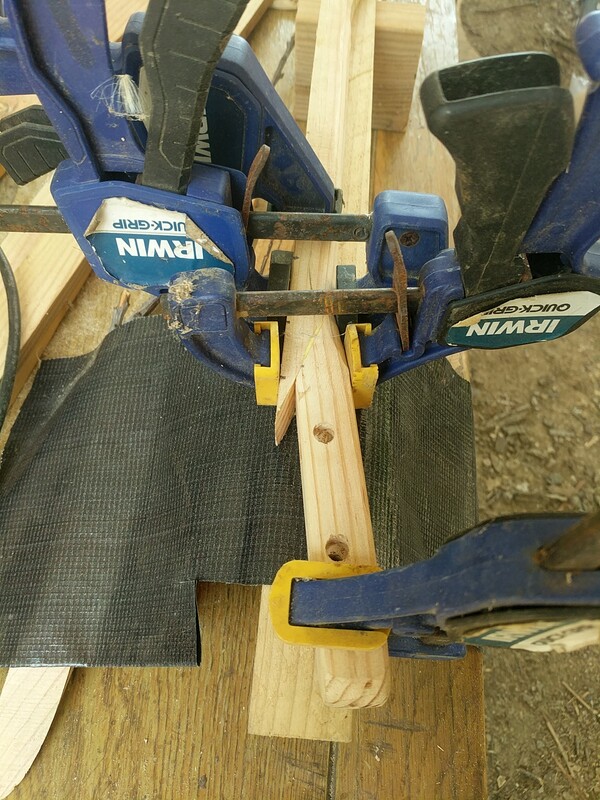
Notching
 The body and the frame mount were lined up, marked, and cut in order to solidly attach the body to the neck.
The head and tuning pegs
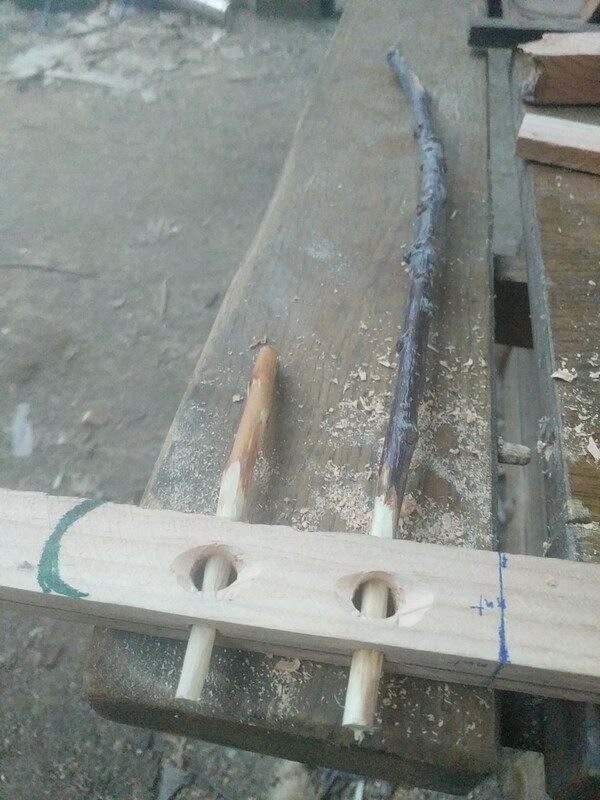 The head was shaped and drilled, then 2 pieces of cherry branches were used for tuning pegs.
Attaching the body to the neck
 The body was then glued to the neck
Shaping pegs
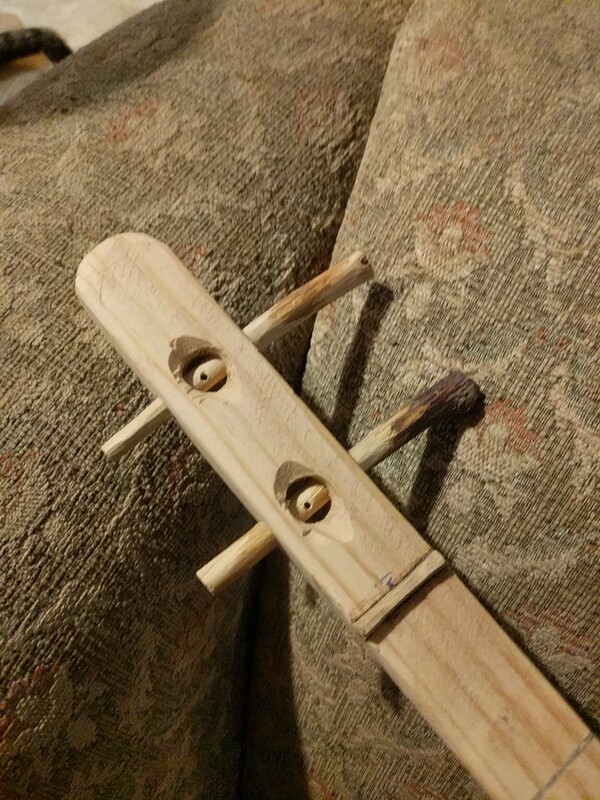 the pegs were cut to a reasonable length, and drilled to accept strings.
Not finished
 At this point, I had a fretless dombra with a long neck. The marking on the neck were made by making shallow cuts on the neck, and filling the cuts
with a mixture of wood glue and saw dust. I was not happy with this.
At this point, I had a fretless dombra with a long neck. The marking on the neck were made by making shallow cuts on the neck, and filling the cuts
with a mixture of wood glue and saw dust. I was not happy with this.
Bridge
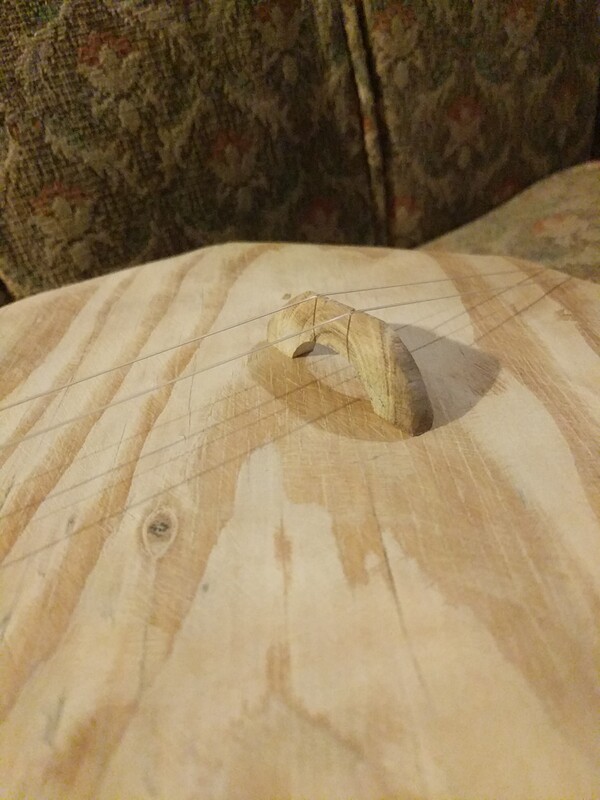 I can't remember what sort of wood I used from the bridge. Shame on me.
Trim it down
 The long neck fretless was not to my liking. It was time to shorten the neck and add some frets.
Attaching the old head to the new neck
 After cutting the neck to a shorter length, the head was reattached at an angle.
Fingerboard, Frets, and Nut
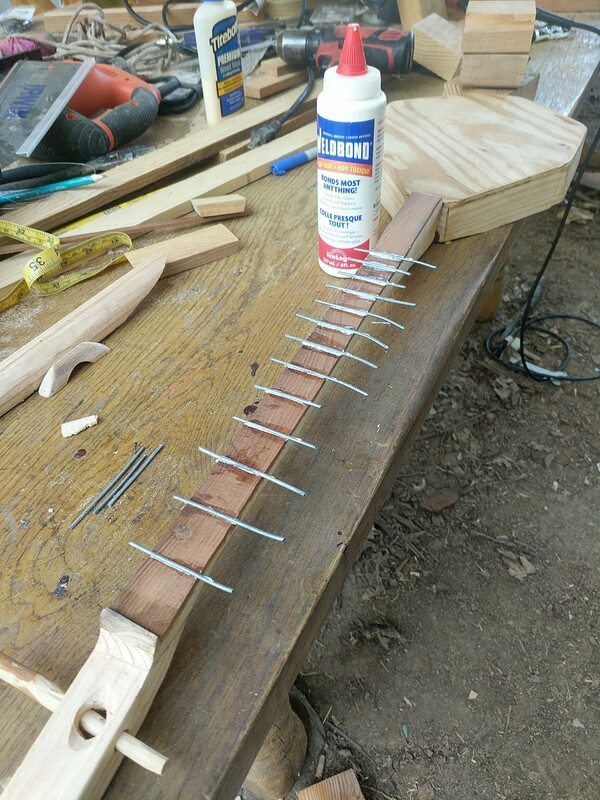 A fretboard of redwood was glued to the new neck, and bits of cut galvanized fence where glued to the fretboard.
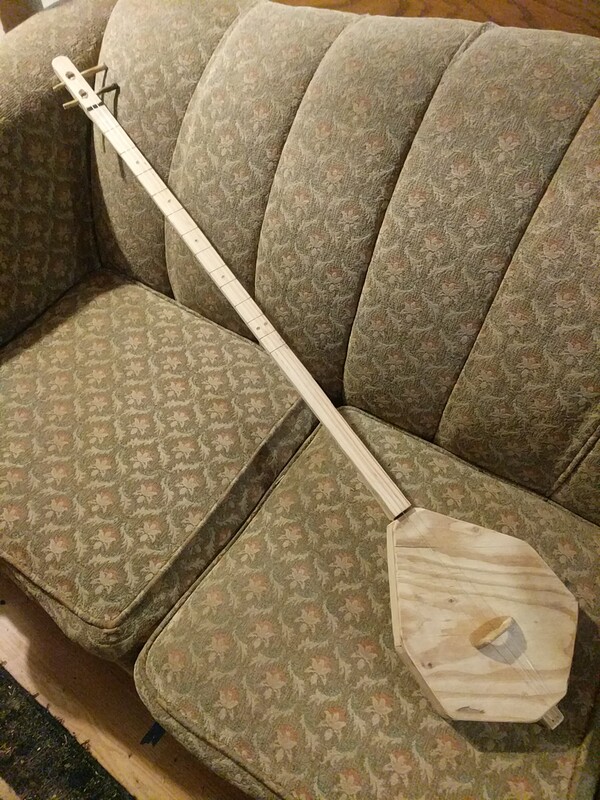
Finished!
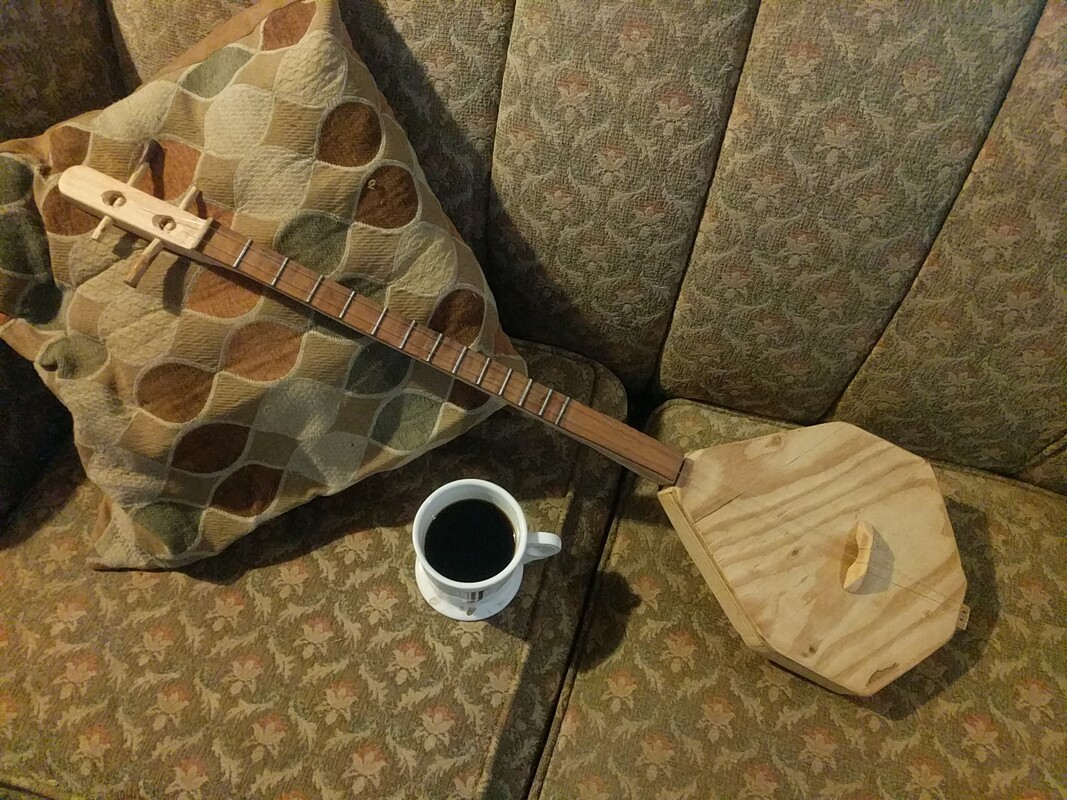
How does it sound?
I'm probably a bit biased, but I think it sounds great! Now I have a sweet sinister dombra to doodle around with. That being said, this is very much an introductory practice dombra, and I should really build another one. :)
Thanks for joining me in the wood shop
cheers!
jezra