
Summer Camping Ger
As life would have it, about ten pieces of 8' 2x4 lumber, and a Sears table saw that I never expected to use, made their way to me. The lumber and saw were stored in my shop, and I had no idea what to use the material for. Fast forward a year…
While sleeping in the birdhouse was fine and dandy, the birdhouse doesn't move, and I had a desire to make a portable structure for Summer Camping. At this time, I had been watching some Kate Humble hosted documentaries about nomads and shepherds, and the round homes sounded a sweet note to the maker in me. What I ended up making is based on the design of gers; the round homes used by nomads in Asia. A yurt to some, a ger to others.
In my neck of the woods a 'yurt' is a semi-permanent housing structure that is round, has utility connections, takes days to setup, and will most likely never be moved from the first location where it is set up; and that is simply not what I desired. The structure in my mind, was a 12' diameter ger that had to meet some creatively crafty craft criteria:
Ger Criteria
- light weight: a pick-up may take the ger to a camping spot, but someone needs to carry the ger from truck to site. How far is that distance? A Yard? A Rod? 4 Chains?
- one person setup: a helper is not always around
Crafting Criteria
- Use materials at hand: It is always a good time to lessen the hoard, and this would be an excellent way to do so
- Minimize material waste: Measure twice, cut once. Don't squander the hoard
- Minimize new material purchases: AKA tempt fate by buying needed materials at some sweet thrift stores before buying new. brutal
- Learn something: one of the best reasons to do anything :)
Design
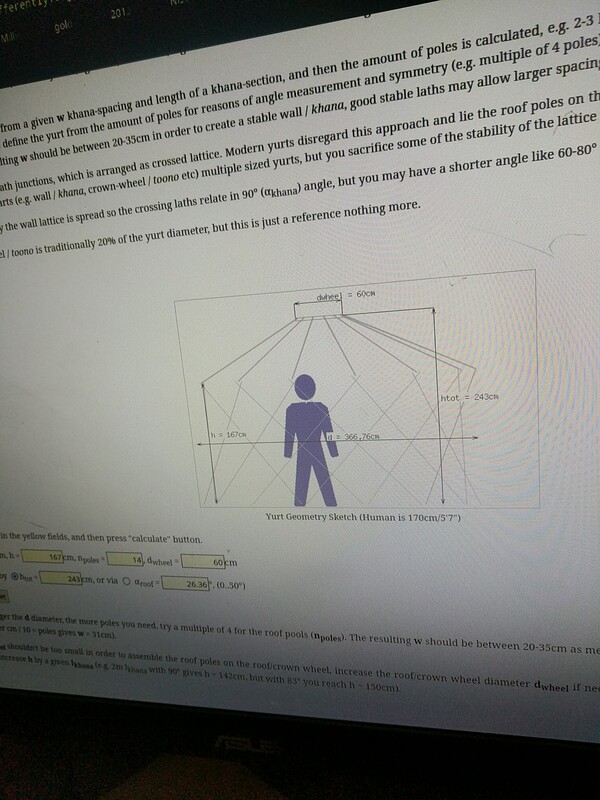
Hours were spent reading ger/yurt building instructions online; and some more hours. An amazing resource is René K. Müller's site, https://www.simplydifferently.org. There is a hella sweet ger calculator My final design had a roughly 12' diameter, 6ish' wall height, 8ish' roof ring height, and a ring diameter of 1 meter
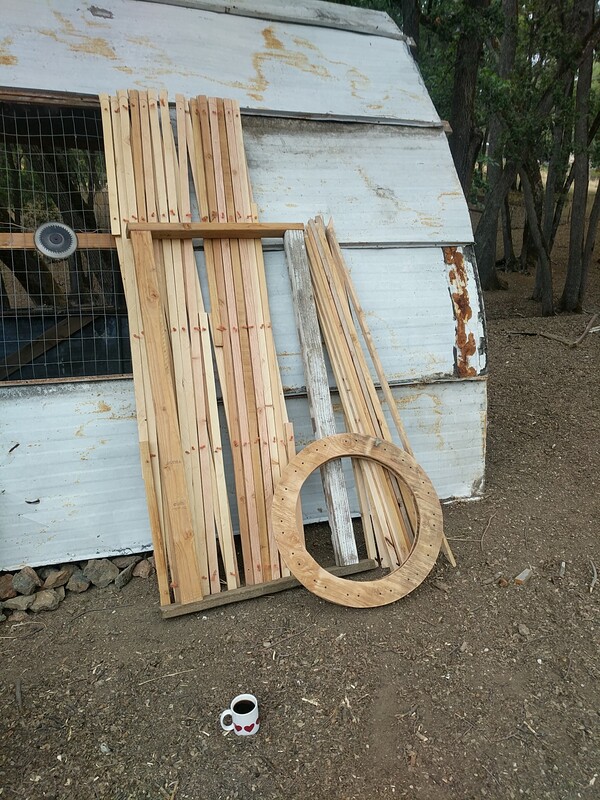
Fix the extension cord, tune the table saw, and start ripping lumber
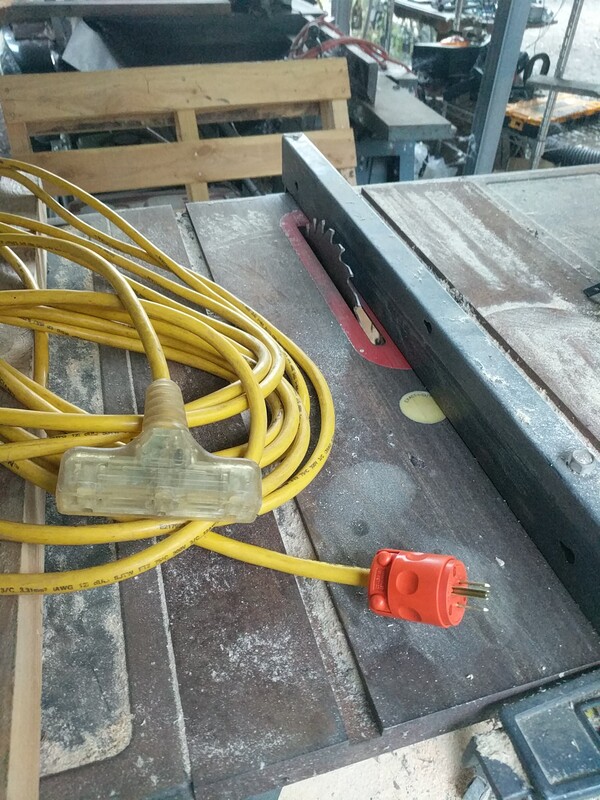 The table saw's blade height and angle adjusters needed some oiling, but every thing eventually moved properly and it was time to cut.
I had trouble finding a new blade for the table, so I used the blade that was already on the saw. it worked. All 10 of the 2x4s were ripped for wall
slats, and a few of the roof beams. After dealing with knots in the wood, I was getting about 4-5 slats per 2x4, and I needed 30 slats for the wall.
The 15 roof beams are about 1.7 times wider than the wall slats.
The table saw's blade height and angle adjusters needed some oiling, but every thing eventually moved properly and it was time to cut.
I had trouble finding a new blade for the table, so I used the blade that was already on the saw. it worked. All 10 of the 2x4s were ripped for wall
slats, and a few of the roof beams. After dealing with knots in the wood, I was getting about 4-5 slats per 2x4, and I needed 30 slats for the wall.
The 15 roof beams are about 1.7 times wider than the wall slats.
Get really good at "figure of 8" knots
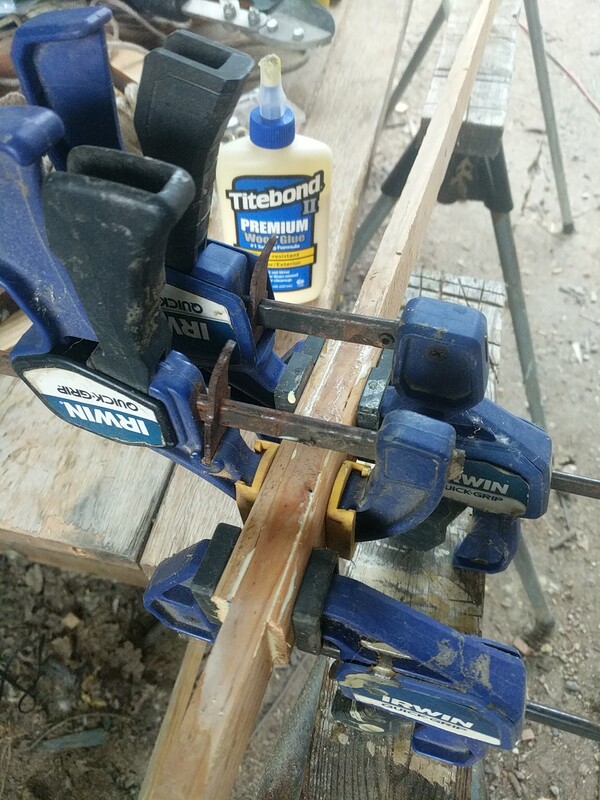
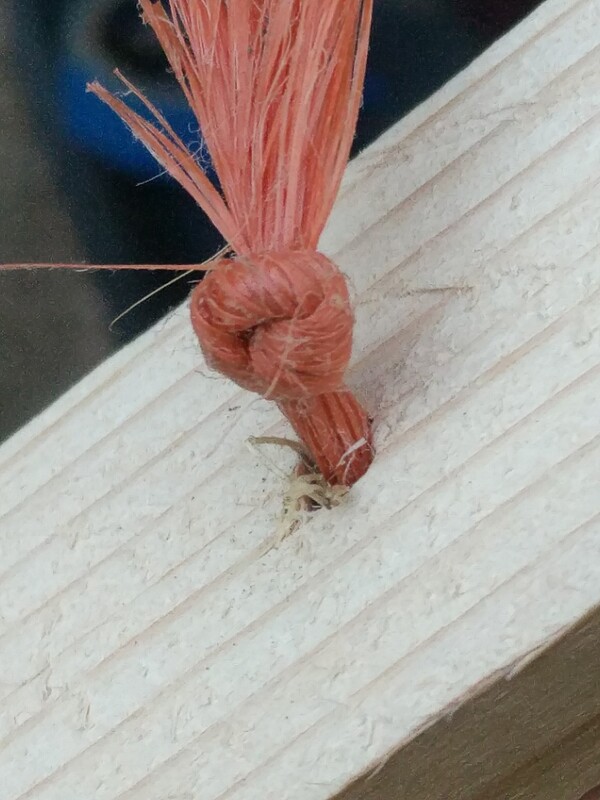 The wall slats were ripped to about 1/2", drilled at 3 set locations, and laced together with twine from bales of sheep food. A knot in the front, and a knot in the back holds everything together.
Drill lots of holes
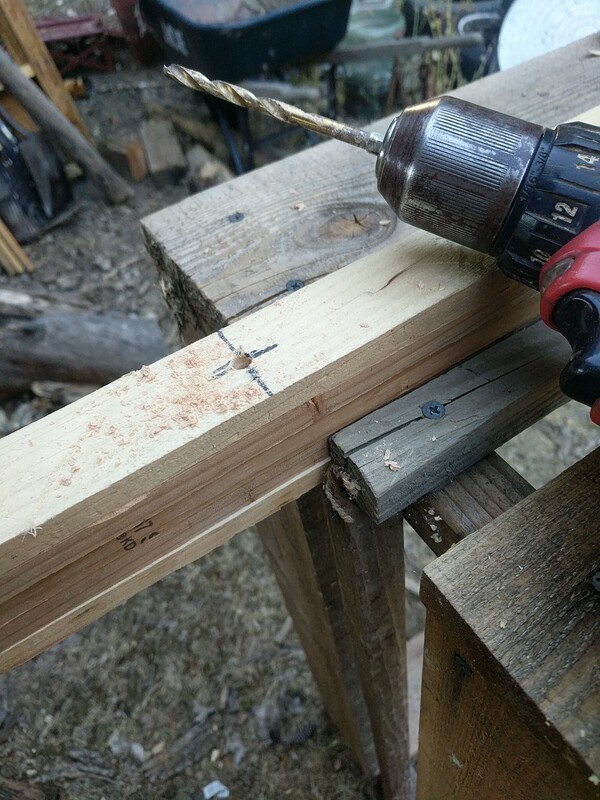 Once the first wall slat was created, it became the *Prime* slat upon which all others would be based. To speed build time, the Prime slat was used as
a jig to help drill 3 slats at a time.
Once the first wall slat was created, it became the *Prime* slat upon which all others would be based. To speed build time, the Prime slat was used as
a jig to help drill 3 slats at a time.
The walls and door assembled
 like every wood component of this build, the doorway was made of free/reclaimed/scrap wood
Start the roof ring
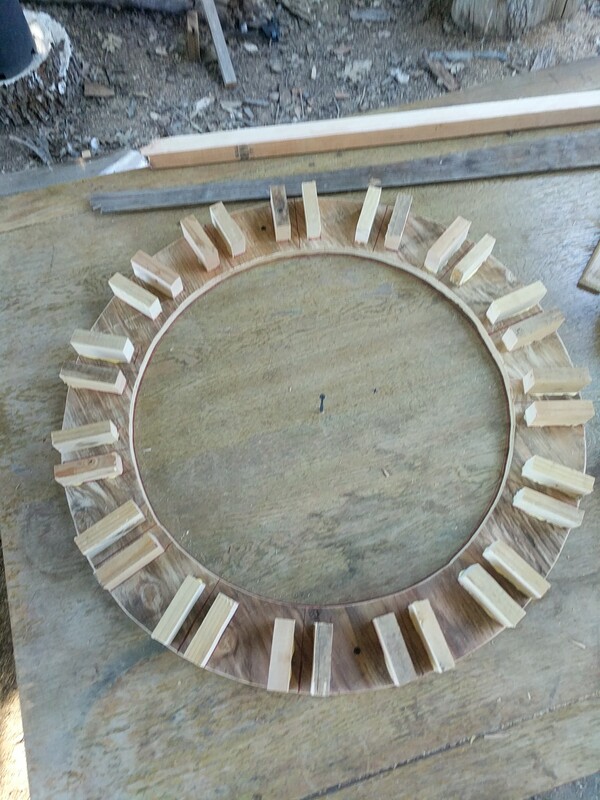 There are 15 pairs of blocks to hold the roof beams in place
Finish the roof ring
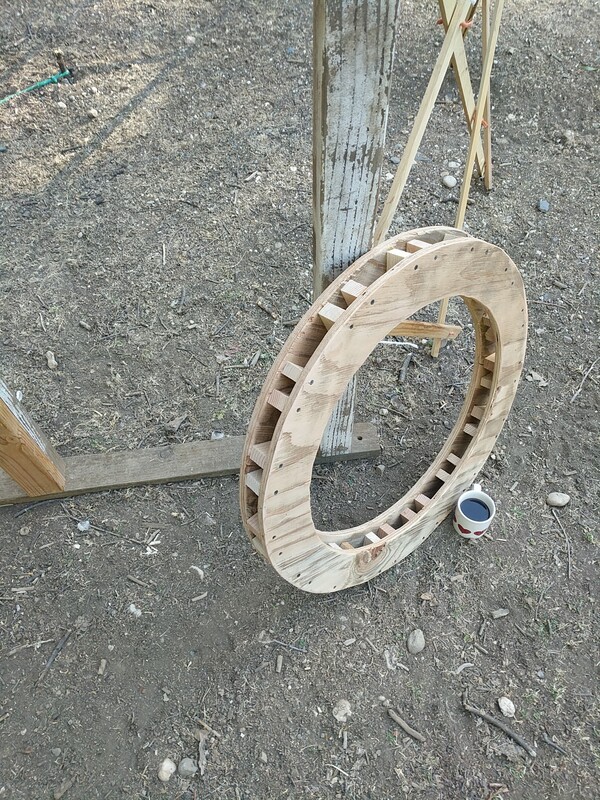 There are a myriad of ways to build a roof ring; making beam sockets from blocks sandwiched between plywood seemed the lightest option,
as well as the simplest with my tools and skill level.
There are a myriad of ways to build a roof ring; making beam sockets from blocks sandwiched between plywood seemed the lightest option,
as well as the simplest with my tools and skill level.
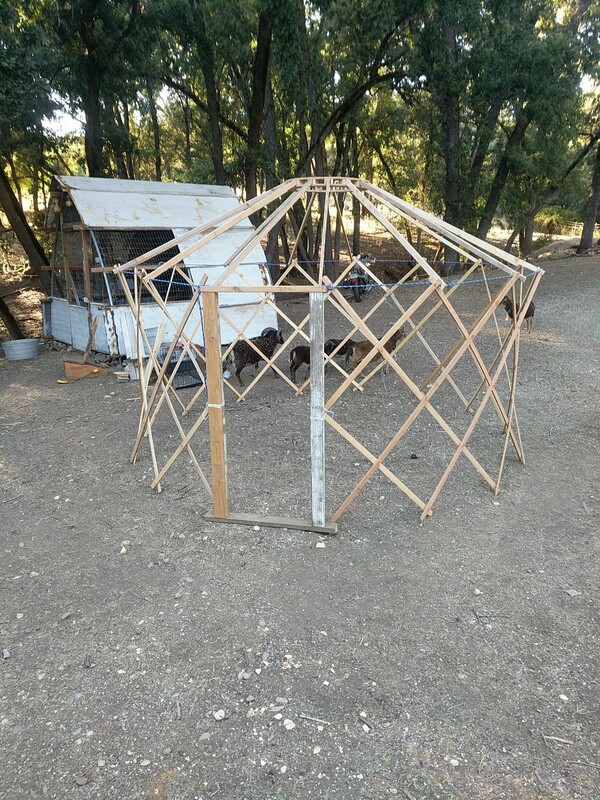
Test assemble the ger frame
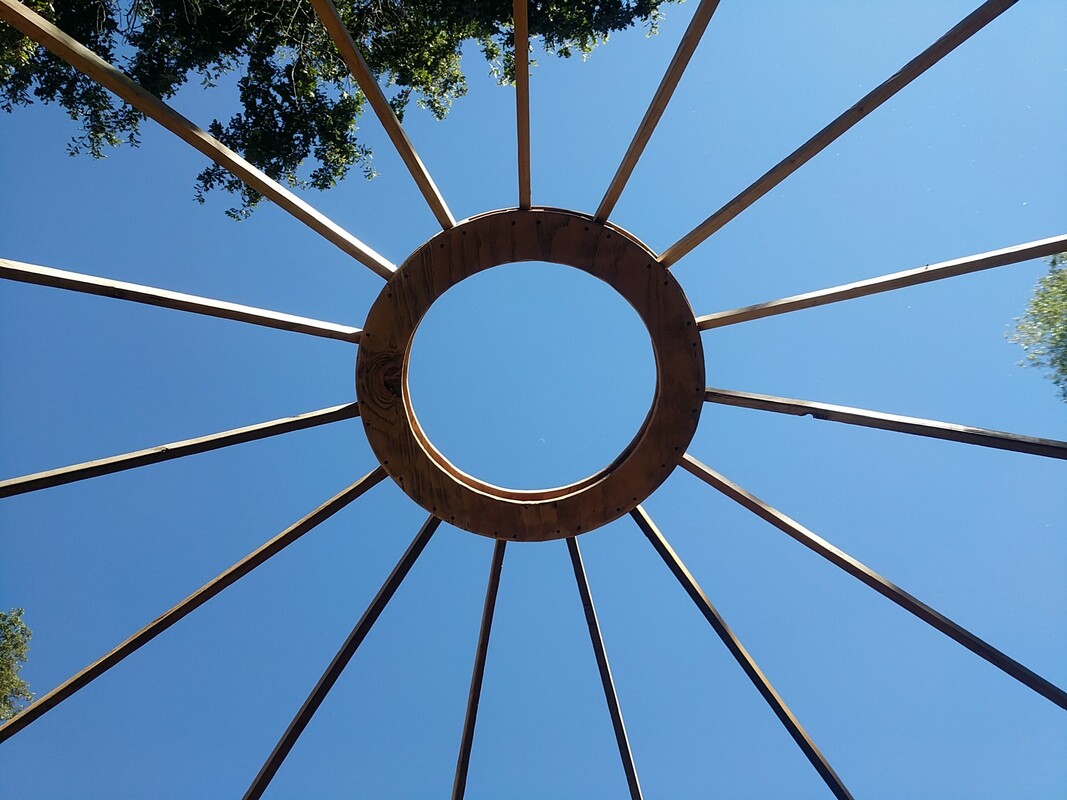 With the ring complete it was time to test assemble the frame, and take the required "ring" picture
The wooded frame disassembled
Assemble it all again...
Make a roof cover
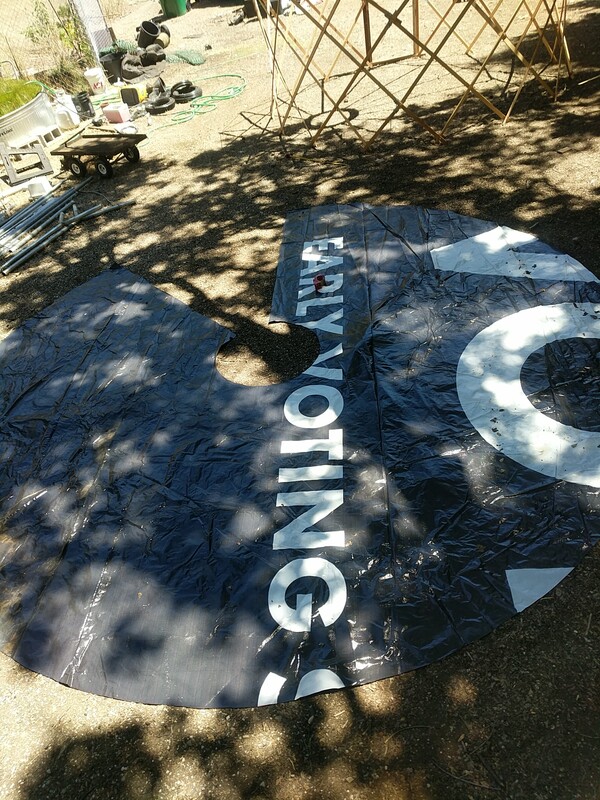 A truncated cone calculator helped me determine the sizes
What a horrible cover
 This is black vinyl from a billboard, it is a lousy roof cover as it collects and radiates an absurd amount of heat
into the ger.
It is not the kind of place I would like to be on a 100+°F day. It was 105° when I tested the cover.
This is black vinyl from a billboard, it is a lousy roof cover as it collects and radiates an absurd amount of heat
into the ger.
It is not the kind of place I would like to be on a 100+°F day. It was 105° when I tested the cover.
The "stained glass sky light"
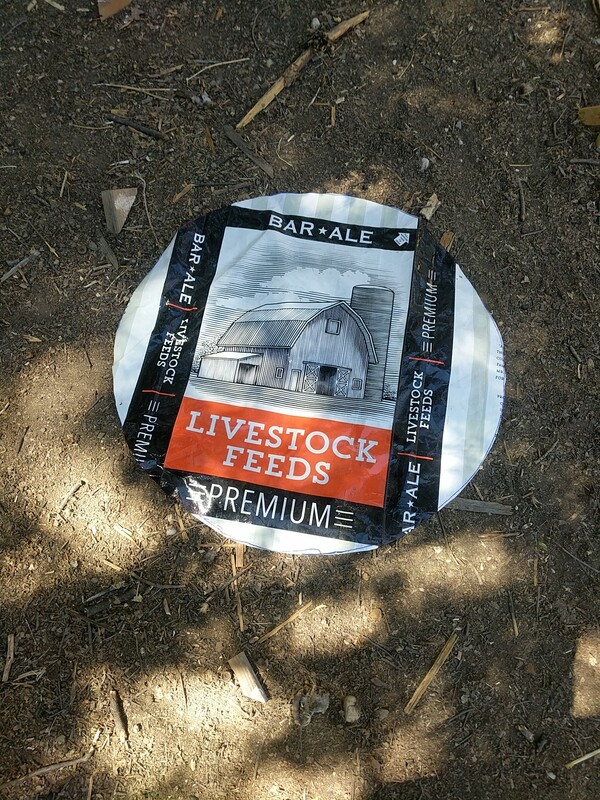 A colorful bag of livestock feed was cut and sewn to the center of the roof cover.
At least it looks nice
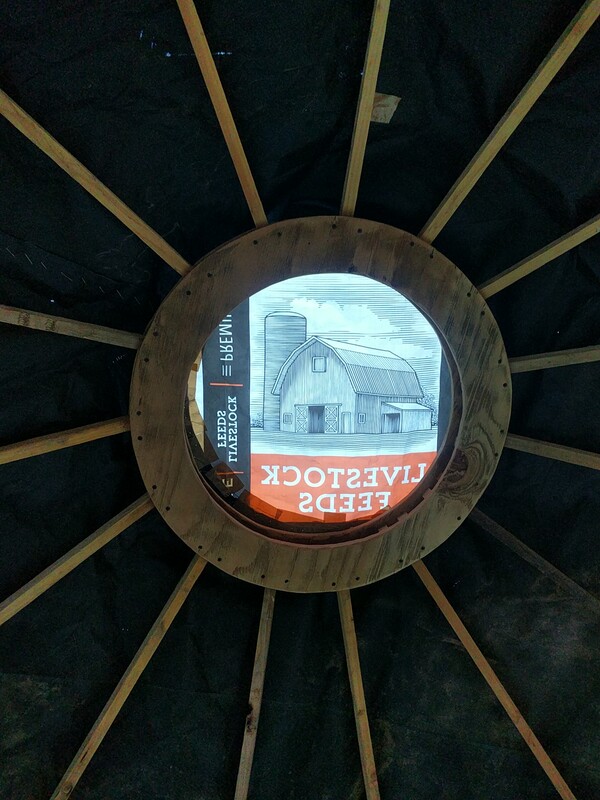 I had hoped that the light coming through the "window" would display the graphic on the ground. It did not. :(
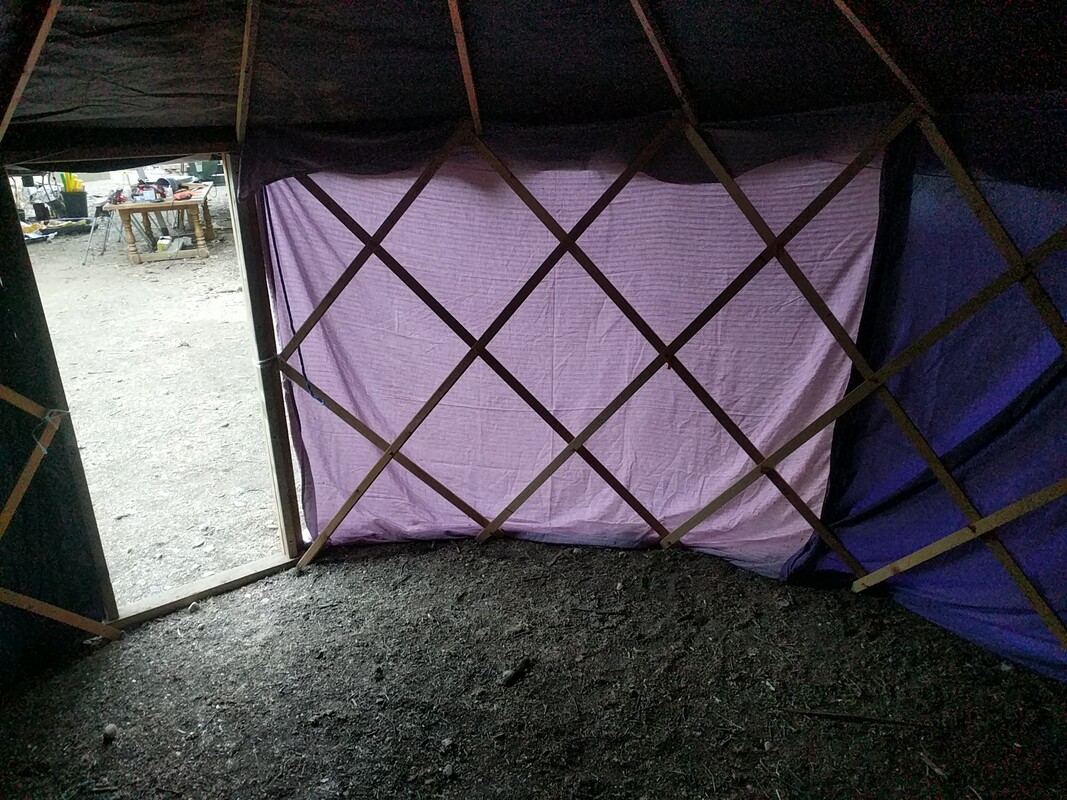
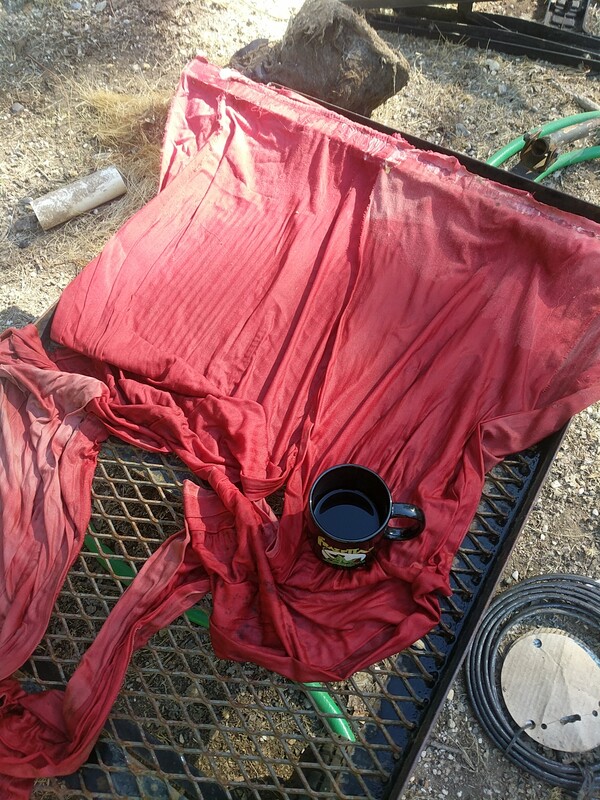
Sew the wall covering
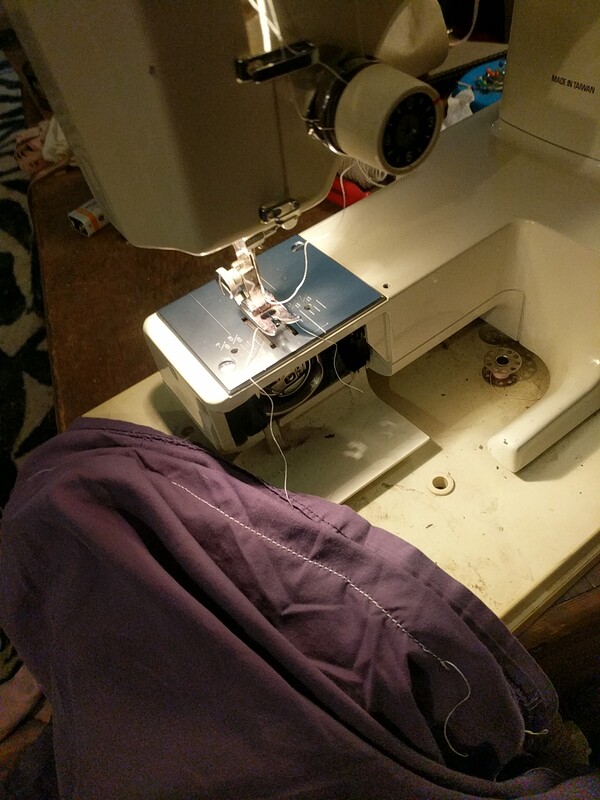 5 bed sheets and a seam ripped duvet cover were sewn end to end to make the wall covering. long thin strips of scrap fabric
were sewn in 15 locations on one edge of the wall cover. The strips are then tied to the top of the wood lattice wall to hold the cover to the ger frame.
5 bed sheets and a seam ripped duvet cover were sewn end to end to make the wall covering. long thin strips of scrap fabric
were sewn in 15 locations on one edge of the wall cover. The strips are then tied to the top of the wood lattice wall to hold the cover to the ger frame.
Egads that like an oven
 With the walls covered, the black vinyl roof makes the interior of the ger disgustingly hot.
Busted!
 With my limited wood supply, I used most of the ripped slats, even the ones that looked destined to fail. This one failed and needed repairing.
Small lengths of waste from the ripping, make excellent splints for broken wall slats.
With my limited wood supply, I used most of the ripped slats, even the ones that looked destined to fail. This one failed and needed repairing.
Small lengths of waste from the ripping, make excellent splints for broken wall slats.
Round the edges of the roof beams where they meet the wall
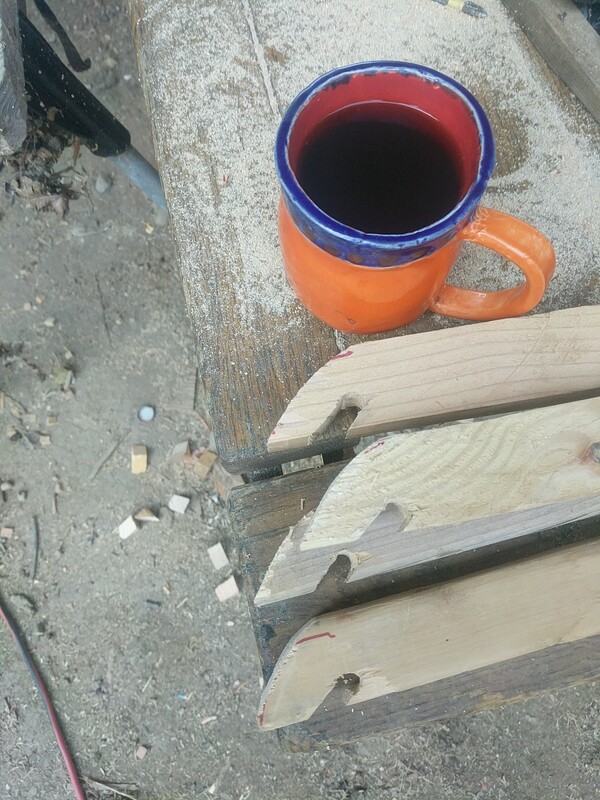 The ger's roof beams attach to the wall by resting on the rope that holds the top of the wall lattice in tension. The end of the beam has a slot
to fit over the rope. Rounding the edge of the roof beam made it easier to put the roof cover on.
The ger's roof beams attach to the wall by resting on the rope that holds the top of the wall lattice in tension. The end of the beam has a slot
to fit over the rope. Rounding the edge of the roof beam made it easier to put the roof cover on.
The door
 This is piece of scrap wood with some lengths of sun weathered strips of bed sheet glued to it. The wooden strip is wedged between the roof beams
on either side of the door frame, and the sheet strips just dangle.
This is piece of scrap wood with some lengths of sun weathered strips of bed sheet glued to it. The wooden strip is wedged between the roof beams
on either side of the door frame, and the sheet strips just dangle.
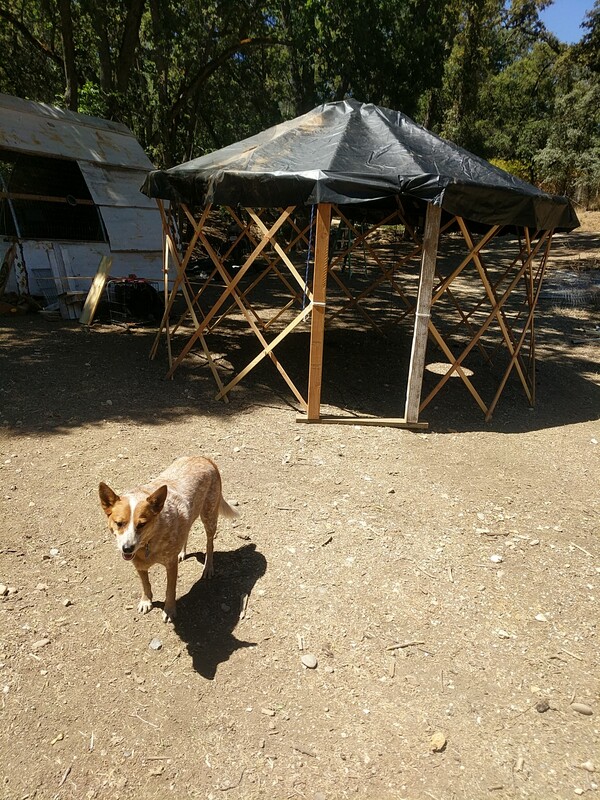
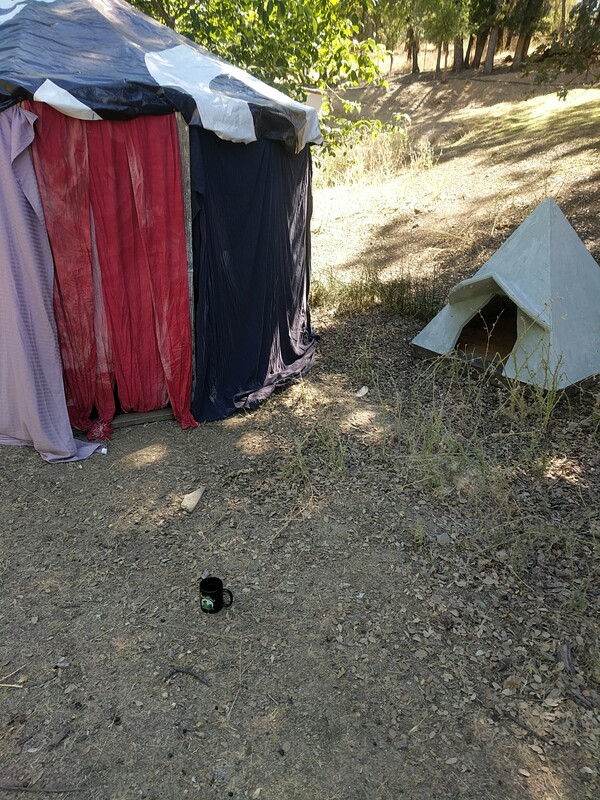
fully assembled with covering
 Barf, that black vinyl has to go
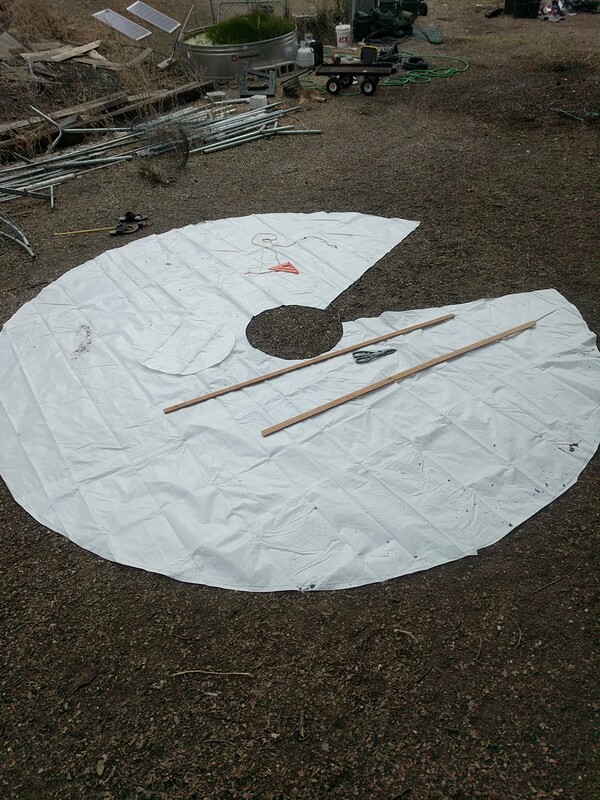
Laying out a white tarp to be the new roof cover
 in hindsight, I should have purchased a larger tarp, it still worked though.
New roof cut to size
New roof stitched on the machine
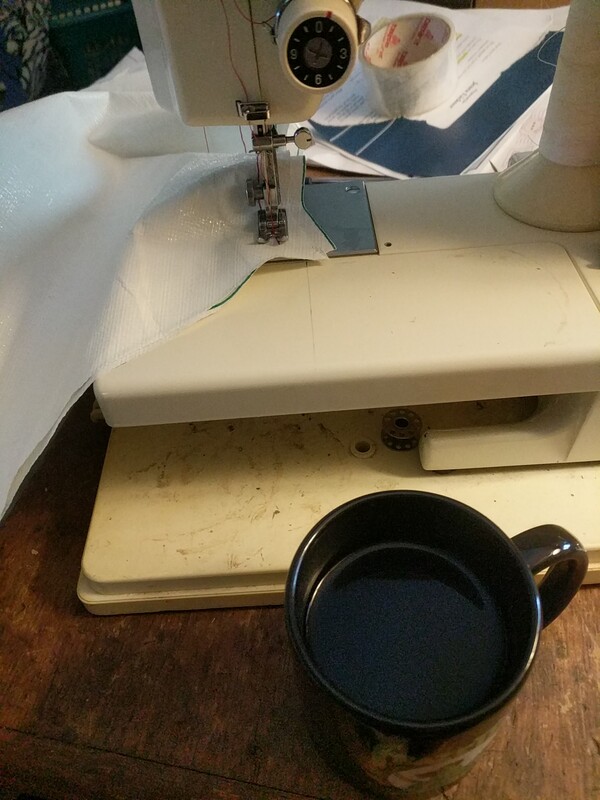 The white roof cover has small loops sewed to the inside of the edge where the cover meets the
wall. A cord thens goes through the loops to lace the the cover to the wall. It is 37+ feet
of pure annoyance. I should look for an alternative method.
The white roof cover has small loops sewed to the inside of the edge where the cover meets the
wall. A cord thens goes through the loops to lace the the cover to the wall. It is 37+ feet
of pure annoyance. I should look for an alternative method.
Camping!
 With the new roof cover on, the ger was delightfully habitable, and was a splendid location
to chill out with a book.
With the new roof cover on, the ger was delightfully habitable, and was a splendid location
to chill out with a book.
The ger
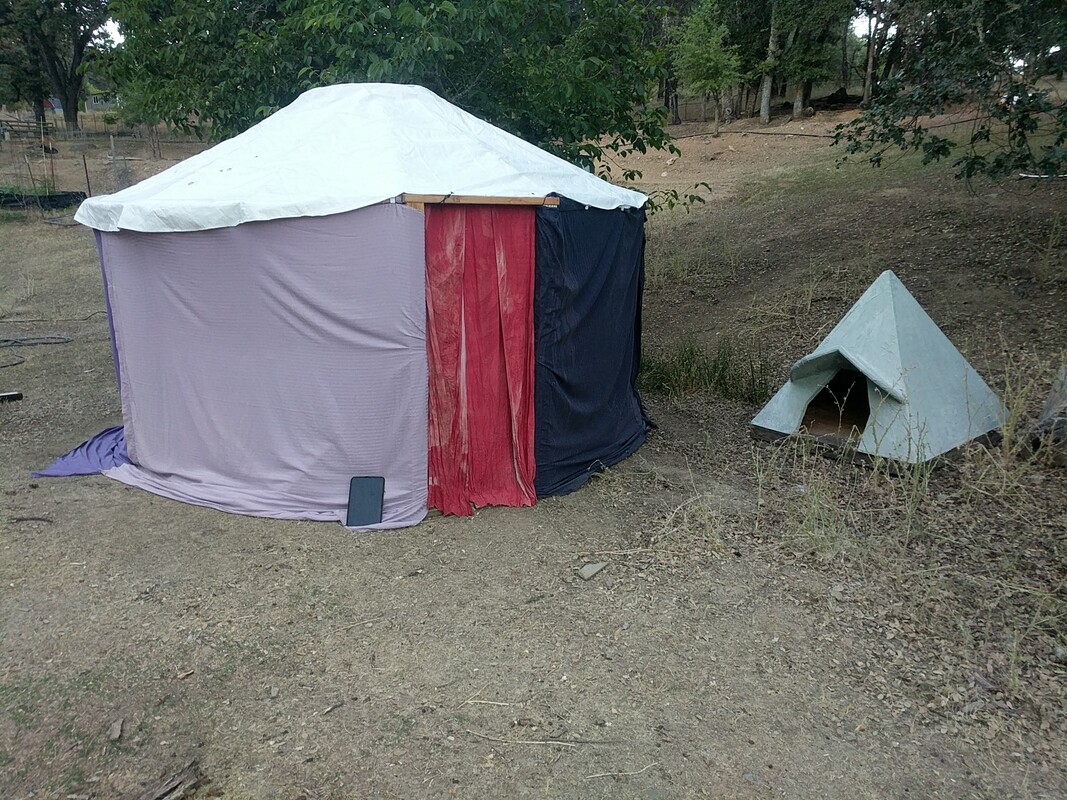 yes, that is a 5 watt solar panel charging the battery in the ger.
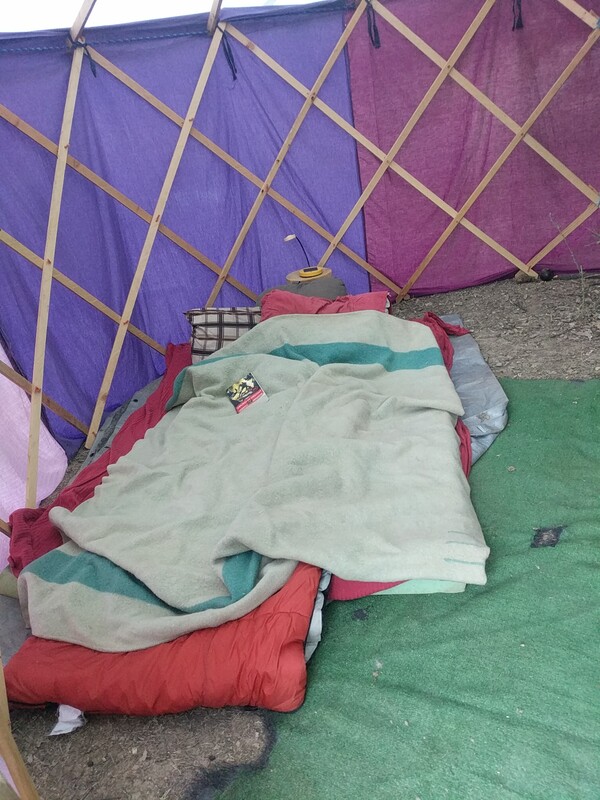
Let there be light
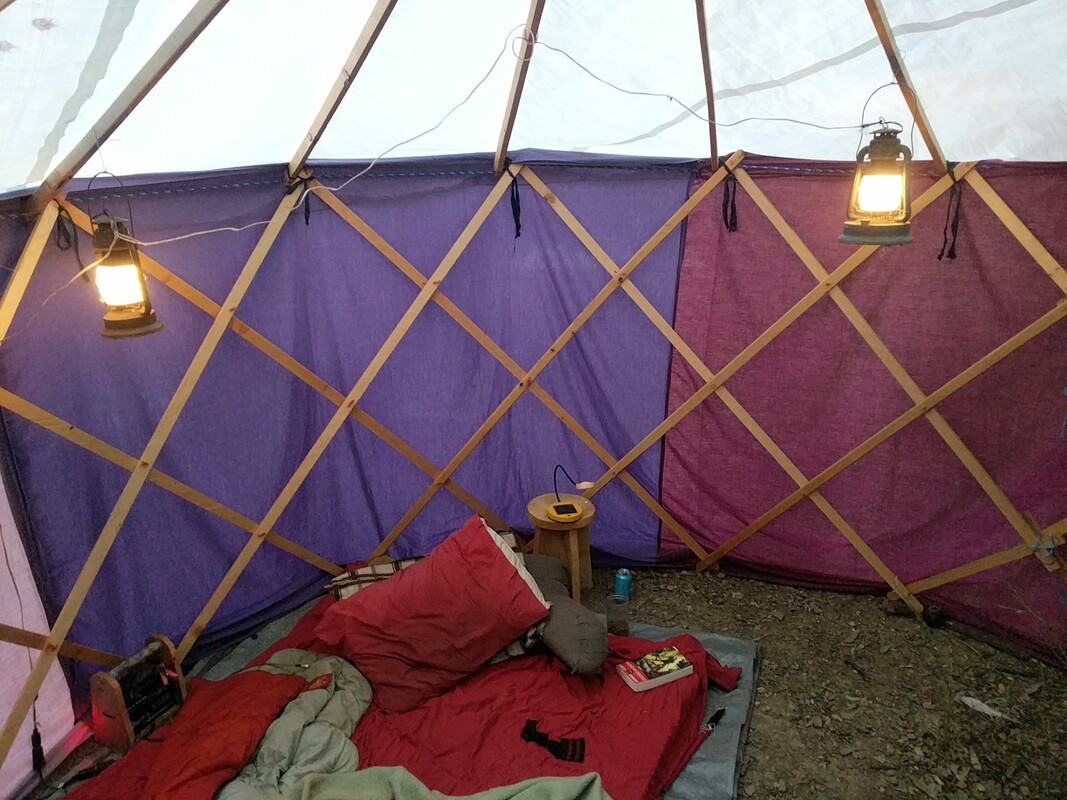 I wired some 12volt bulbs into old lanterns, and connected them to a small lead-acid battery. It is very homey inside, but with a more thistles than
I'm accustomed to.
I wired some 12volt bulbs into old lanterns, and connected them to a small lead-acid battery. It is very homey inside, but with a more thistles than
I'm accustomed to.
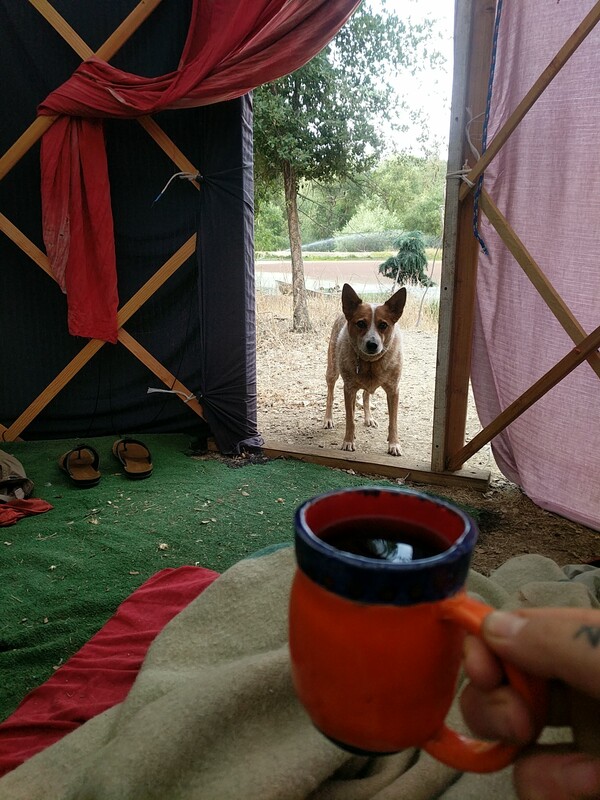
Puppers!
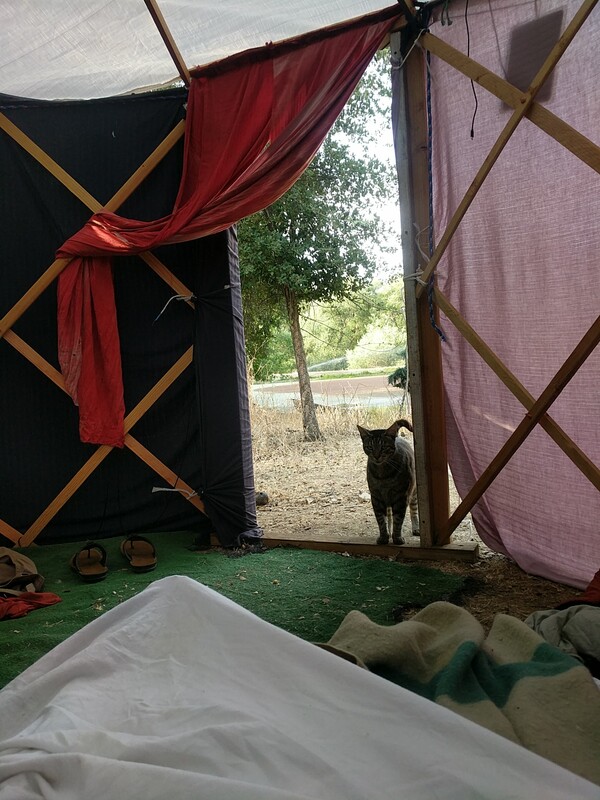
Meowmeow!
At this point, the ger was feature complete for summer camping. It takes less than 10 minutes to set up, is fairly light, and can be transported from pick-up to camp site in 3 trips. However, when the wall cover is on the ger, there is a feeling of separation with the world at large. I had considered putting some screen "windows" in the wall cover, but why add a few windows when the ger could be all window?
So I got cracking on a screen cover for the ger.
Organize the left over scrap from making the wite roof cover
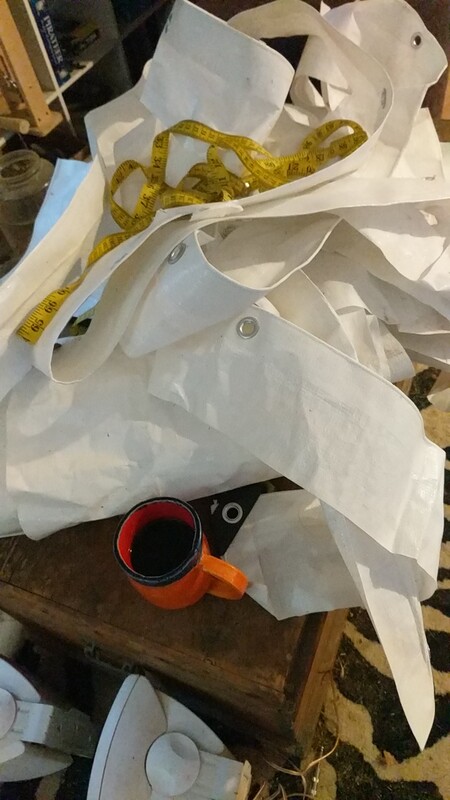
hella sinister scissors
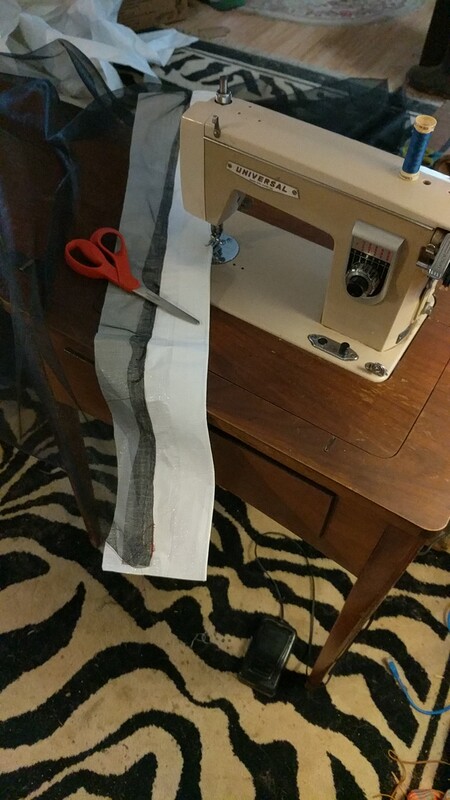 I purchased a large amount of screen from a friend, cut scraps to an adequate size, and started sewing
Destined to fail
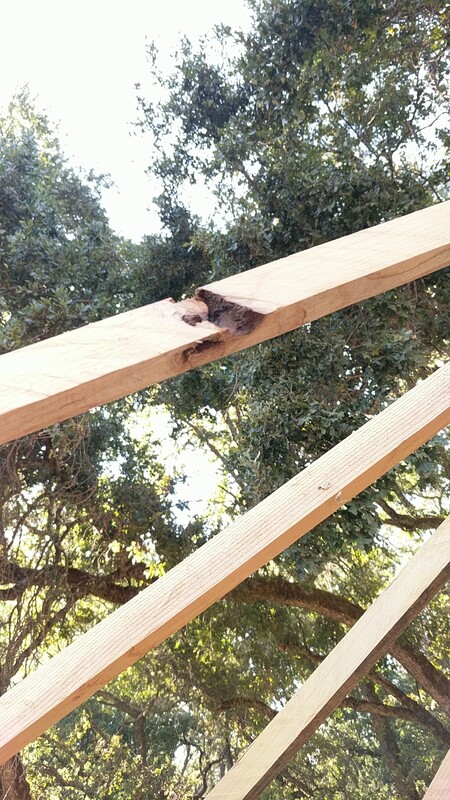 That knot in the roof beam is going to cause problems in the future; but we use the material we have, not the material we want.
Screened in!
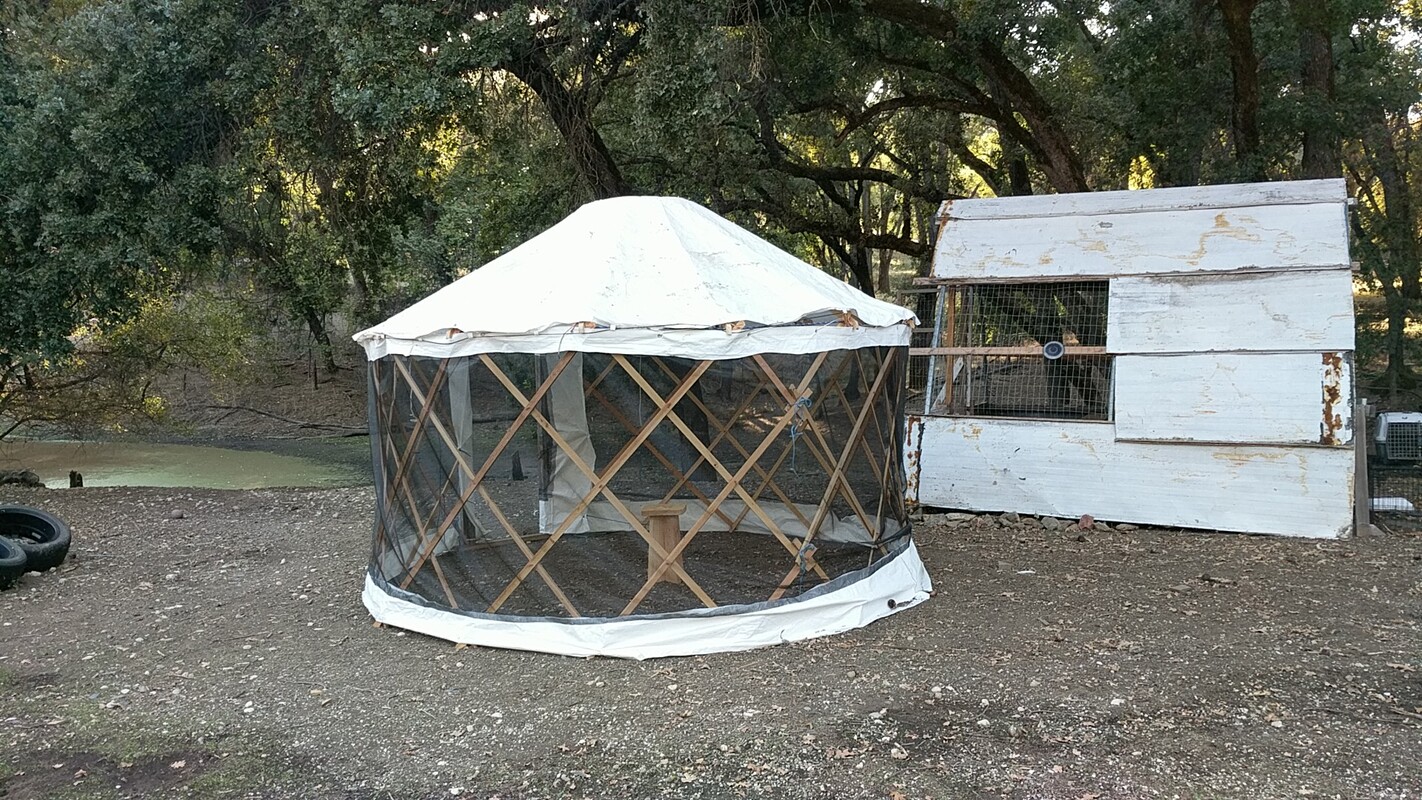 The screen cover was finished and attached. The ger has now become a camping summer room. A nice place to find shade and a breeze.
Well that's the basic tale of my Summer Camping Ger… don't call it a Glamping Ger! :)
Although designed for Summer, it wouldn't be to difficult to make an insulated cover for Winter camping. A Winter door would also need to be made, and some sort of anchoring would be needed to hold the ger in place when it is windy. On one gusty day last Summer, the wind picked up my ger and moved it a few meters from my camp spot. I was displeased.
cheers,
jezra