
Paddle Cat
There I was, standing on the shore of the lake, gazing out over the calm water; contemplating.
Woowee, what a view
It was a few dusty miles on a rough dirt road to get to the parking area for the lake, and from there it was a short uphill hike to the lake. Where the trail meets the lake, is a fairly easy access area, and someone is always there. To have a bit of peace, I hiked a bit around the lake to a more secluded spot.
As I watched water striders dancing on the surface of the lake, the reality of the situation truely dawned upon me: it would be easier to get to a secluded area of the lake if I had a vessel to paddle around on. It was lamentable to me that Woofsnaval wasn't a viable option for paddling this lake, due to the multiple trips needed to get all of the canoe pieces to the lake… and carrying the main hull on an uphill hike was not my idea of a fun boat time.
If Woofsnaval isn't an option, I need to find one, and by find, I mean the obsessive wave of Boat Fever washed over me; guiding me forward.
The most imperial measurement ratio I've encountered, pounds in a cubic inch of water, hit me as a catalyst and with 0.036lb/cubic_inch by my side, it was time to design and build something to meet my requirements:
- can be easily carried from the lake parking lot up to the lake
- can float myself + 30ish lbs
- can be build at home
- requires minimal new material (reduce the Hoard)
- has excellent stability
on July 7th , a plan hatched, and it was time to get busy building a boat!
Basic Draft
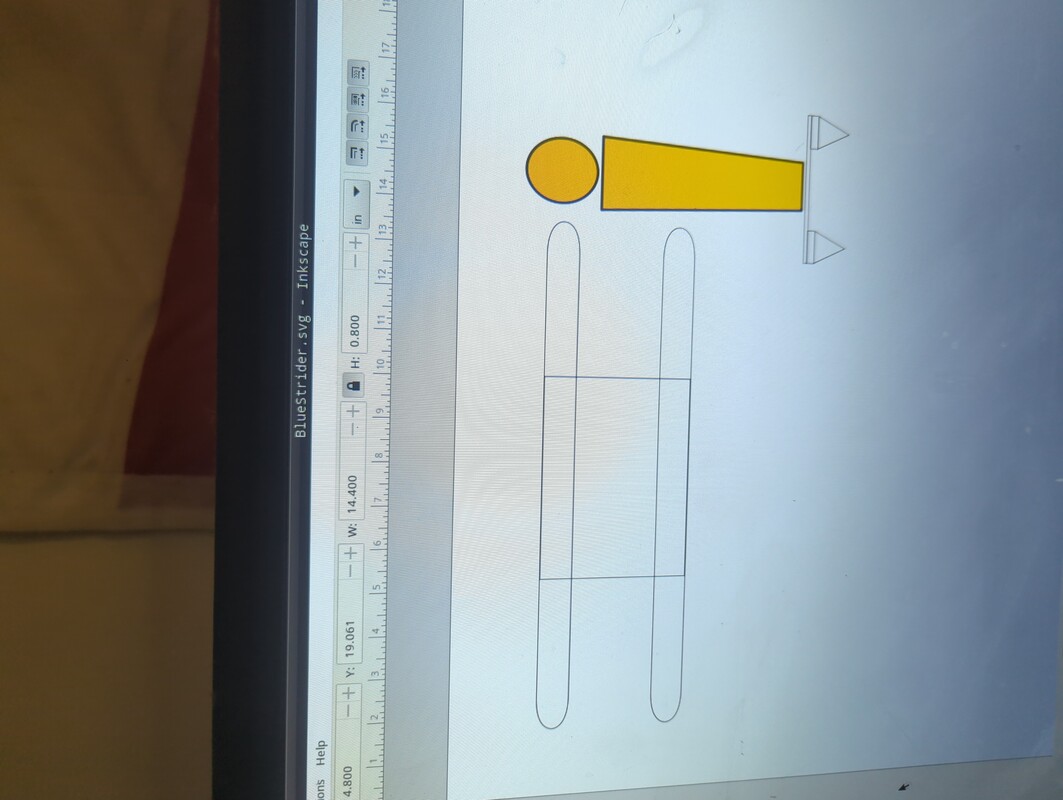 Making a few triangles and rectangles in Inkscape is easier than making a cardboard scale model.
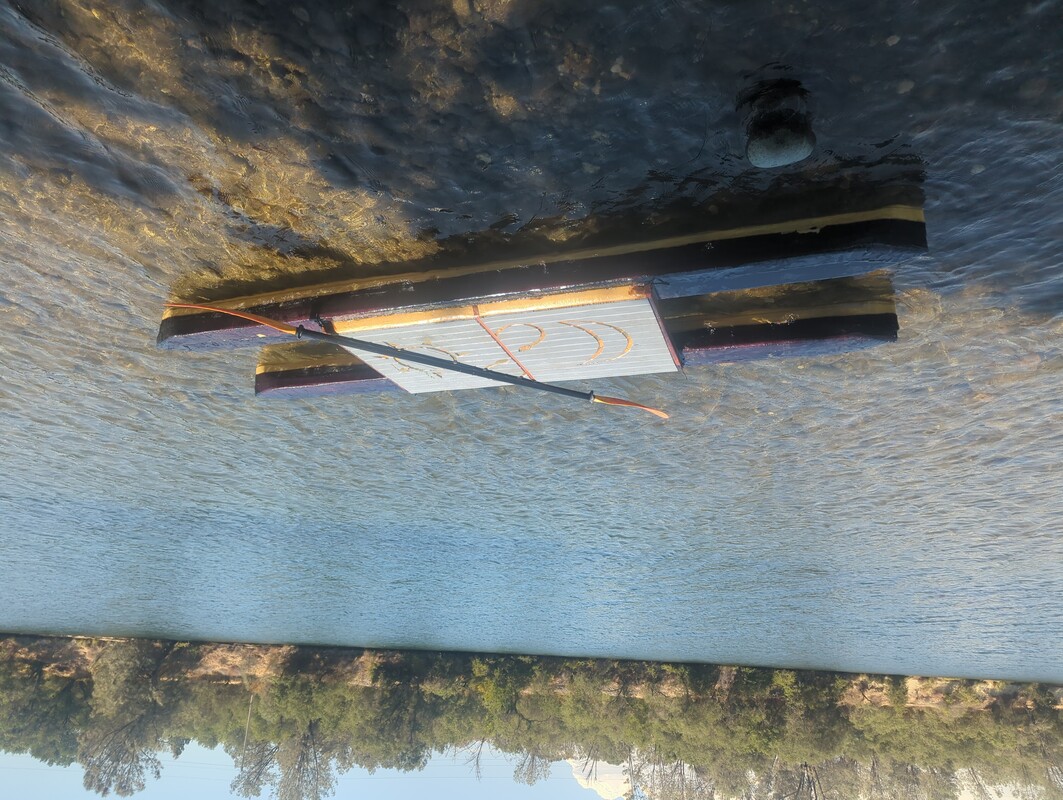
The boat will be a 10' long, 30" wide, stand up paddleboard in a catamaran configuration, and built with ridgid insulation, and fiberglass.
Cut insulation to shape
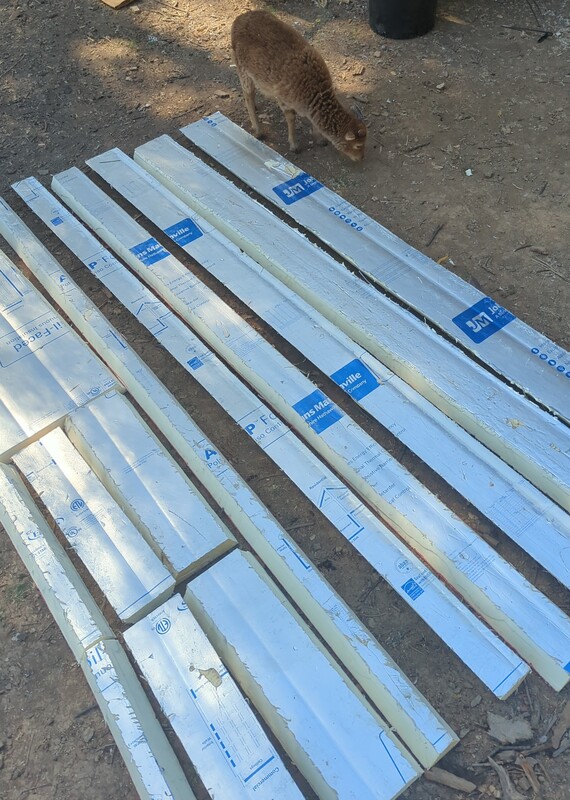 A 4'x8'x2" sheet of ridgid insulation which was cut to make 8" wide 10' long triangular pontoons
Glassing the pontoons
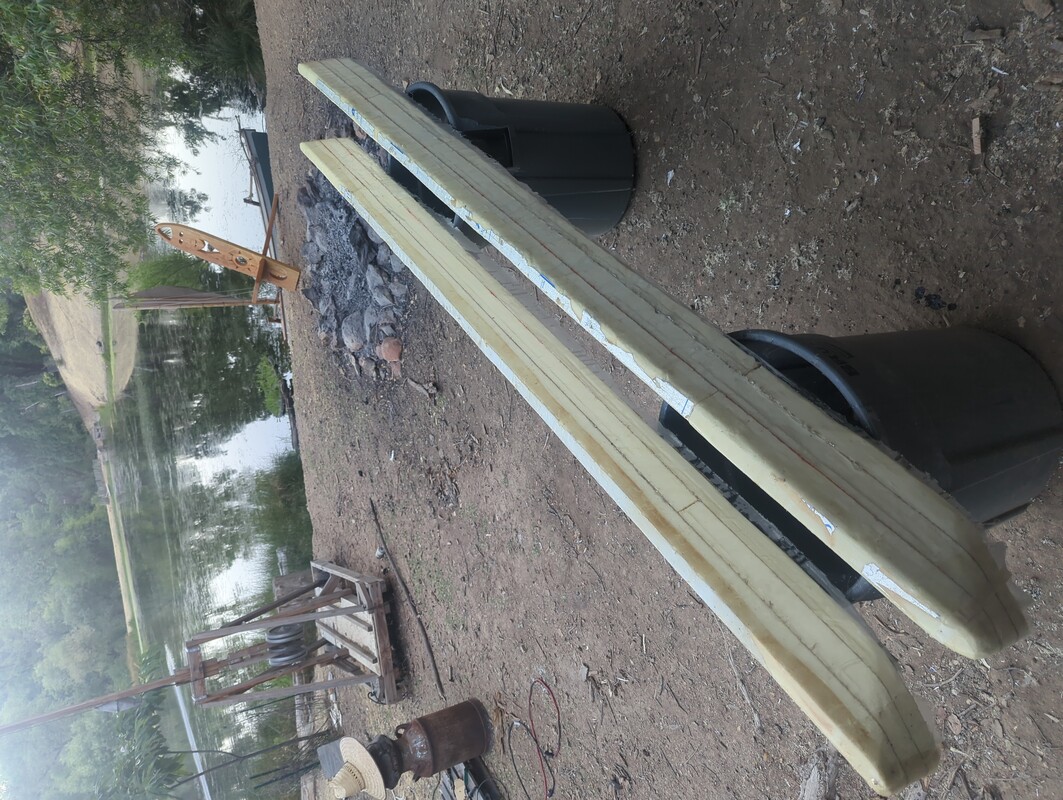 After epoxying together the components of the pontoons, some sawing and sanding gave me a mostly usable "smooth" surface which was fiberglassed.
This was happening during a heat wave, and it was educational.
After epoxying together the components of the pontoons, some sawing and sanding gave me a mostly usable "smooth" surface which was fiberglassed.
This was happening during a heat wave, and it was educational.
The lesson learned: when the temperature is above 100°F, jugs of liquid epoxy components need to be stored in buckets of water, because hot epoxy mixtures cure absurdly fast, and the exothermic reaction will burn skin through latex gloves.
Floatation test
 Ooof, bummer. The pontoons were designed to float me + about 30lb. The pallet I used as a test platform weighs about 30lb.
When I managed to get on the pallet, the pontoons were submerged all the way, and the tops of the pontoons was at the water's surface.
Ooof, bummer. The pontoons were designed to float me + about 30lb. The pallet I used as a test platform weighs about 30lb.
When I managed to get on the pallet, the pontoons were submerged all the way, and the tops of the pontoons was at the water's surface.
Mathematically, I was stoked: the pontoons where displacing the perfect amount of water according to my calculations. Unfortunately, my calculations didn't take into account the need to keep the top of the pontoons well above the water surface.
Adding more floatation
 2 inches of insulation was added to the top of each pontoon. The seam where the new insulation meets the fiberglassed edge of the
pontoons is an ugly mess, that I could have spent more time on; but I had a boat to build.
2 inches of insulation was added to the top of each pontoon. The seam where the new insulation meets the fiberglassed edge of the
pontoons is an ugly mess, that I could have spent more time on; but I had a boat to build.
Cover the Pontoon Tops
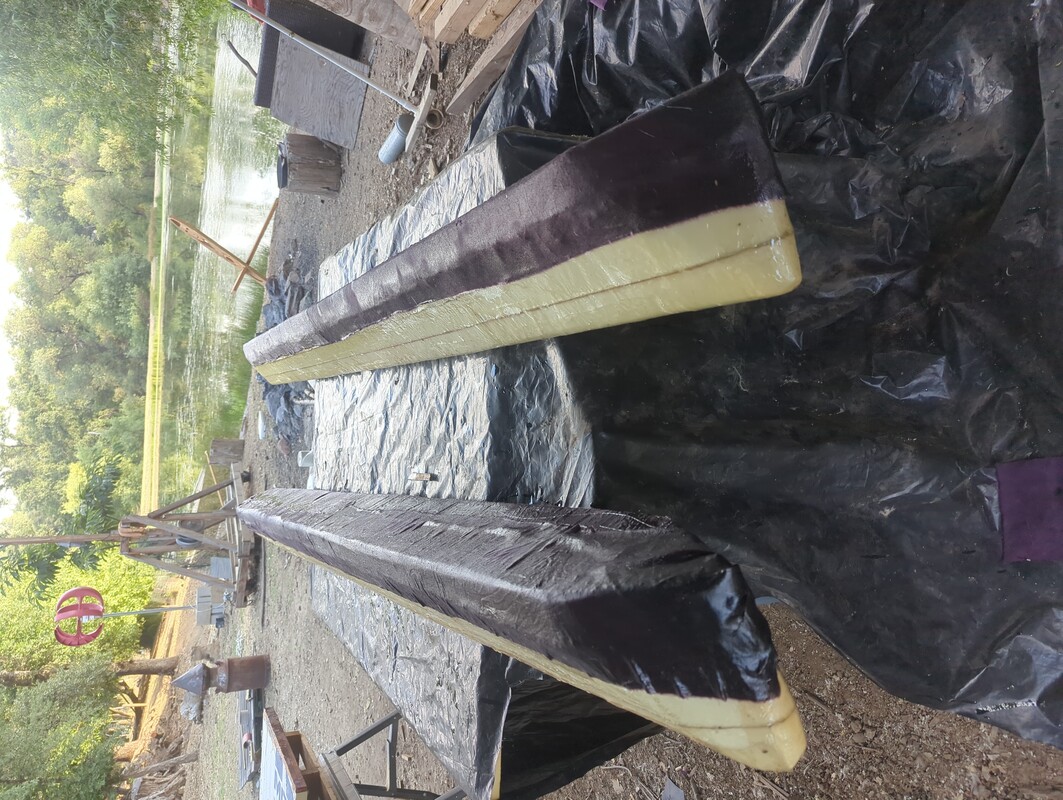 An old sheet was cut into long strips which were then layed on the pontoon tops and infused with epoxy. The pontoons are finished!
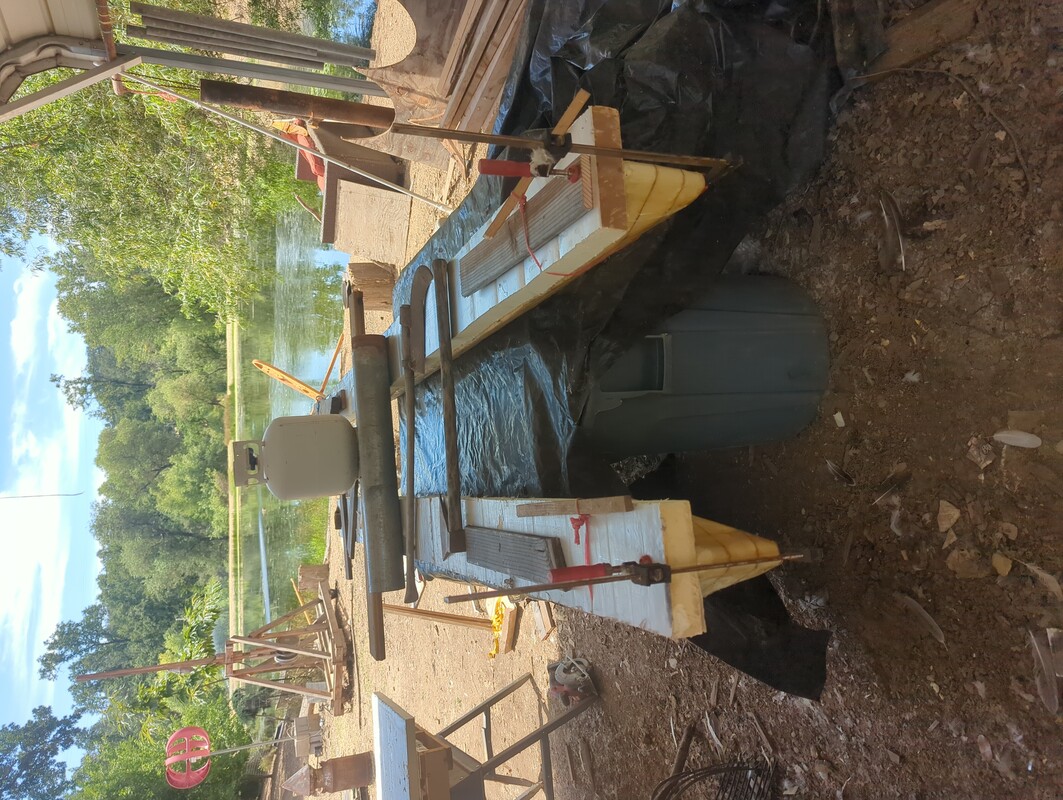
Add a platform
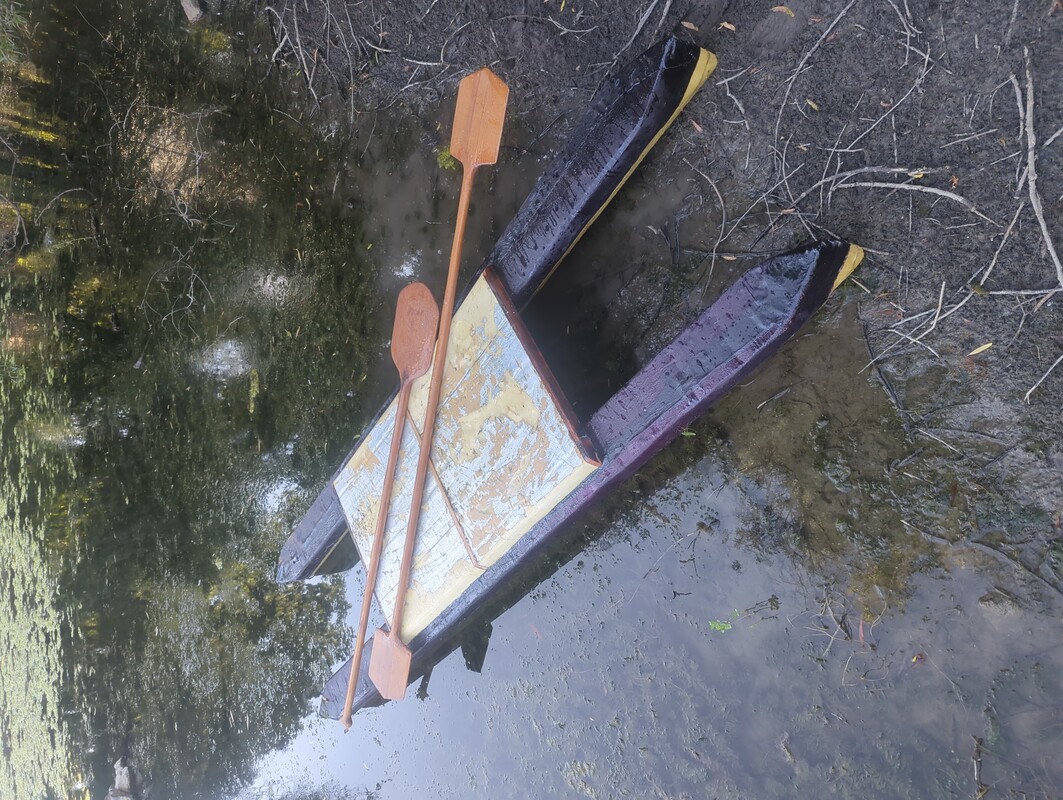 Some 1.5" ridgid insulation scrap from building Woofsnaval's stabilizer, and strips of pine wood made the platform. Epoxy and fiberglass
hold it all together.
Some 1.5" ridgid insulation scrap from building Woofsnaval's stabilizer, and strips of pine wood made the platform. Epoxy and fiberglass
hold it all together.
Bummer
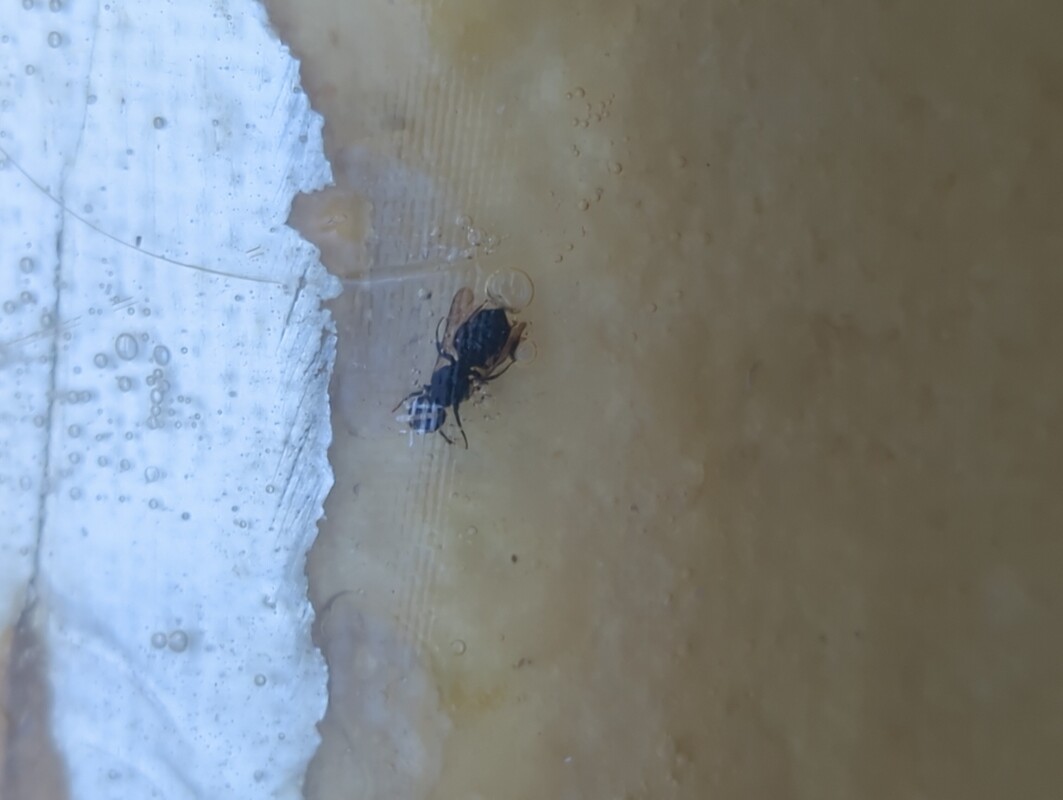 At some early stage, an ant crawled on into the epoxy as it cured. Now the ant goes with us on adventures.
At this point, a buddy and I tested boyancy at a large local reservoir with multiple boat launches, and it was "drunk idiot with a motorboat" day; which I hear is most Summer Weekend days at that place. :/
Lessons Learned: PaddleCat will float my 250lb buddy, stabily, in chop. PaddleCat needs tiedown anchor points so a paddle can be tied to the platform and carrying all the gear will be simplified.
Blue Lake
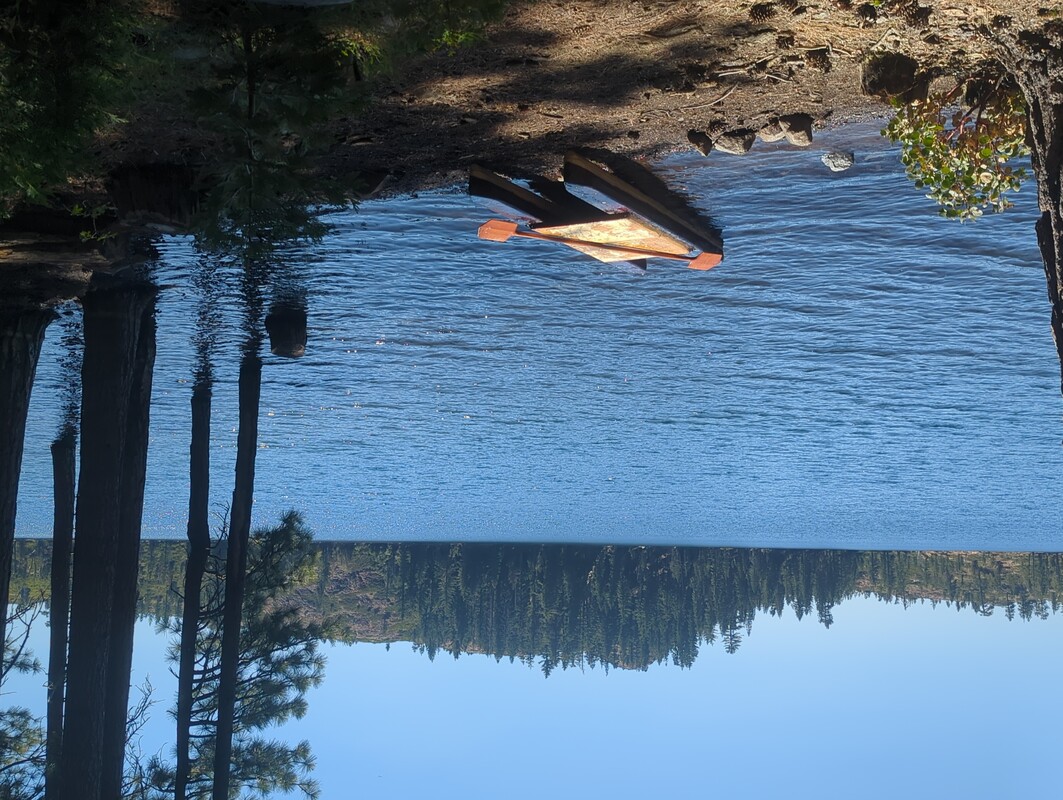 On August 4th I stopped at the store for snacks and a
cuppa, and headed to Blue Lake for a day of wonder and exploration. The PaddleCat did not disappoint.
On August 4th I stopped at the store for snacks and a
cuppa, and headed to Blue Lake for a day of wonder and exploration. The PaddleCat did not disappoint.
The Island
It is not a drought year. The Winter storms filled the reservoirs to capacity and Blue Lake is actually a reservoir. Thanks to the water level, what is normally an island in Blue Lake is little more that a few boulders and a tree.
When I left the island, I met 2 people who were camping on the far side of the lake as a birthday celebration. They had paddled in to their location with all of their camping gear. We chatted for a while about making stuff, and paddleboards.
Lessons Learned: sitting and paddling like a kayak is better for speed and stability, especially when there is an excited dog on the boat with me. The platform surface needs better grip, and is uncomfortably hard.
Crom
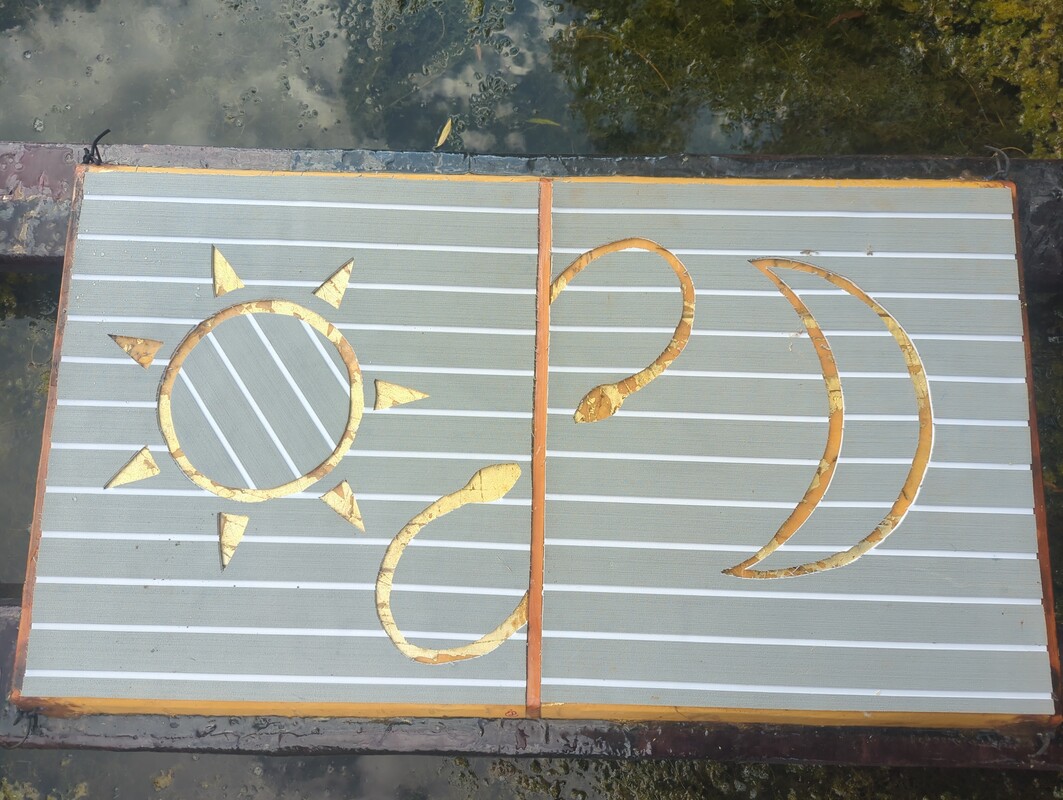 A traction pad for boat decking was cut and applied to the top of the PaddleCat platform. Aside from traction, the pad adds
a nice bit of cushioning to the platform. Now I can sit for longer, and if it gets uncomfortable, I have to option to shift
to a kneeling position.
A traction pad for boat decking was cut and applied to the top of the PaddleCat platform. Aside from traction, the pad adds
a nice bit of cushioning to the platform. Now I can sit for longer, and if it gets uncomfortable, I have to option to shift
to a kneeling position.
Lake Natoma
 On Natoma Island, in Lake Natoma, there is a pine tree filled with hummingbirds.
Upon arriving at Lake Natoma for "Boat Day" with friends, I realized that I had forgotten my paddle at home. Fortunately there is a kayak/paddle rental business at the lake, and disaster was averted. The rental paddle was quite efficient, but ewwww… I paddled using a paddle that I didn't make. I felt soiled.
Anyway, that's the PaddleCat!
cheers,
jezra