
Septa Lamp
During the Summer of 2024, I got hit with "7" fever and needed to make a lot 7 sided things in my wood shop. While this was happening, I was asked by someone to fix their lovely little lamp. After fixing the lamp, the owner lamented that it is difficult to find a nice little lamp.
Woowee, hearing that was oddly inspirational, and I decided I should make a lovely little lamp of my own.
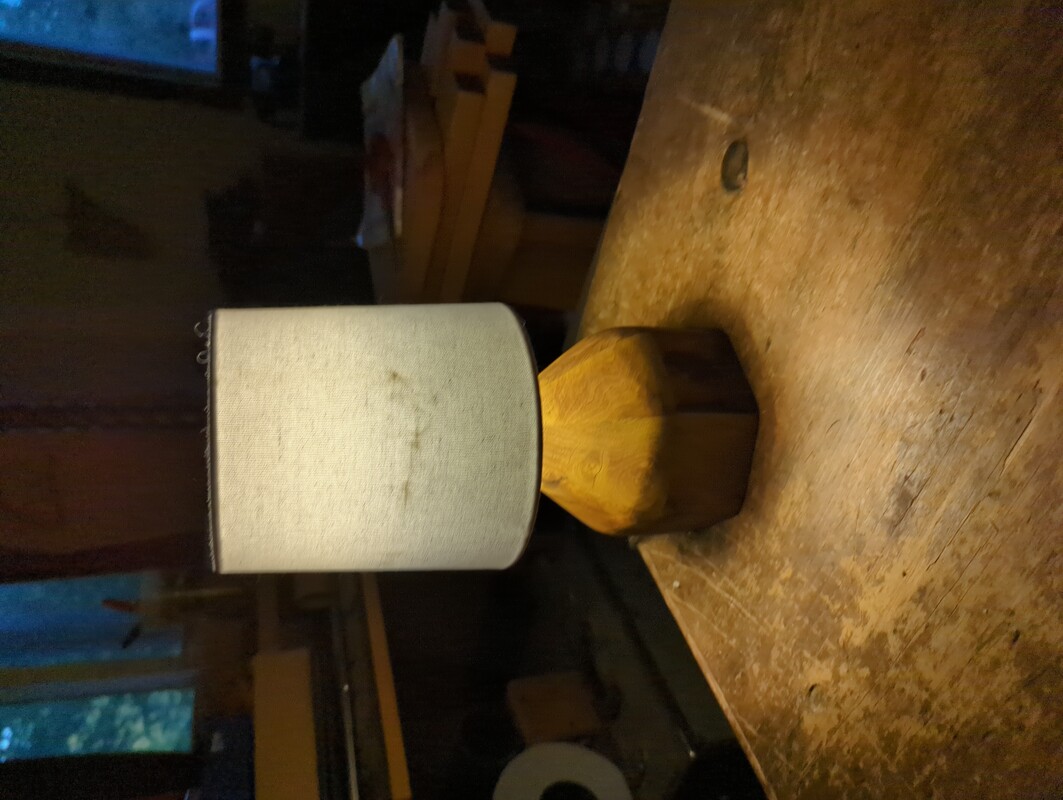
Lovely Little Lamp
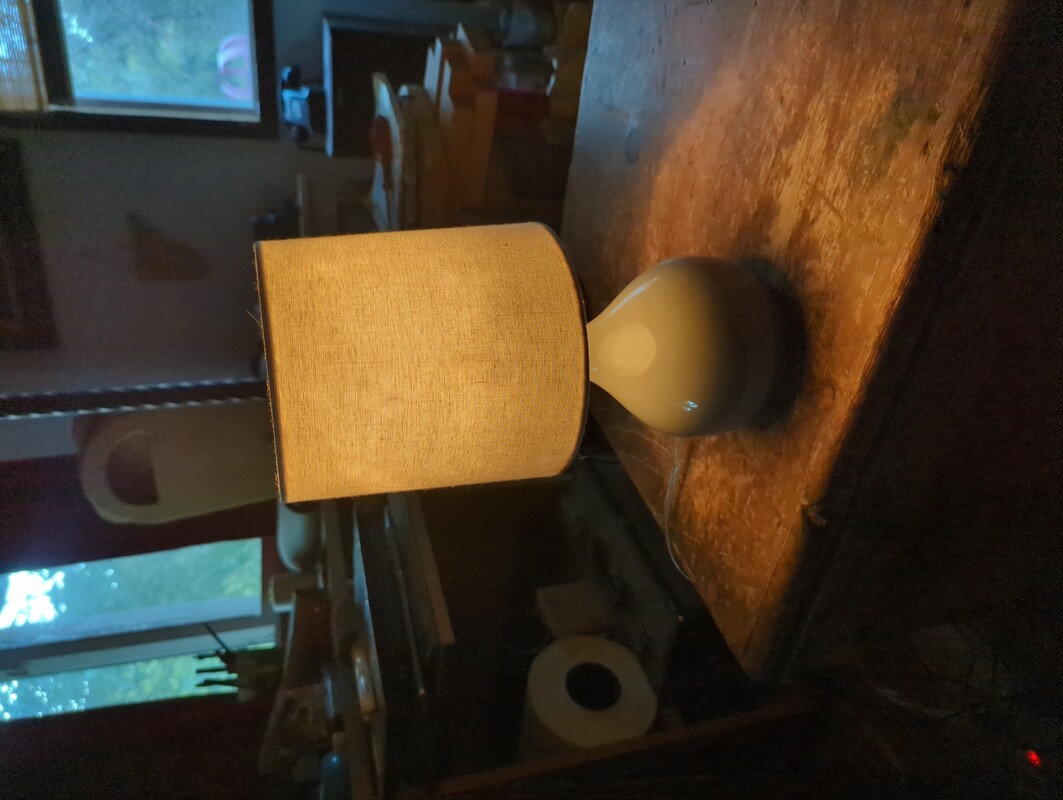 I still find it odd that such a plain lamp could be so inspiring.
Designing
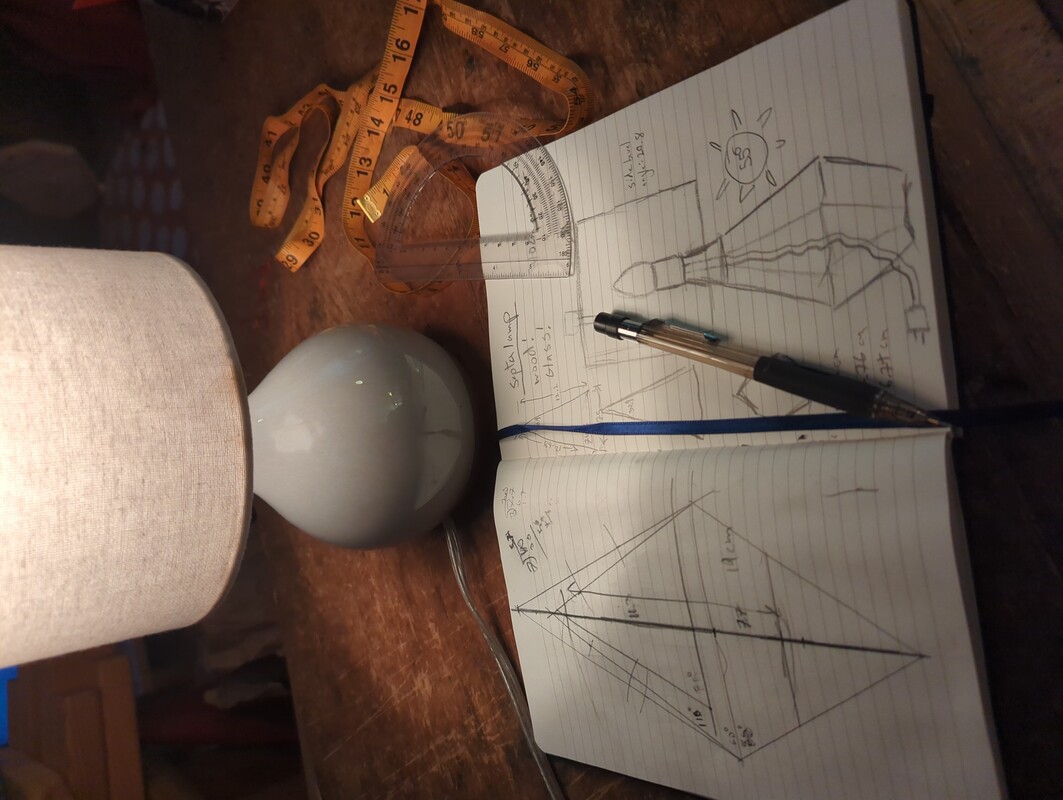 With a fine pencil and my notebook, I began to take measurements and sketch out an idea of what I wanted.
Cardboard Prototype
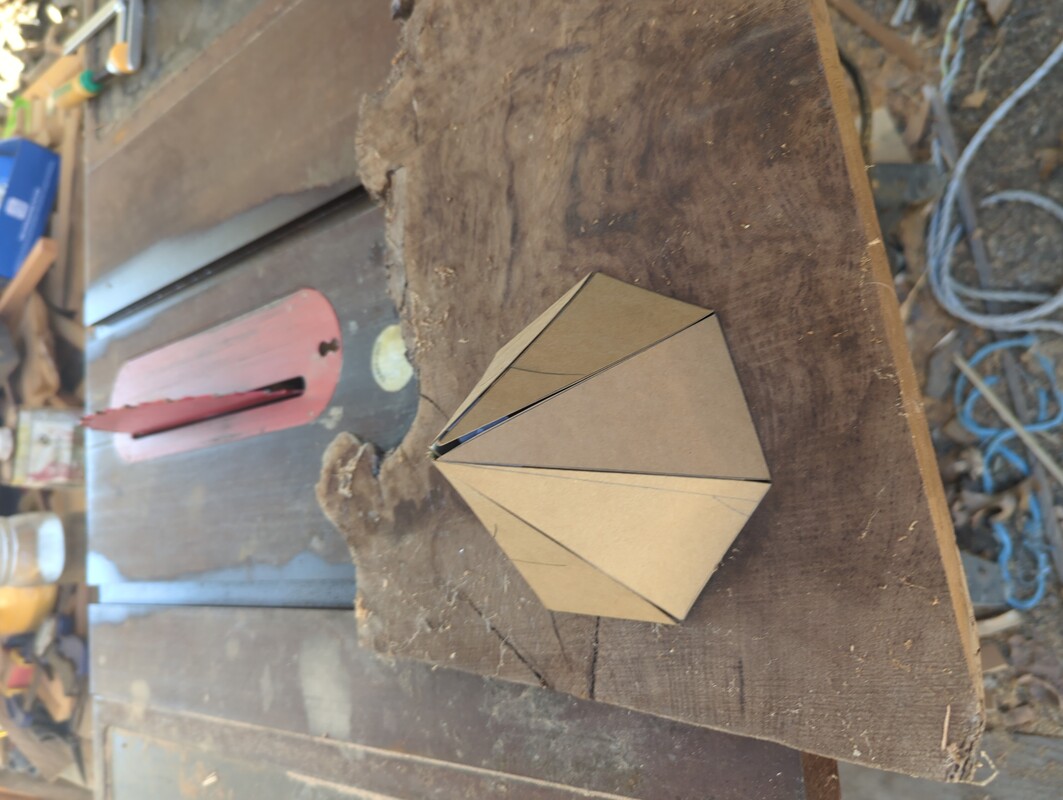 Once I had an idea of the angles I wanted to use for the top half of the lamp body, I made a prototype of cardboard.
Cutting Pieces
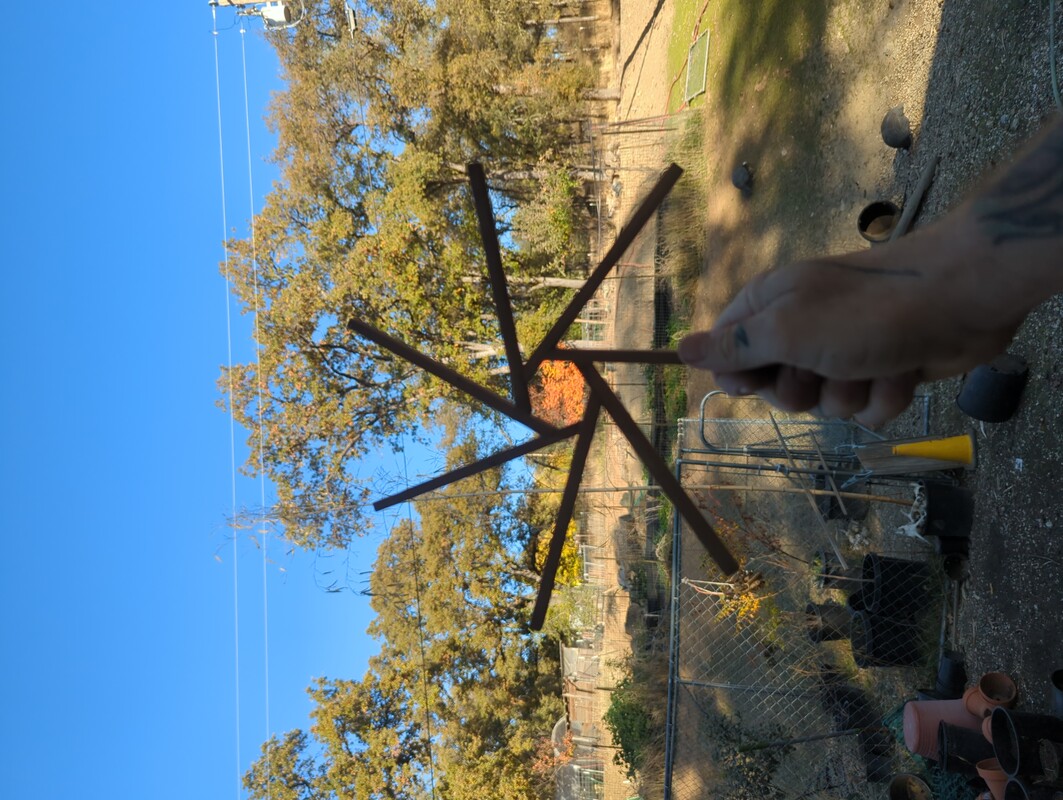
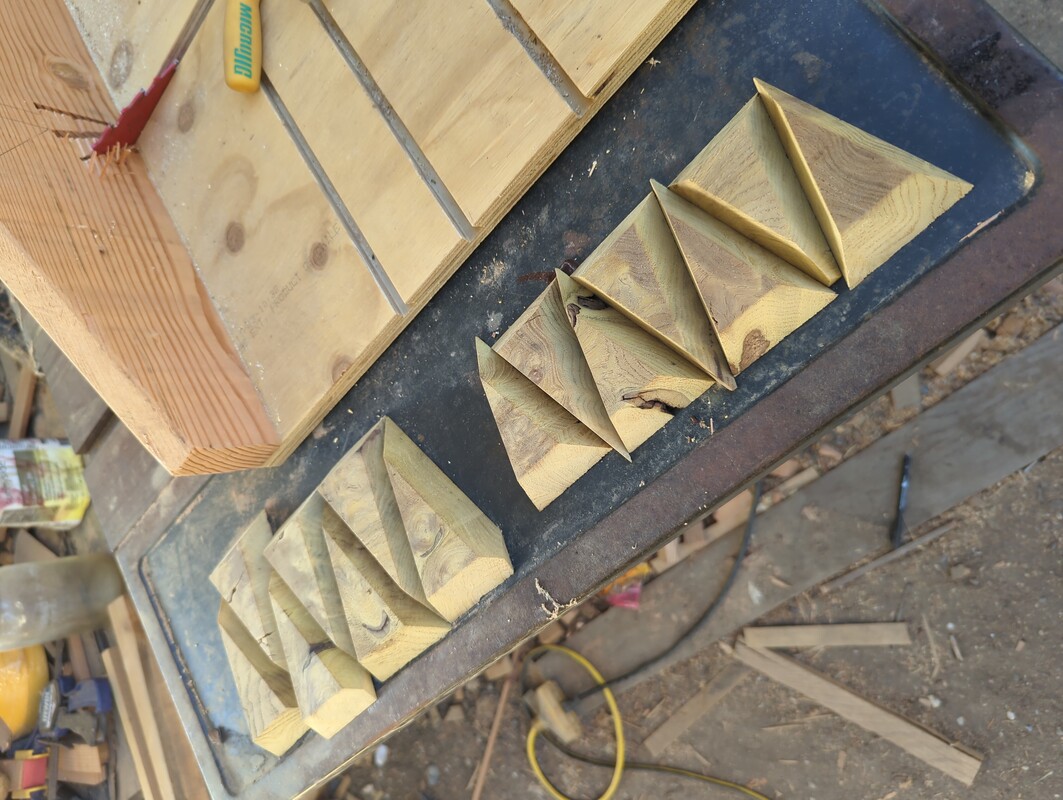 After setting the table saw to the correct angle for cutting pyramid facets, 2 sets of facets were cut from Black Locust burl. (only one was used for the lamp)
Creative Clamping
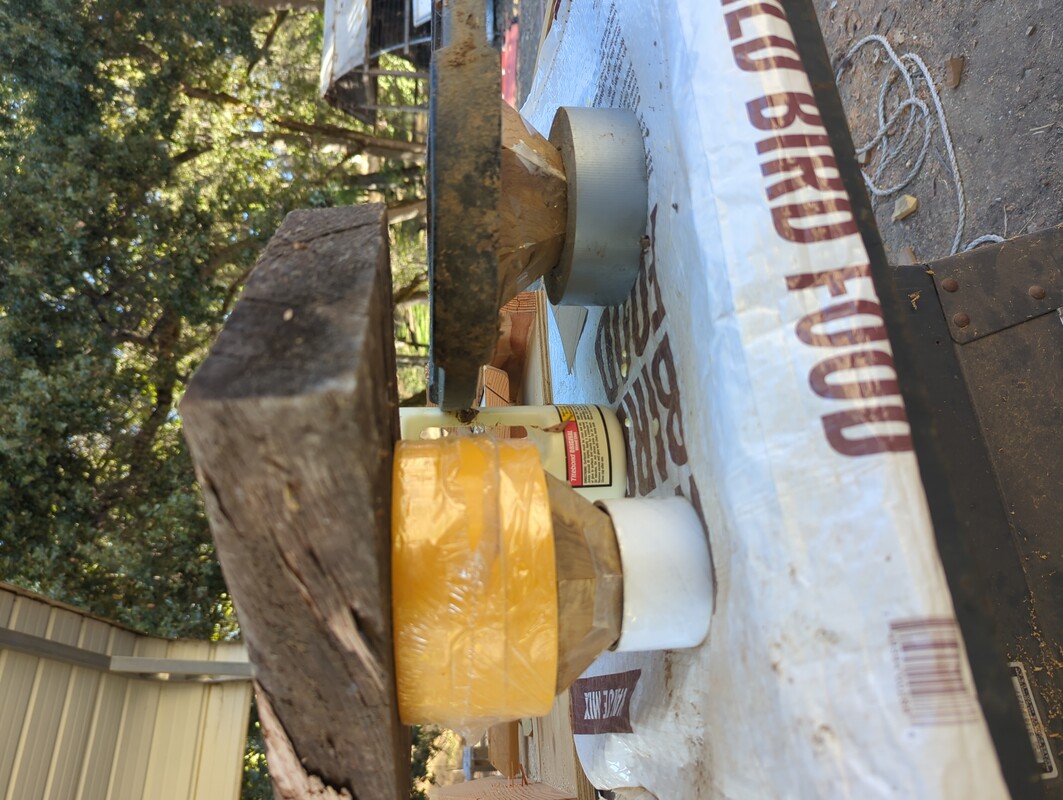 Clamping and gluing 7 sided pyramids was easy… once I figured out a decent way to actually press the wood together.
Clamping the Bottom Half of the Lamp Body
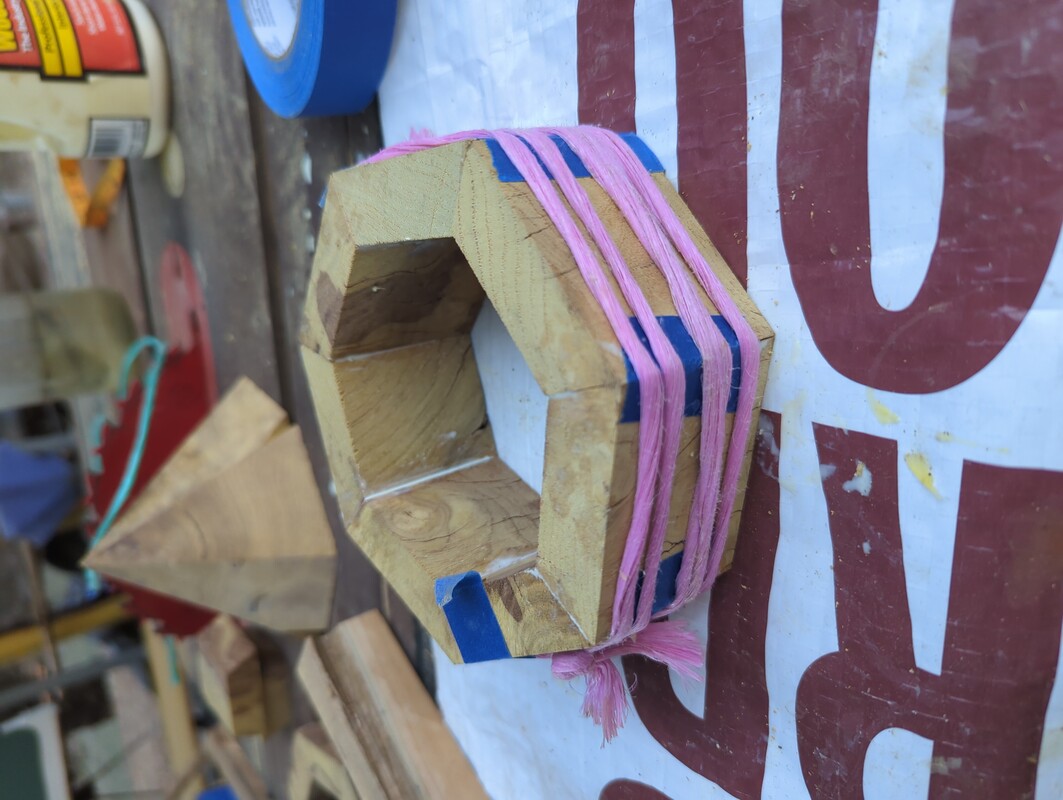 The bottom of the lamp base is a simple ring of wood that will raise the pyramid top.
Gluing the Top and Bottom
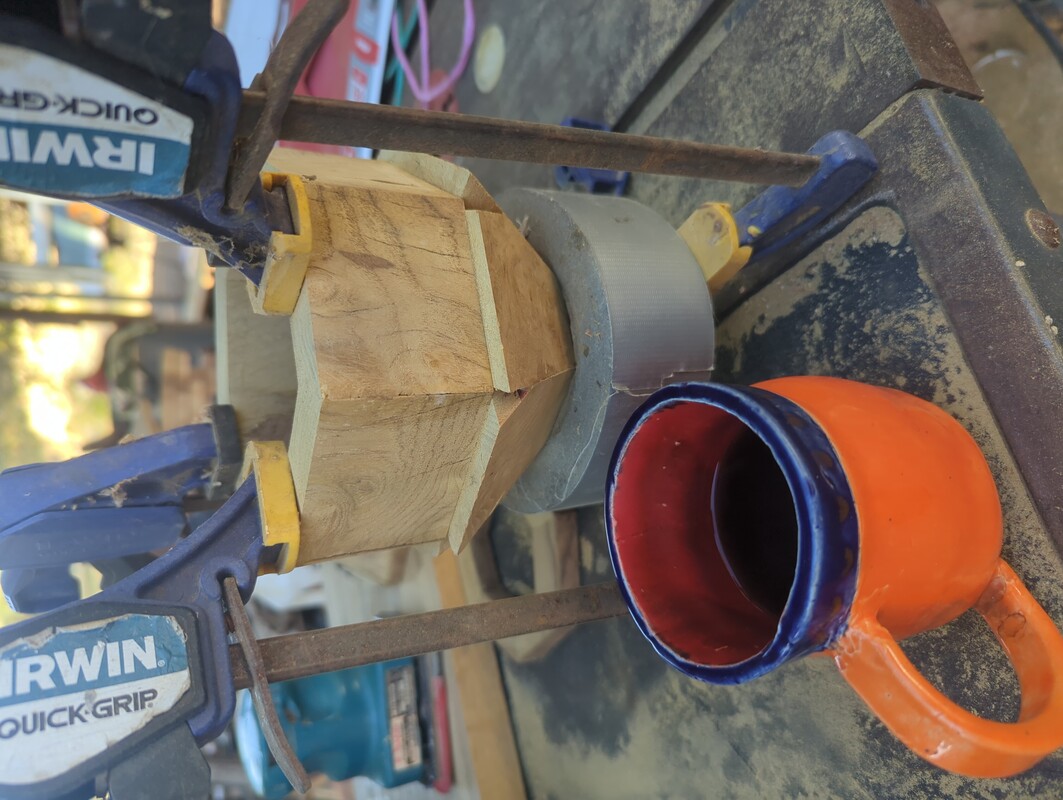 More easy clamping :)
Sacraficial Lamp
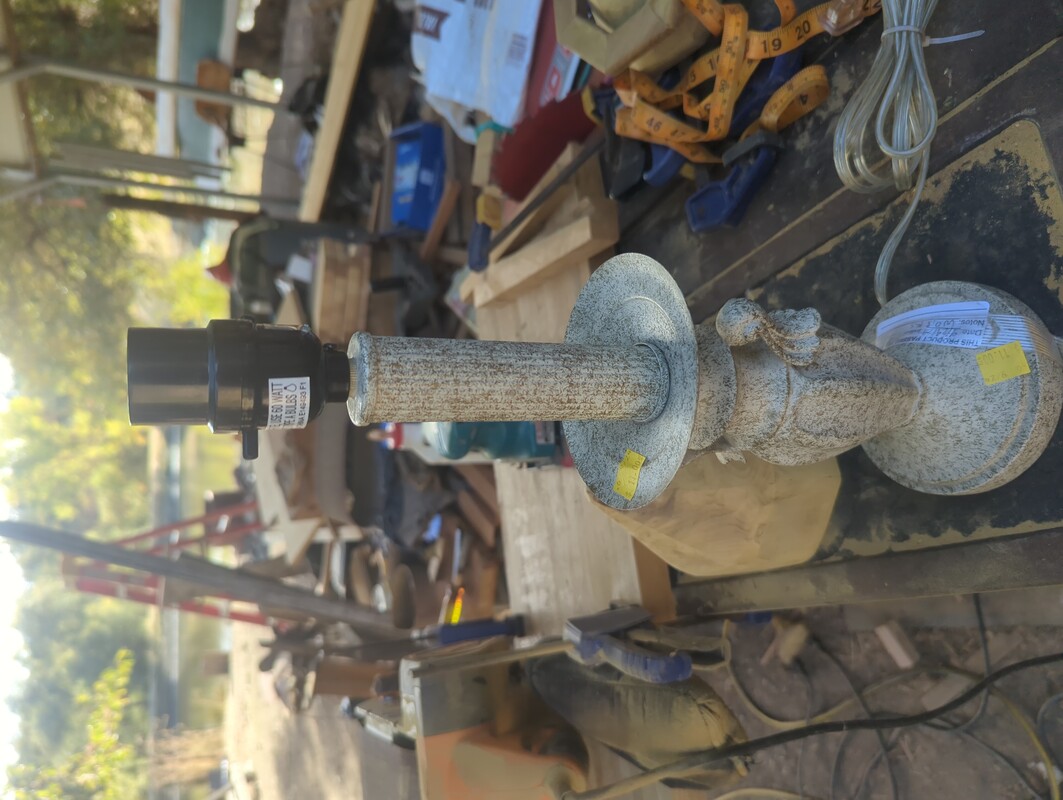 Despite the $11 price tag on this lamp, I purchased it for less than $5. After disassembling the lamp, I save the bulb socket, cord, and shade.
Body and Wiring Complete
 After finishing the body and wiring, the lamp was tested, and it was a lovely little lamp… but it was missing something.
Ahh, yes, a seven sided lamp needs a 7 sided lamp shade! Time to head back to the wood shop.
After finishing the body and wiring, the lamp was tested, and it was a lovely little lamp… but it was missing something.
Ahh, yes, a seven sided lamp needs a 7 sided lamp shade! Time to head back to the wood shop.
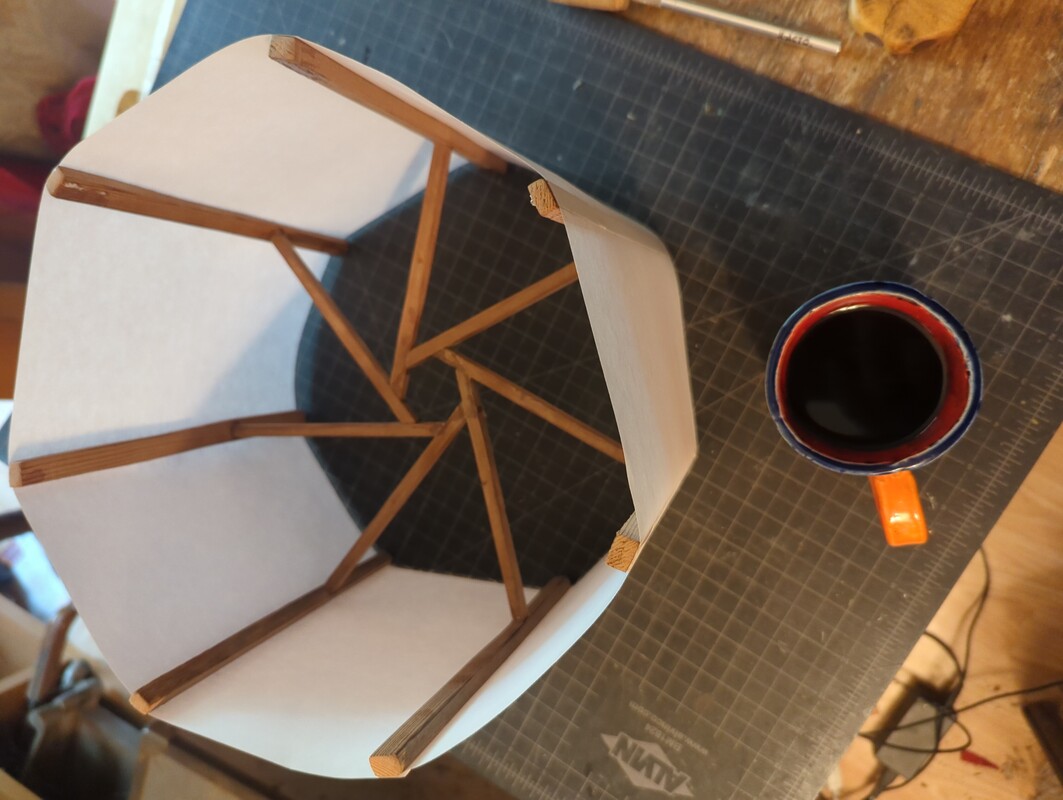
Base of the Lamp Shade
 The septagon in the middle is just slightly larger than the outside of the socket that the bulb fits in.
The last of my scraps of Redwood were used to create the lamp shade frame.
The septagon in the middle is just slightly larger than the outside of the socket that the bulb fits in.
The last of my scraps of Redwood were used to create the lamp shade frame.
Vertical Shade Supports
 There was no way for me to property clamp this together, so tape was used to hold it all together as the glue dried.
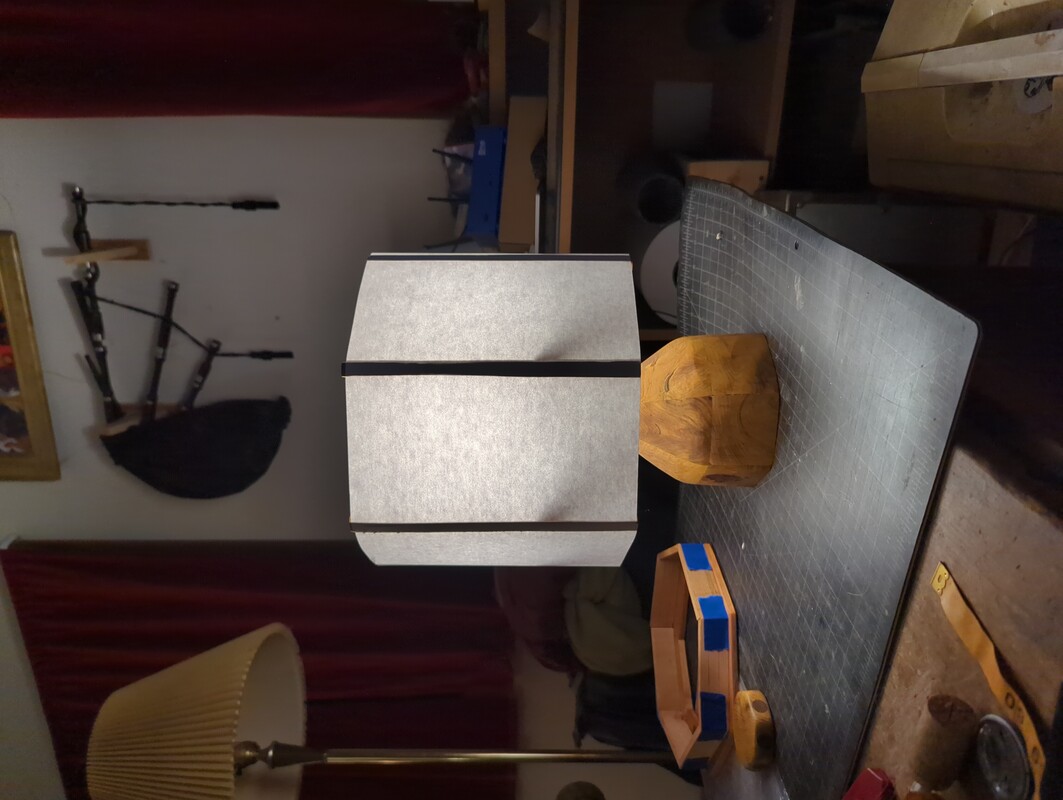
Adding Shade
 Pieces of plain paper were cut and glued to each open side of the lamp shade frame. It was during this part of the process that I fully grasped just
how not perfectly aligned the frame was; and that's Ok, it has personality.
Pieces of plain paper were cut and glued to each open side of the lamp shade frame. It was during this part of the process that I fully grasped just
how not perfectly aligned the frame was; and that's Ok, it has personality.
Finished!
 After all the glue was dry, the lamp shade was mounted to the lamp and powered on. A day later, I plugged the lamp into a 'smart' socket
so that I can turn the lamp on and off over my home network.
After all the glue was dry, the lamp shade was mounted to the lamp and powered on. A day later, I plugged the lamp into a 'smart' socket
so that I can turn the lamp on and off over my home network.
Thanks for reading, and have a septacular day!
jezra