
Banjyre
There was something. A pulling on the soul, a thought tugging on my mind. For months, there was a vague image of a stringed instrument in my floating about in my brain. It was distracting; I could almost see it, but when I tried to stare, the image faded away only to coalesce again at the periphery of my sight. It was torturous, and I needed to free myself from the shackles of the dim image.
Get out of my mind!
The only way I would ever gain respite from this piece of mental clutter, would be by sharpening the image
so that nothing was hidden in shadows of uncertainty. This can be accomplished in just one way:
bring the damn thing to life!
The first difficult step required determining what the thing would actually be
- The thing will be a harp/lyre thingy, with a string for each note
- The thing will have a drum head resonator similar to a banjo, made from my last pieces of deer rawhide
- The thing will have 9 strings, so I can play bagpipe tunes :)
Step 2: research, research, research
harps and lyres have existed in almost every culture and civilization since there has
been civilization. Each different style has its own unique shape, materials, sound,
and manufacturing process.
The design I came up with, was basic enough to allow for "ease of manufacturing". That is to say, I have limited tools and skills when it comes wood craft, and I wanted to ensure that I make what I needed without having purchase any new tools.
... And so the story begins
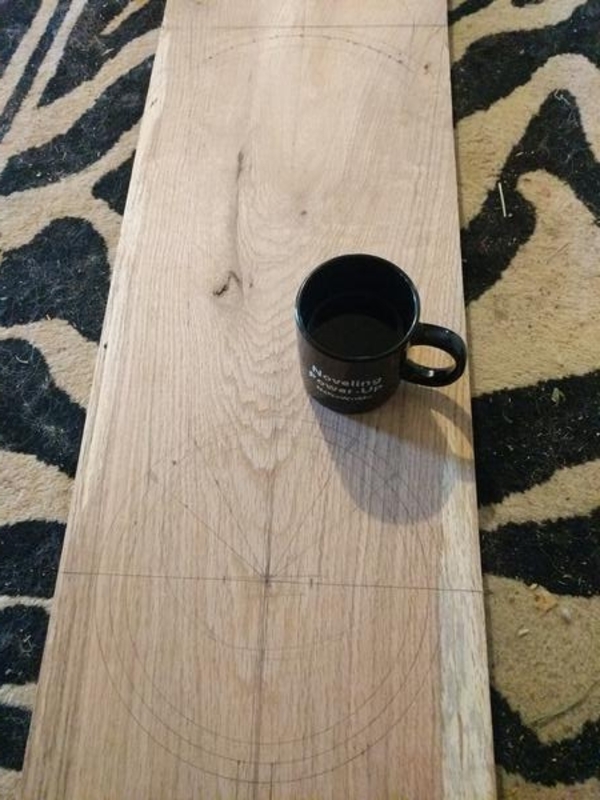 It all started with some lines drawn on a piece of oak purchased from a local mill
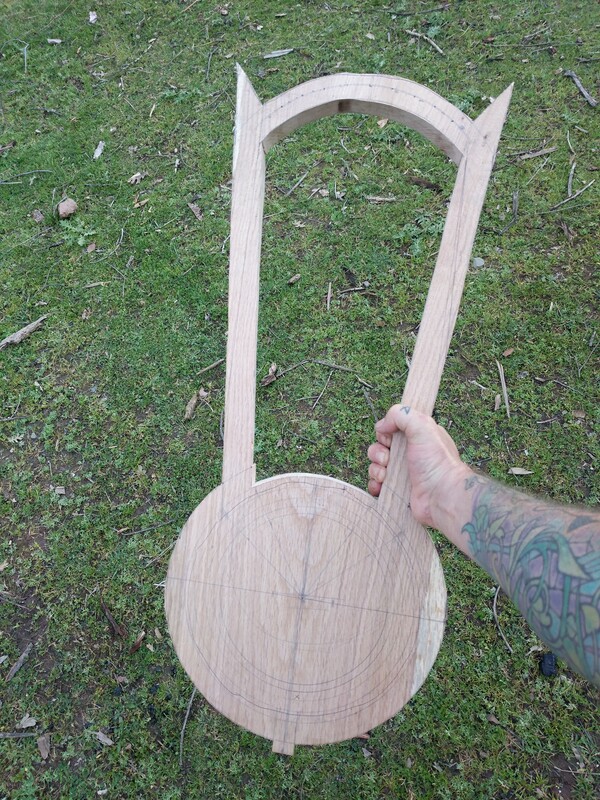
Rough cut the frame
Carve out a channel around drum head
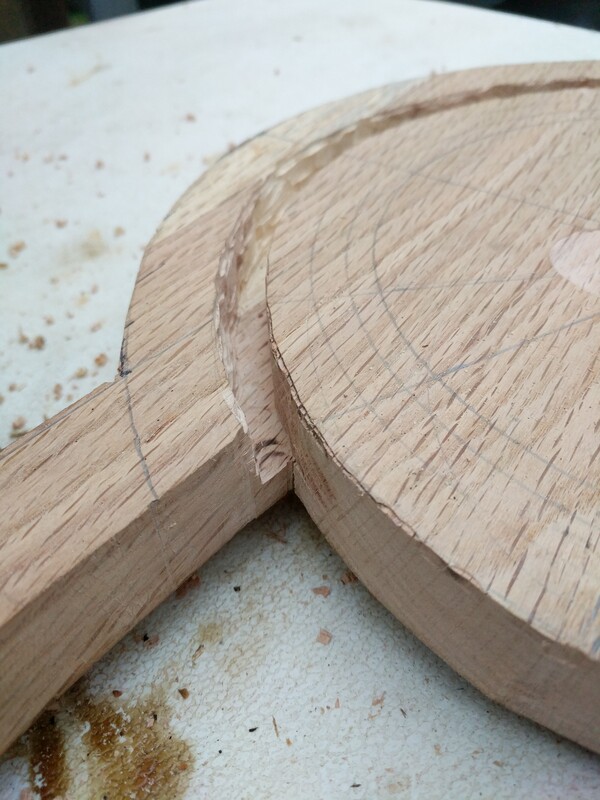 This makes the frame of the drum head. Eventually there will be holes drilled in the bottom of the channel so that the drum
head can be tied into place.
This makes the frame of the drum head. Eventually there will be holes drilled in the bottom of the channel so that the drum
head can be tied into place.
Carve out the inside of the drum frame... Ooop!
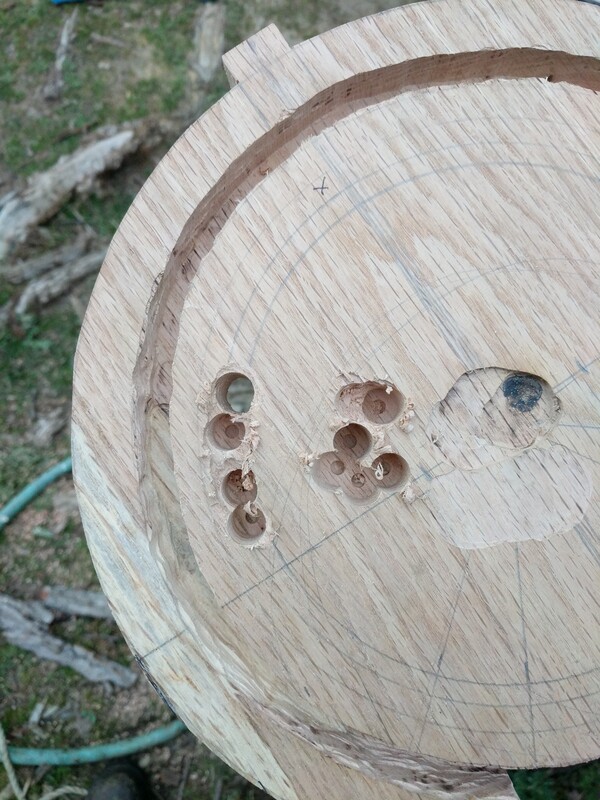 Woooweee, I really borked that one by accidentally drilling all the way though. Oh well,
the fix actually simplifies the design.
Woooweee, I really borked that one by accidentally drilling all the way though. Oh well,
the fix actually simplifies the design.
Cut and drill
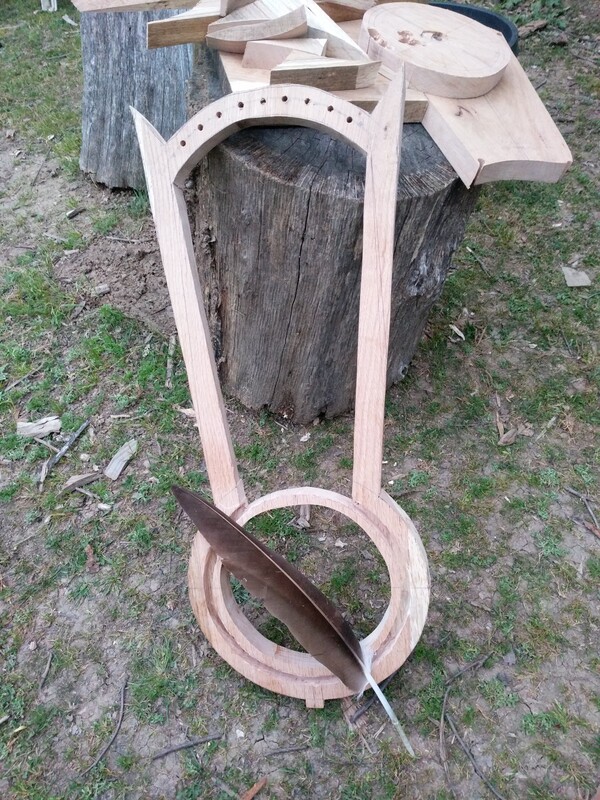 After cutting out the drum frame, and drilling 1/4" holes for tuning pegs, I happened to find
a sweet buzzard feather. The Wind is speaking to me.
After cutting out the drum frame, and drilling 1/4" holes for tuning pegs, I happened to find
a sweet buzzard feather. The Wind is speaking to me.
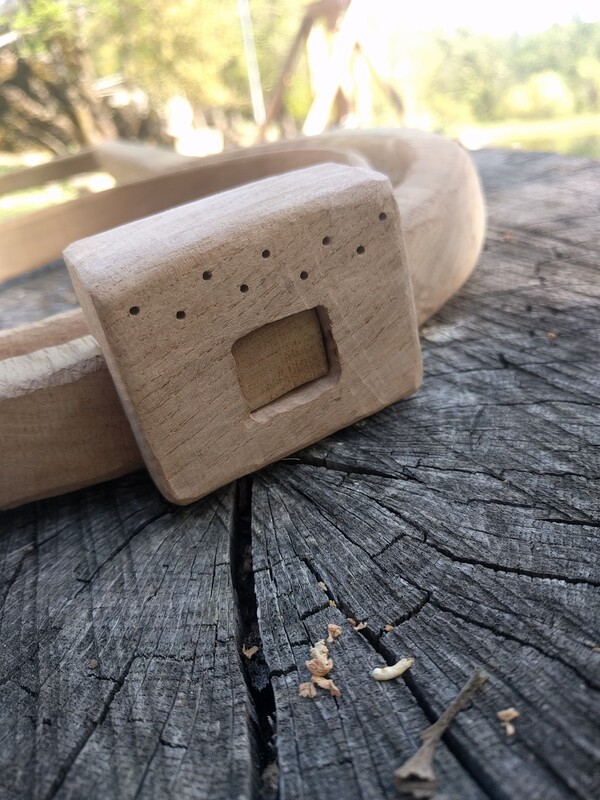
Frame tail block
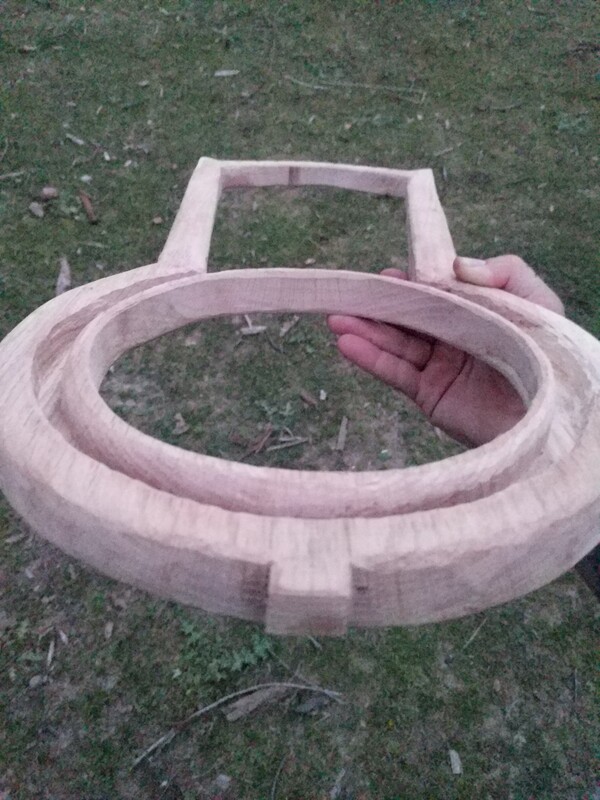 The drum frame was rounded with a dremel. Here you can see the block on the frame
that the string tail-piece will latch onto.
The drum frame was rounded with a dremel. Here you can see the block on the frame
that the string tail-piece will latch onto.
Little visitor!
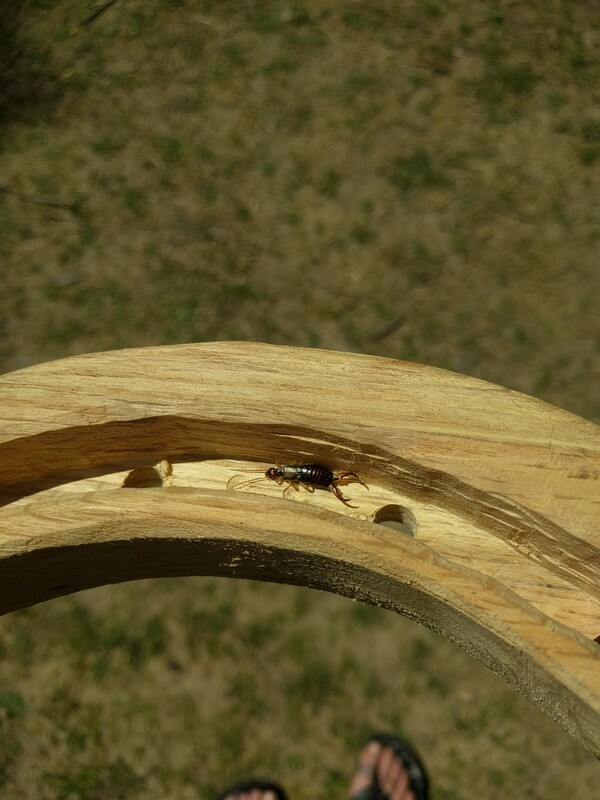 12 holes were drilled in the bottom of the channel to allow the drum head to be laced to the frame.
This little duder was inspecting my work.
12 holes were drilled in the bottom of the channel to allow the drum head to be laced to the frame.
This little duder was inspecting my work.
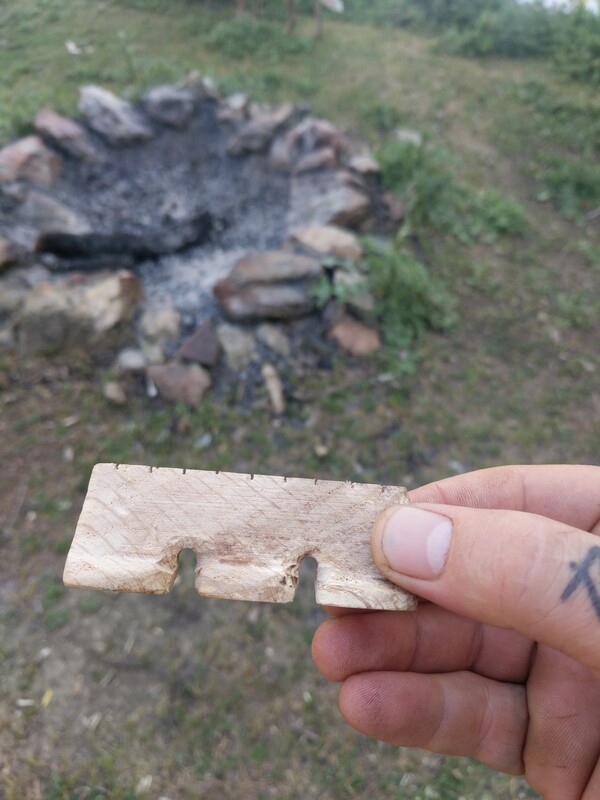
String tail-piece
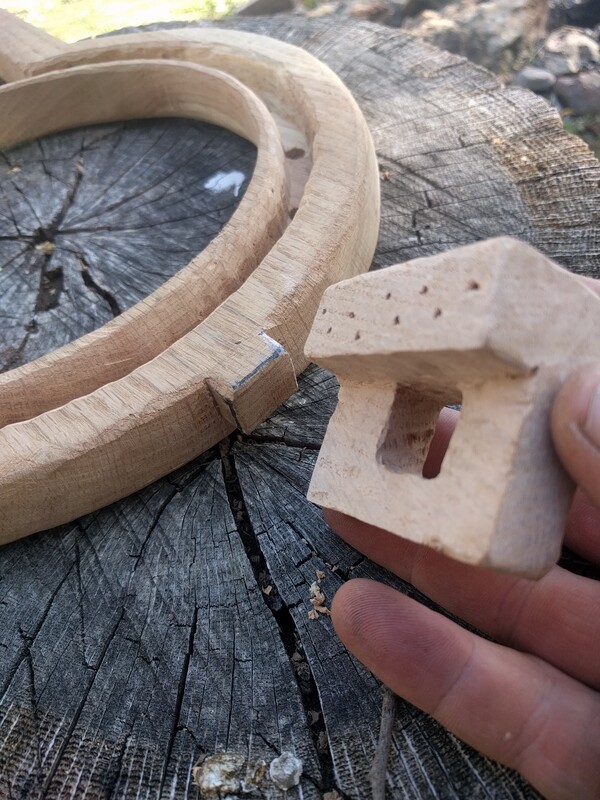 carve a bit, drill 9 holes for strings, and then slowly carve until the tail-piece
fits wll on the block.
carve a bit, drill 9 holes for strings, and then slowly carve until the tail-piece
fits wll on the block.
A good fit on a short block
 The tail piece stays in place quite well. Asthetically, the block and tail-piece would be
better if they were flush. Something to remember for next time :)
The tail piece stays in place quite well. Asthetically, the block and tail-piece would be
better if they were flush. Something to remember for next time :)
The bridge
 The bridge is probably too tall, but it does what I need it to do.
The bridge feet
 The entire time I was carving the bridge, I kept thinking about the human ear which performs
an identical function.
The entire time I was carving the bridge, I kept thinking about the human ear which performs
an identical function.
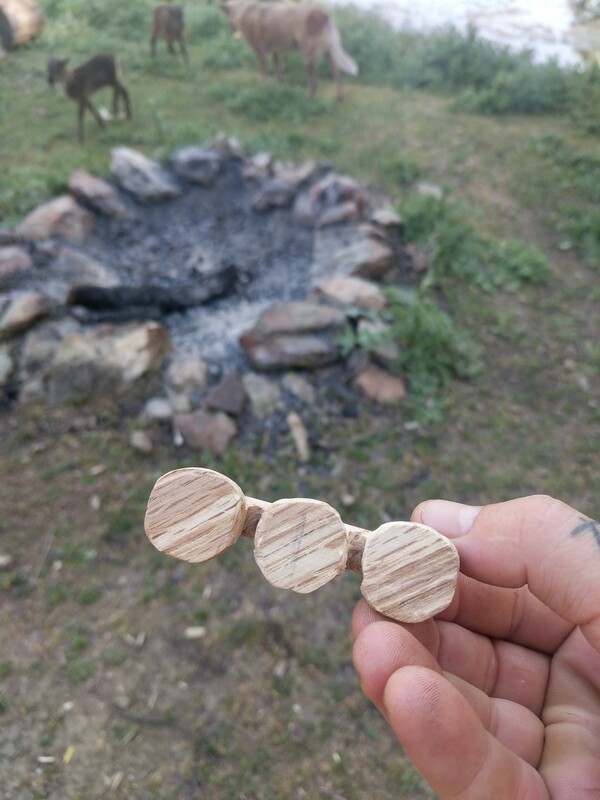
Rough cut some pegs
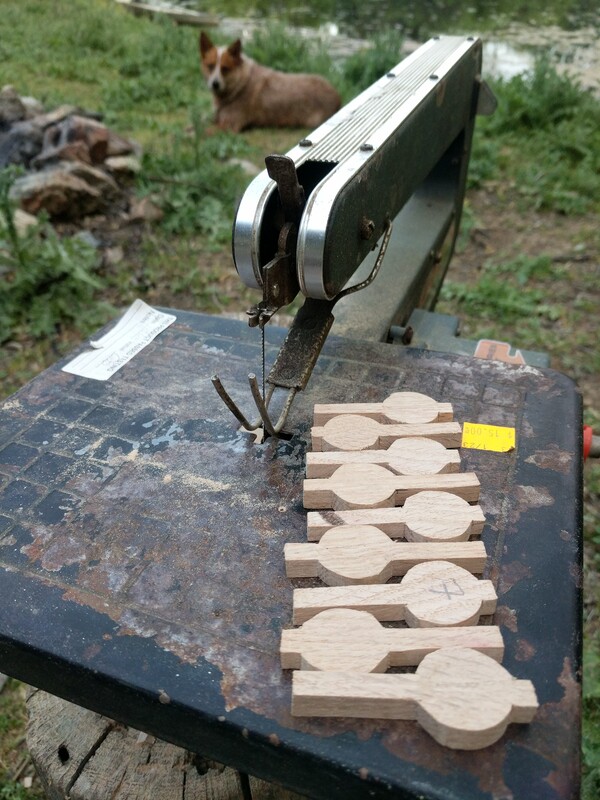 Hello 7 of 9!
Stain the frame
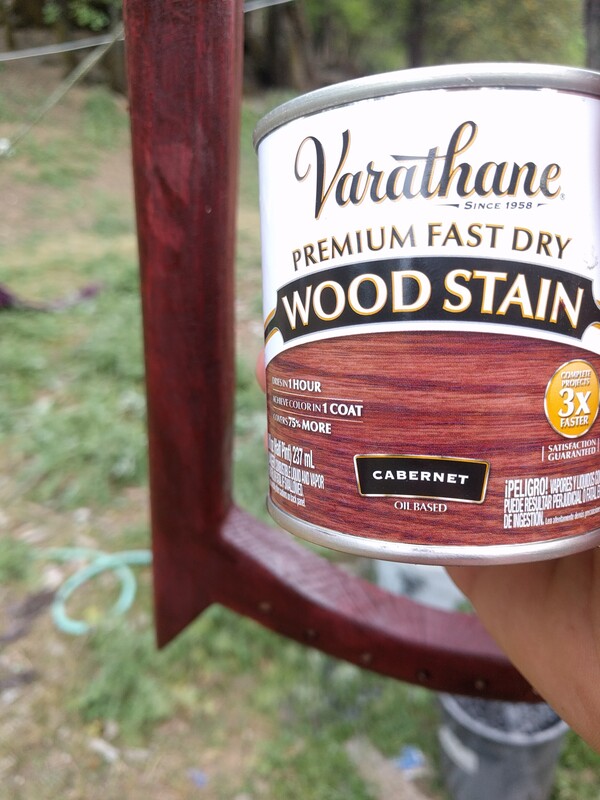 I'd prefer a Malbec, or maybe a Chianti
Hammer time!
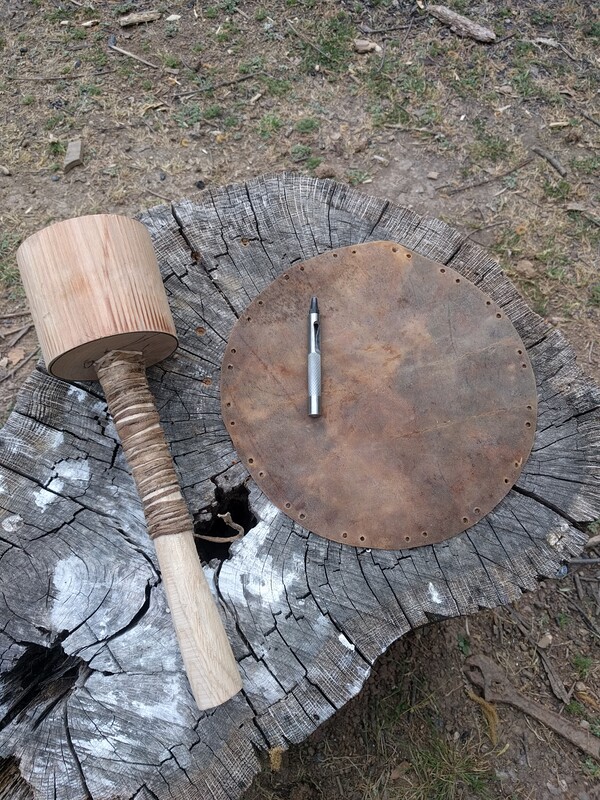 The drum head was cut and holes were punched for the lacing
Way too loose
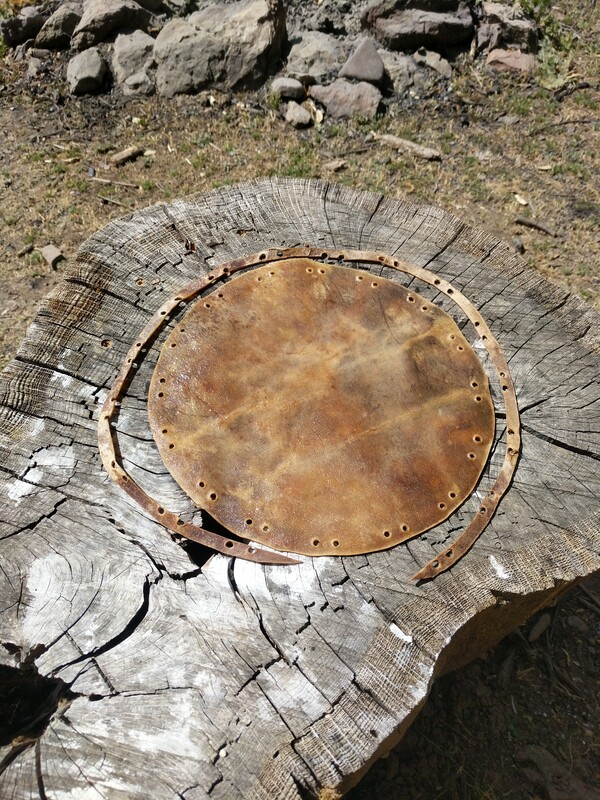 After lacing in the drum head, there was far too much slack and it was necessary
to unlace the drum head, punch new holes and cut off the excess. Unlacing was
not a fun process.
After lacing in the drum head, there was far too much slack and it was necessary
to unlace the drum head, punch new holes and cut off the excess. Unlacing was
not a fun process.
The drum head is laced!
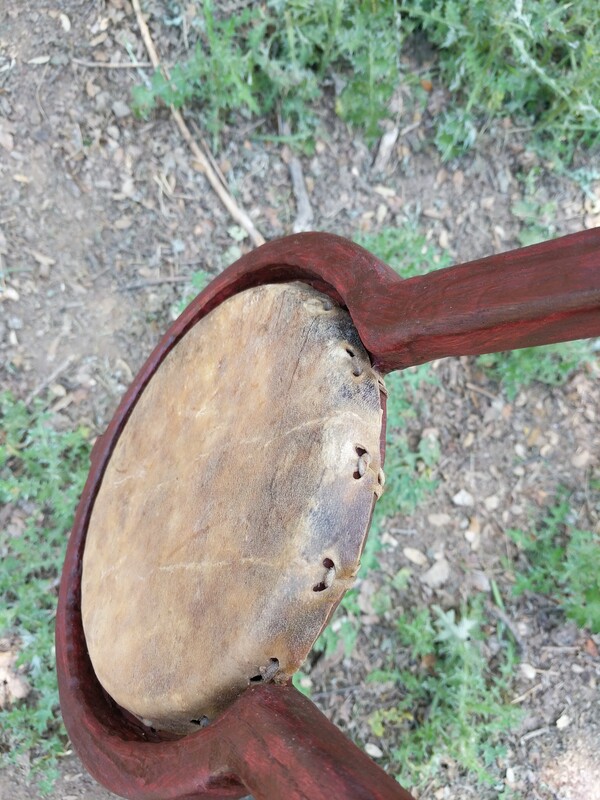 Second time was the charm, and the drum head fit perfectly.
Tied lacing
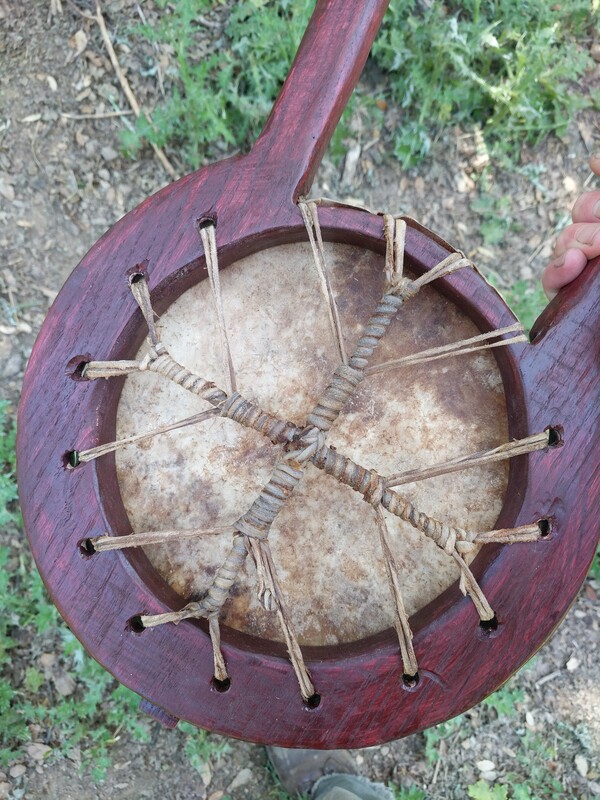 Once the drum head was tied and dried, it was time to start stringing the thing
Twisty cracky
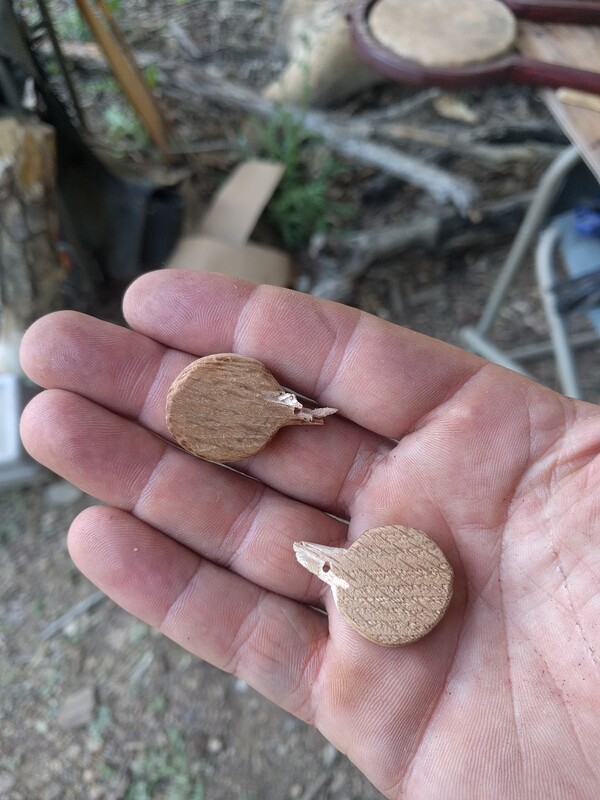 Some 40lb test fishing line was used for the strings, and during the tuning, pegs started breaking.
Oak is nice for the frame, but too brittle for my tuning pegs. Missing from this image is copious amounts
of swearing.
Some 40lb test fishing line was used for the strings, and during the tuning, pegs started breaking.
Oak is nice for the frame, but too brittle for my tuning pegs. Missing from this image is copious amounts
of swearing.
4 string jammer
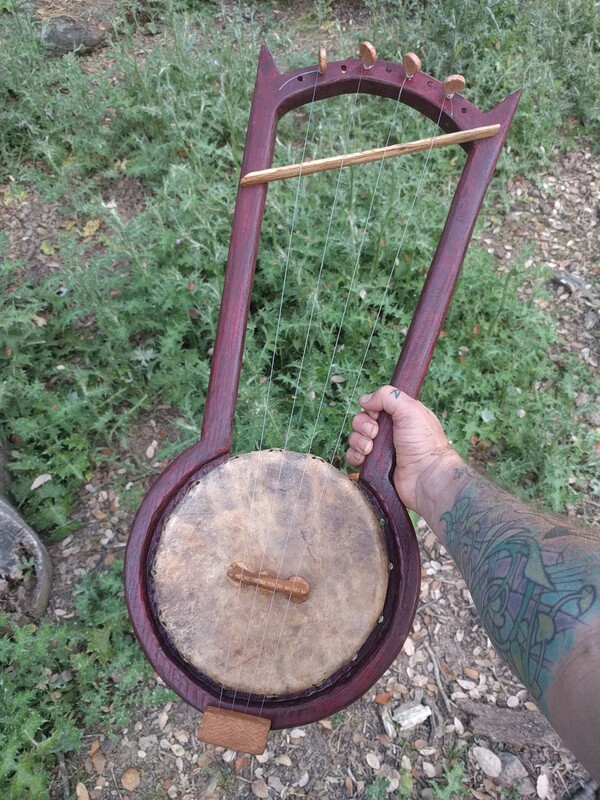 4 pegs broke, and one was lost; so the thing was strung with 4 strings
Jammin a 4 strings jammer
9 Pegs!
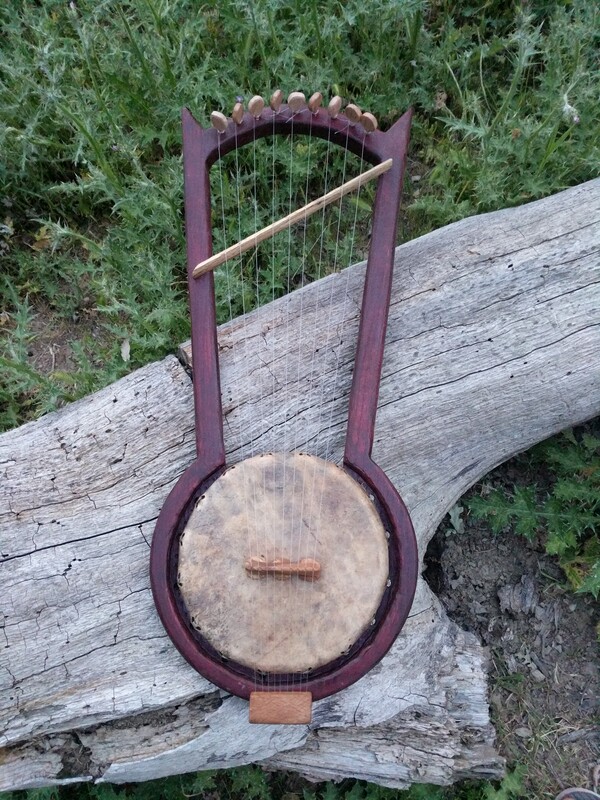
Back in the wood shop, the missing tuning peg was found, and replacements were quickly made.
Tuning isn't easy, and it can be difficult to differentiate the strings, but hot damn, my mind is free and I have a 9 string left-handed banjyre to play with.
Now where did I put that Star Wars sheet music?
Cheers,
jezra :)