
Fish Trap
A few days ago, I was taking pictures of a Great Blue Heron going through the process of eating a bullfrog. While I was facinated by what I was watching, it was also a good reminder that frogs are food; and in this day and age, having a reliable source of food is a damn good thing. The plans for a frog trap started forming in my mind…
At about the same time, it dawned on me that there should be catfish in the pond. I've never caught one, and I've never seen a catfish head in the fish head piles that the otters leave behind, but that doesn't mean there aren't some cats in the murky depths. Using a fishing pole isn't working, but a trap just might do the trick.
It would appear that I am in need of a frog/catfish trap.
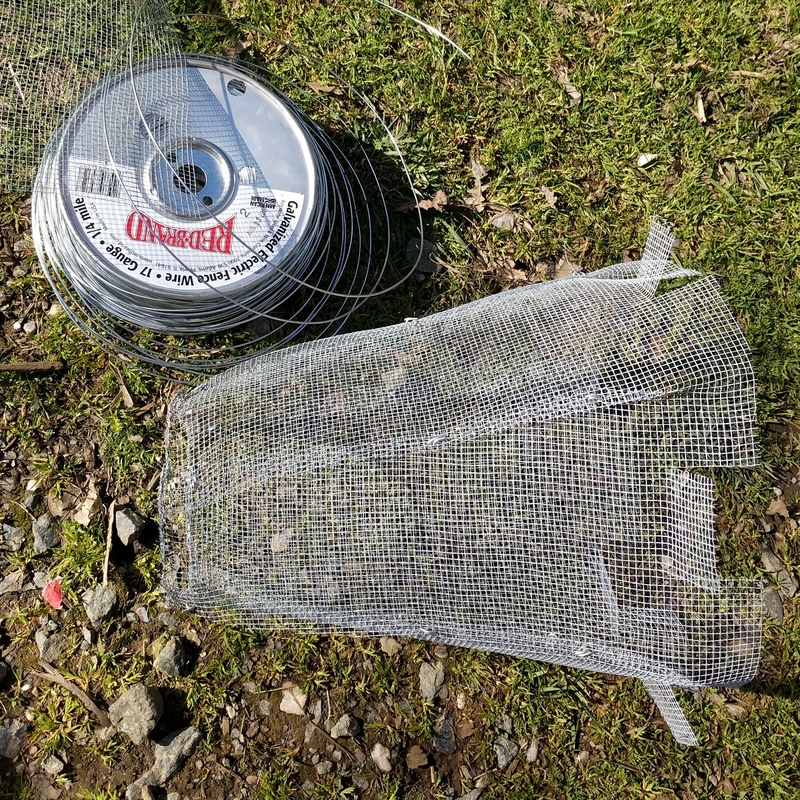
Based on the materials I have at hand, I opted to build the trap primarily out of 2 ten gallon plastic pots and some 1/8th inch metal mesh, all riveted and stitched together (with a bit of galvanized wire).
Chopping pot #1
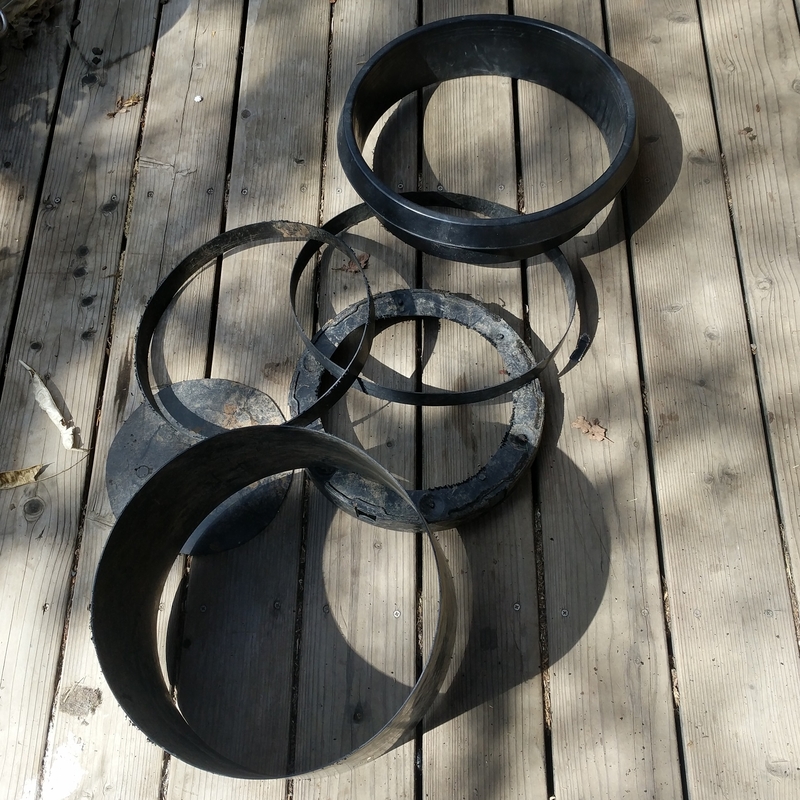 The top and bottom of the pot were the most desired pieces, as they would be the ends
of a large mesh cylinder. The rest of the
pot was used for a door on pot #2, as well as to make strips that would sandwich around the edges and seams of
the metal mesh, and thus sharp edges would be avoided.
The top and bottom of the pot were the most desired pieces, as they would be the ends
of a large mesh cylinder. The rest of the
pot was used for a door on pot #2, as well as to make strips that would sandwich around the edges and seams of
the metal mesh, and thus sharp edges would be avoided.
Chopping pot #2
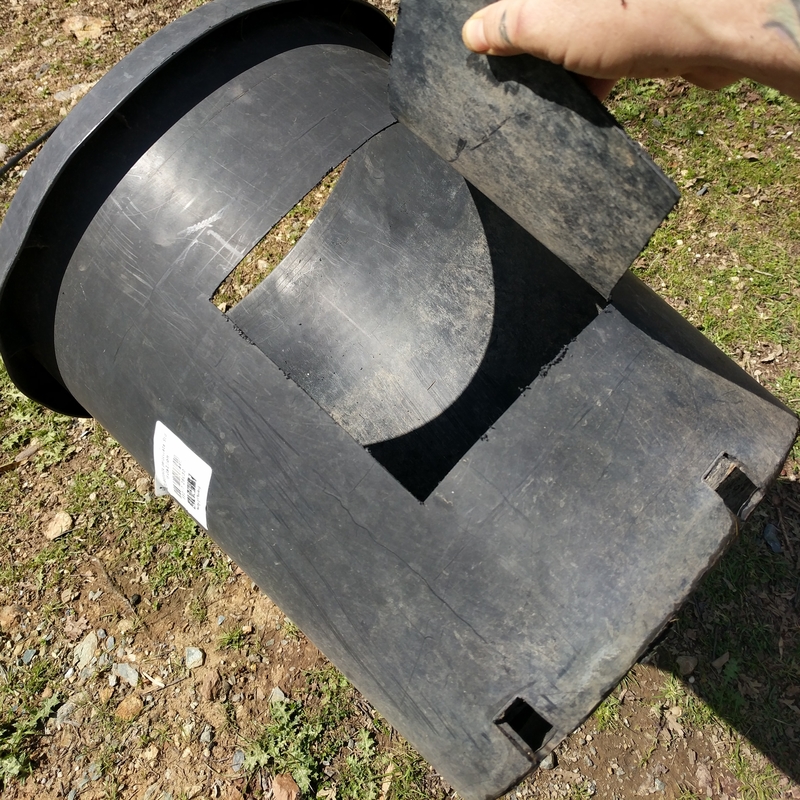 This pot was cut to provide access to the inside of the trap. The finished cut is
a bit larger than what is seen here.
This pot was cut to provide access to the inside of the trap. The finished cut is
a bit larger than what is seen here.
Pop, pop, pop rivets
 5mm rivets (3/8th inch for the people that hate themselves enough to like fractions),
did a wonderful job of keeping the cone of wire mesh together. The top and bottom of the
pot adds a good deal of structural rigidity. Now it is time to add a smaller cone that goes
into the end of this big cone.
5mm rivets (3/8th inch for the people that hate themselves enough to like fractions),
did a wonderful job of keeping the cone of wire mesh together. The top and bottom of the
pot adds a good deal of structural rigidity. Now it is time to add a smaller cone that goes
into the end of this big cone.
Stitching the inward cone
 After the inward cone was shaped and cut, it was necessary to stitch the cuts together
to maintain the shape of the cone. Calvanized fence wire and small needle nose pliers
made the stitches. Tabs were cut in the large end of the inward cone for riveting to the
small end of the larger cone.
After the inward cone was shaped and cut, it was necessary to stitch the cuts together
to maintain the shape of the cone. Calvanized fence wire and small needle nose pliers
made the stitches. Tabs were cut in the large end of the inward cone for riveting to the
small end of the larger cone.
A stitch
 3 stitches were added to each cut of the cone.
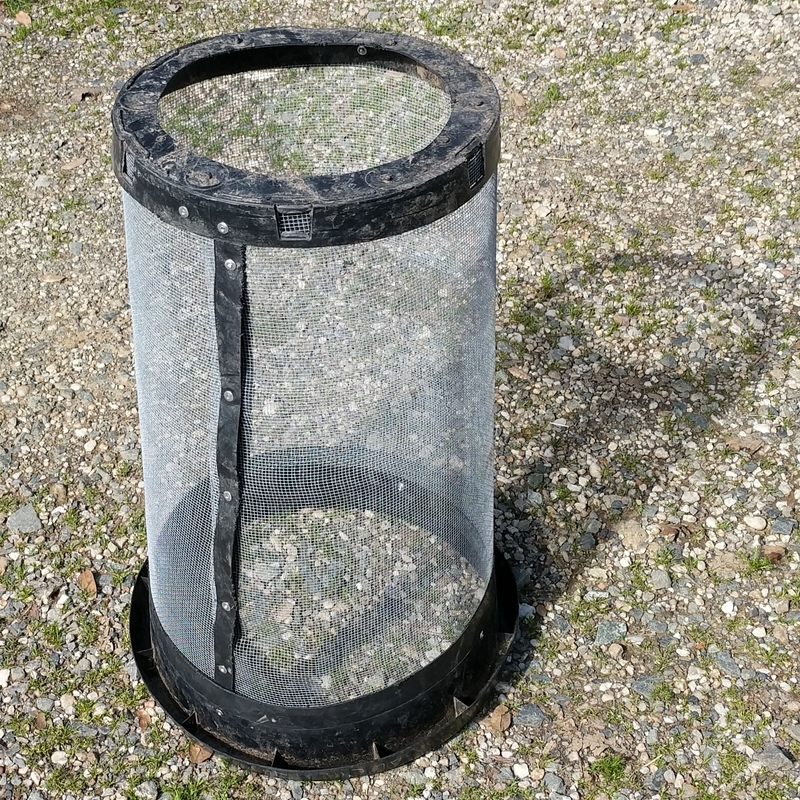
One side done!
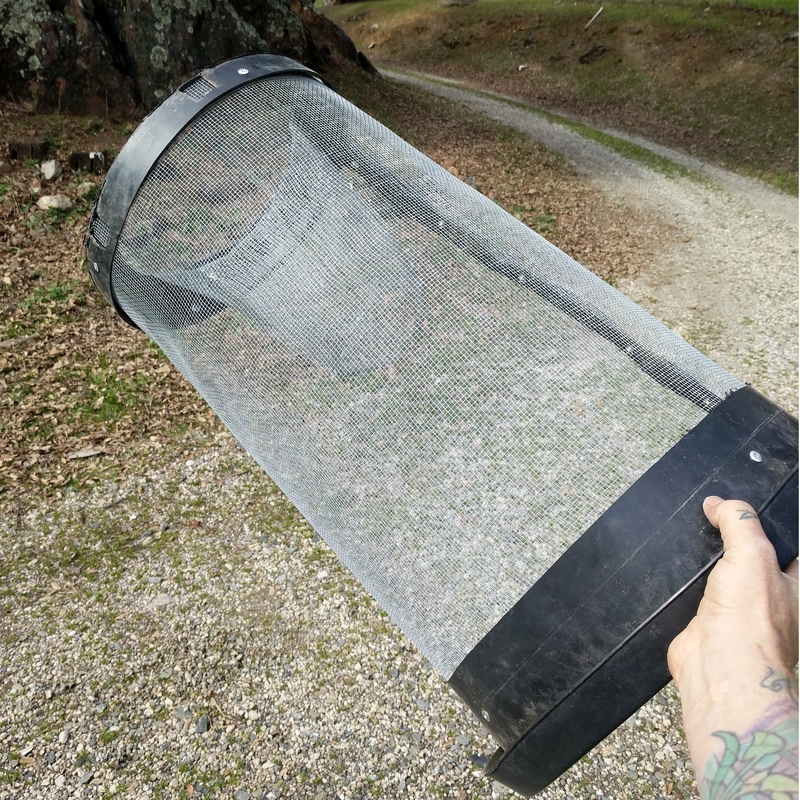 Far more than halfway to the finish. Shaping and cutting metal mesh was time consuming, and bloody.
Add a door
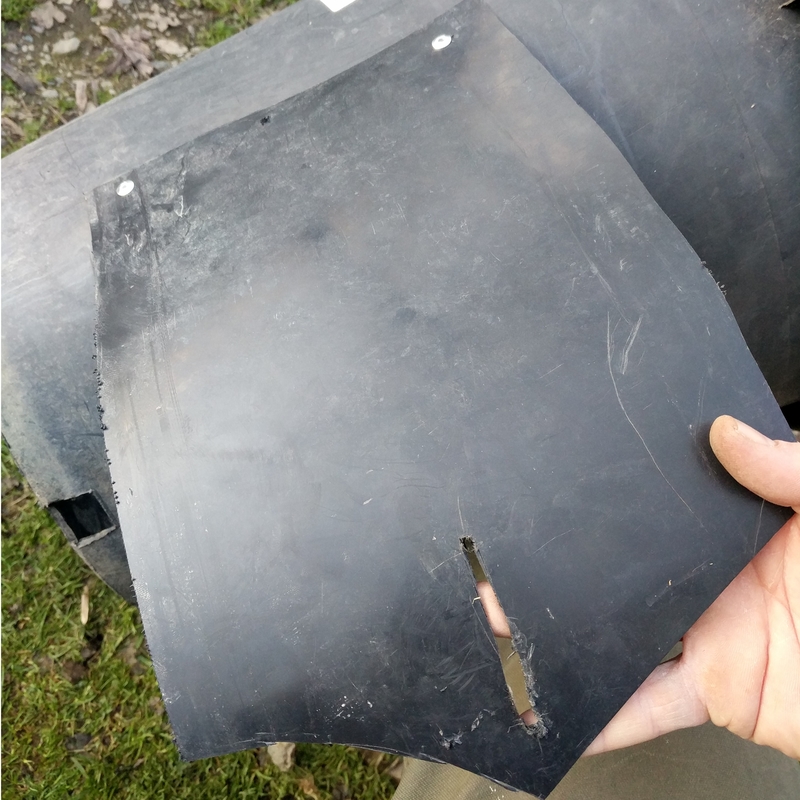 A large piece from pot #1 was shaped and riveted to pot #2, over the access hatch. A
slot was cut on the open end of the door for locking purposes.
A large piece from pot #1 was shaped and riveted to pot #2, over the access hatch. A
slot was cut on the open end of the door for locking purposes.
What is this called?
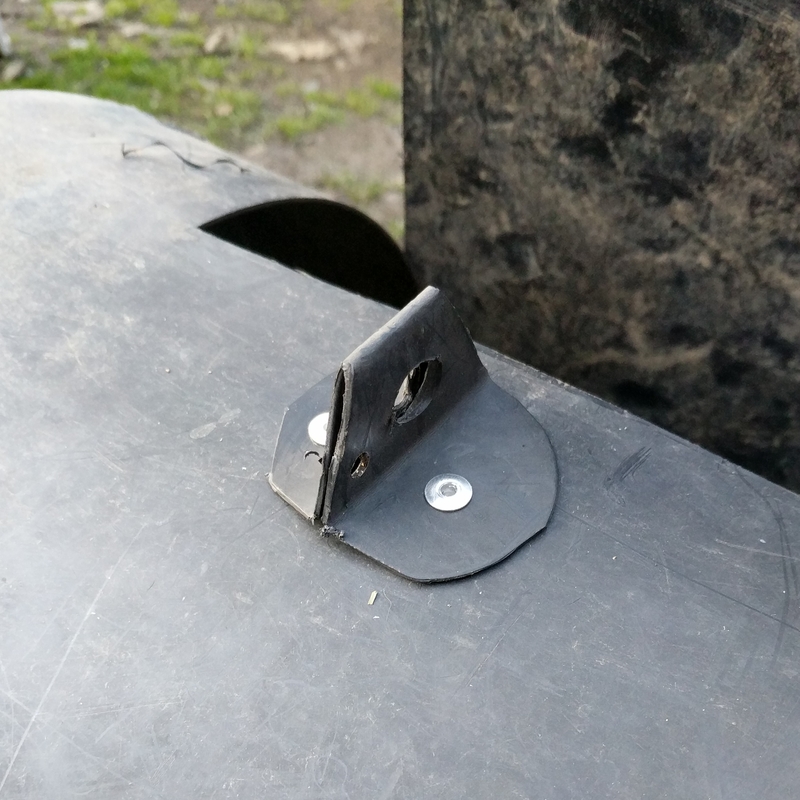 I don't know what this piece is called; but the door slot fits over it. The big hole
was an accident of zeal. In my haste, I drilled a large hole before actually determining
what size hole was needed; typical design failure. Fortunately, there was room for the
small hole that works exactly as needed.
I don't know what this piece is called; but the door slot fits over it. The big hole
was an accident of zeal. In my haste, I drilled a large hole before actually determining
what size hole was needed; typical design failure. Fortunately, there was room for the
small hole that works exactly as needed.
Hodor
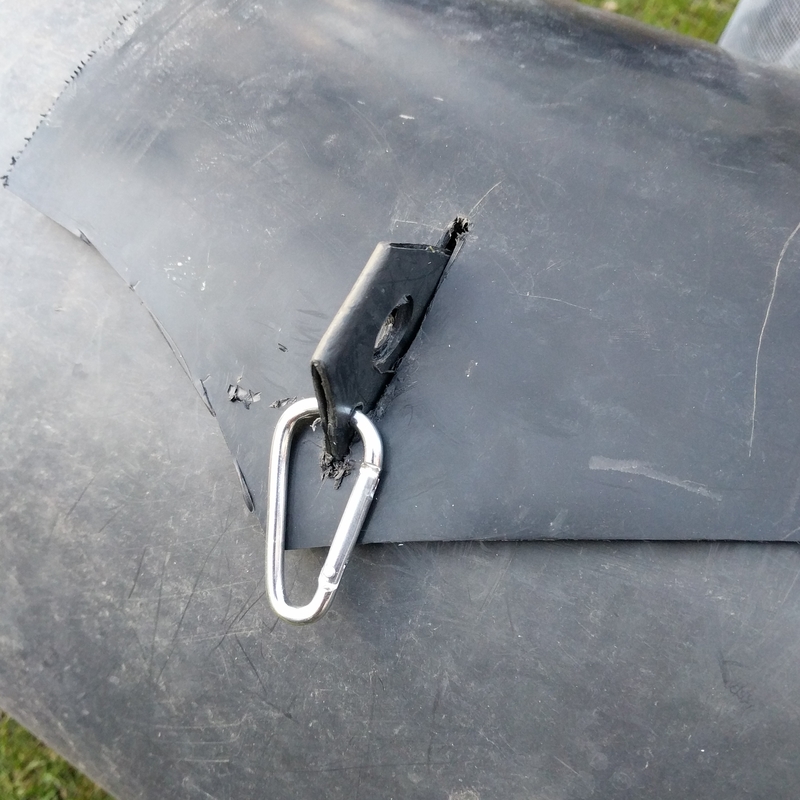 Putting the carabiner in the large hole allowed the door to flap enough that I thought a
fish or frog would be able to escape. Using the small hole keeps the door shut all the way. HODOR
Putting the carabiner in the large hole allowed the door to flap enough that I thought a
fish or frog would be able to escape. Using the small hole keeps the door shut all the way. HODOR
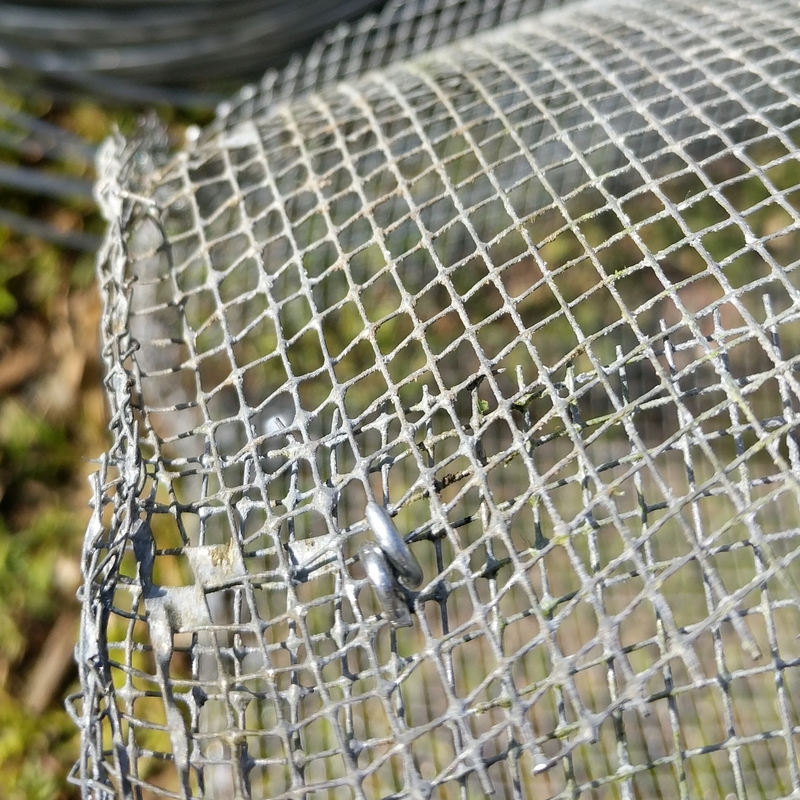
Stitched and finished
 Pilot holes were drilled at six equidistant locations on lip of the pots, and the galvanized
wire was used to sew the two pots together.
Pilot holes were drilled at six equidistant locations on lip of the pots, and the galvanized
wire was used to sew the two pots together.
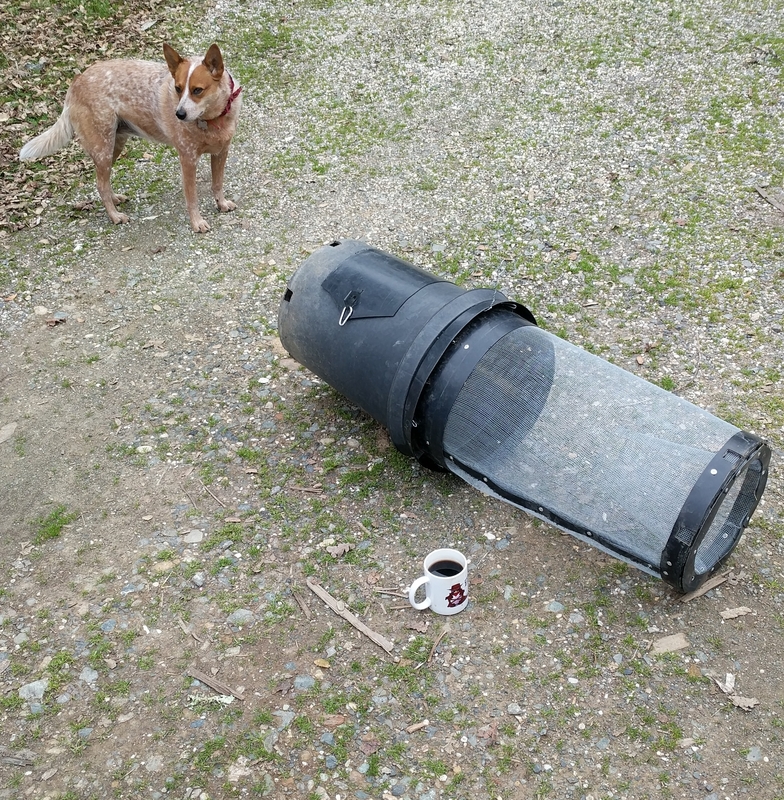
Waiting
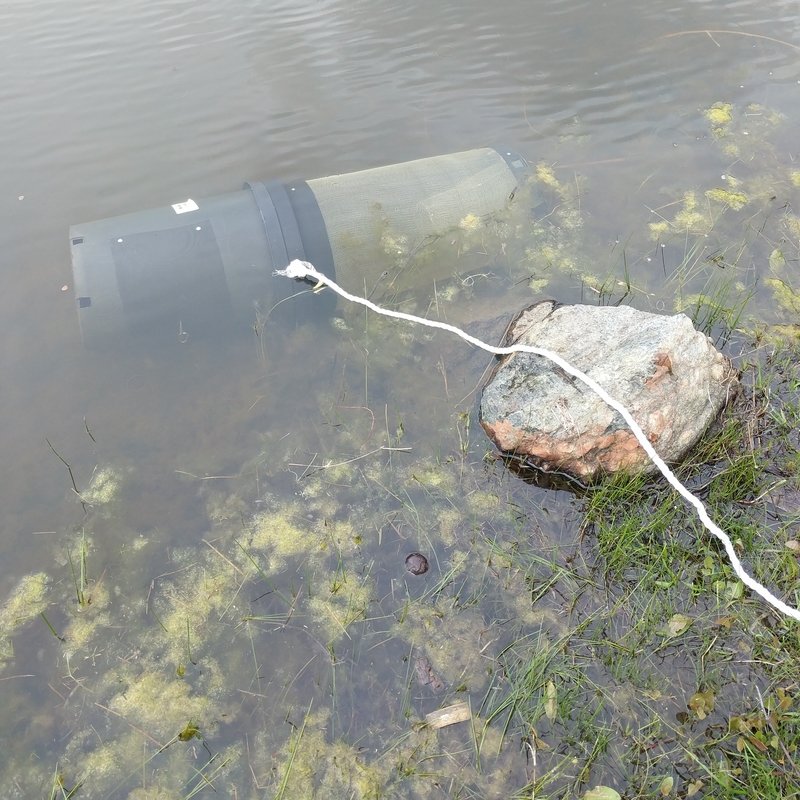
One last set of pilot holes, and some heavier gauge glavanized wire was looped through to make a handle. Then a rope was tied to the handle, and the first shallow water test has begun!
Do bullfrogs like pupper kibble?
Cheers,
jezra :)