
Controlling my coffee maker over my network Part 1: Hardware
A few months ago, the local hardware store had a special on a 3 outlet remote control. The package consisted of a remote control with 3 sets of on/off switches , and three 110V remote power plug adapters. $15 is a small price to pay for getting one step closer to an automated coffee machine, so I bought the damn thing.
After some rather disheartening failures, the automated coffee maker of my dreams is almost on my counter.
This build consists of:
- A small thrift store jewelry box for the case
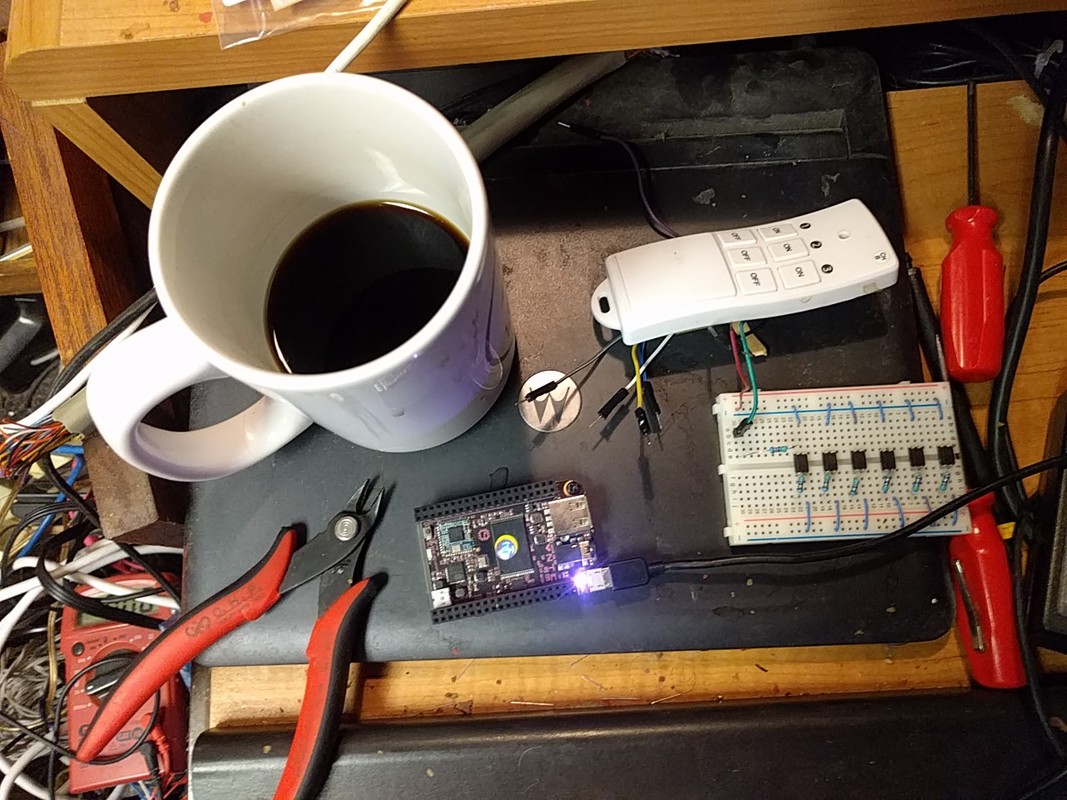
- a C.H.I.P. computer for logic,networking, and controlling a relay
- a 6 channel relay
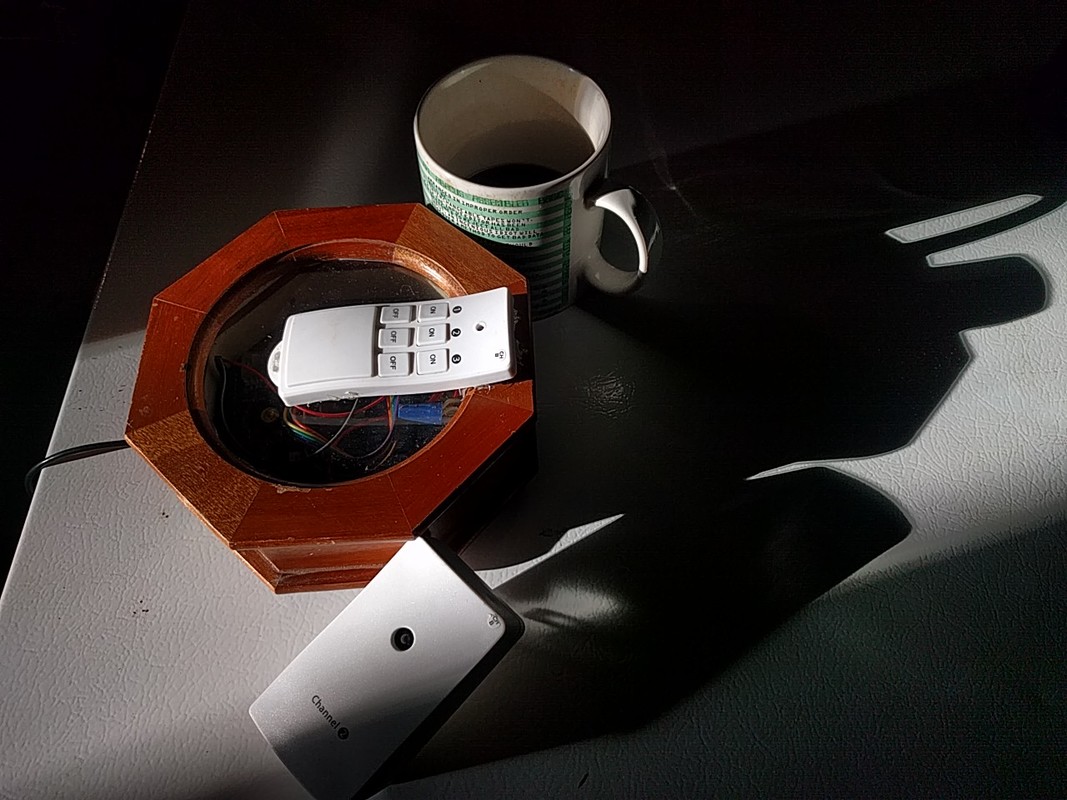
- a 3 outlet remote control
- some wires,
- USB cable and power adapter
The CHIP serves a web page and API for controlling a set of relays that in turn emulate "button" presses on the remote by shorting the circuit of each button on the remote.
Take it apart!
 One of the highlights of any project, taking something apart. :)
Solder on some leads
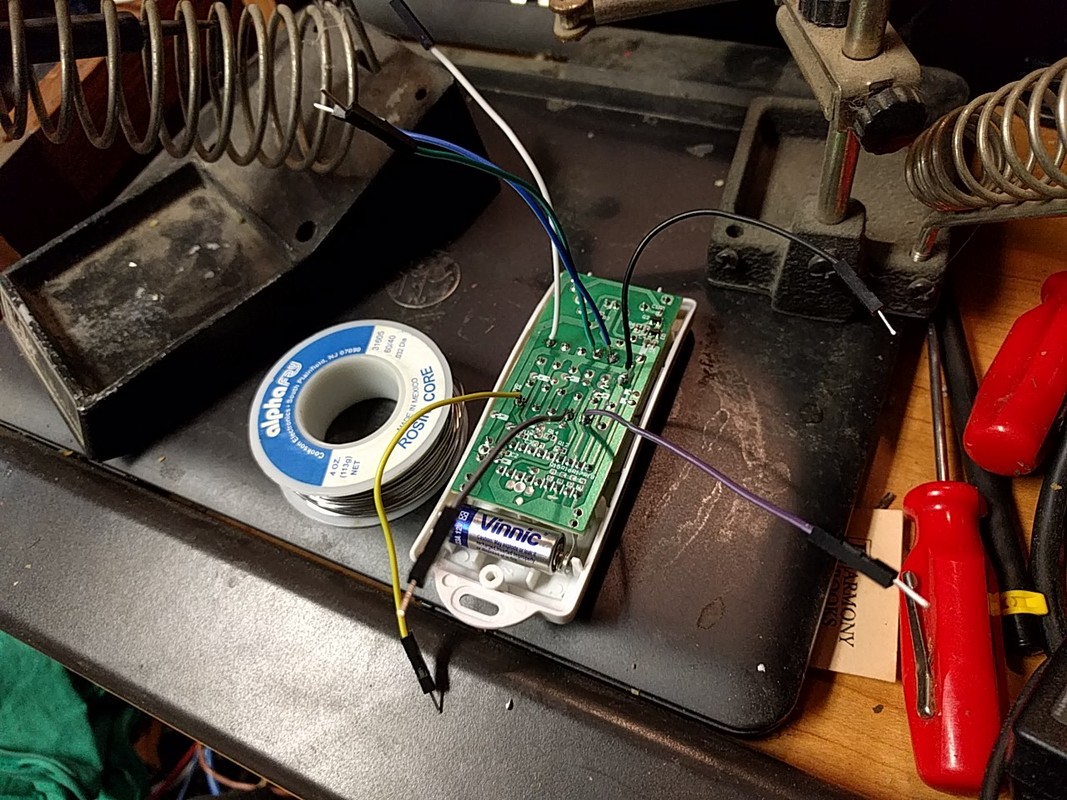
The second failed circuit
 This was my second attempt to create a (hopefully) simple circuit to
'short' the leads soldered to the remote. My knowledge of optocouplers
is less than impressive. Oh well.
This was my second attempt to create a (hopefully) simple circuit to
'short' the leads soldered to the remote. My knowledge of optocouplers
is less than impressive. Oh well.
If you have 6 buttons, use a 6 channel relay
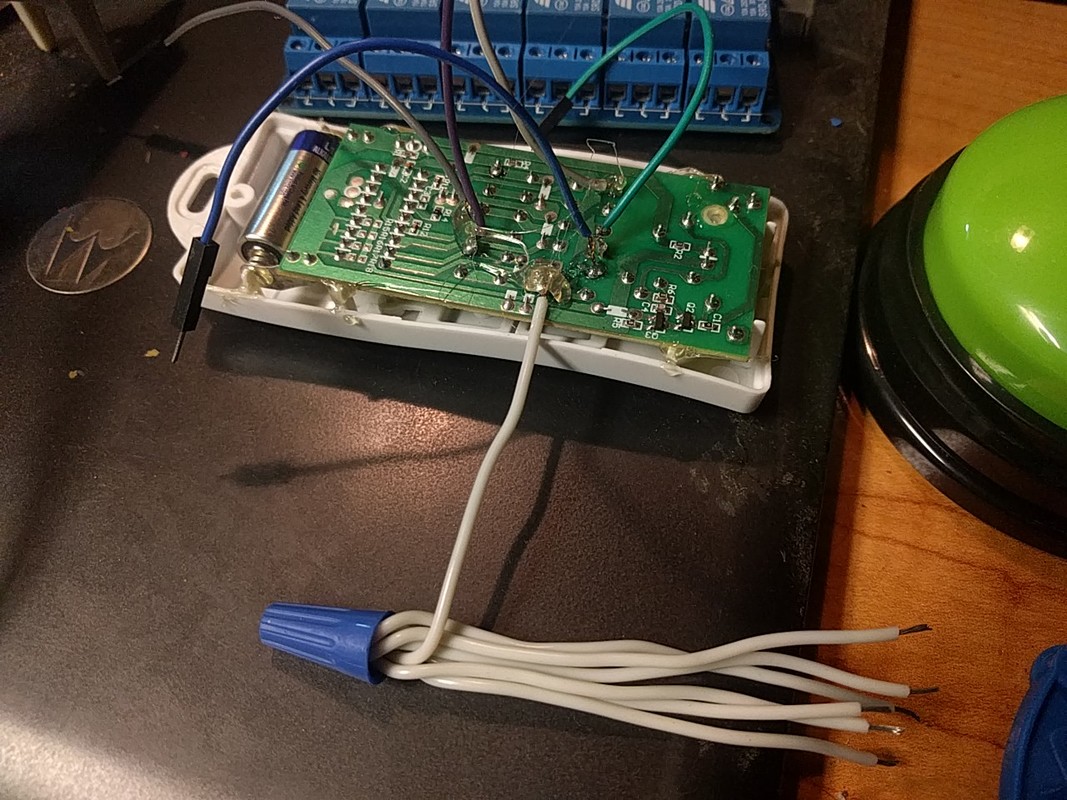 A 6 channel relay would have been the fastest and most economical way
to gain control of the remote. Anywho, using the relay required making
6 ground connectors.
A 6 channel relay would have been the fastest and most economical way
to gain control of the remote. Anywho, using the relay required making
6 ground connectors.
Wire and test the relays
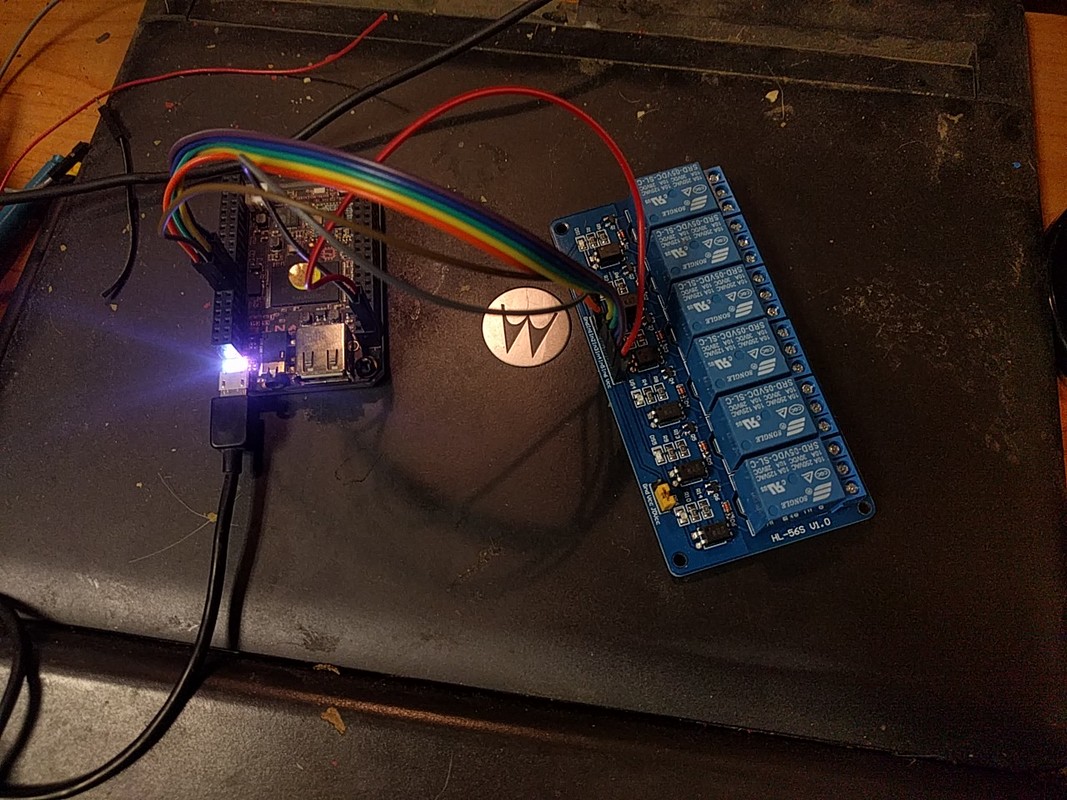 The relay inputs 1 through 6 where wired to the CHIP pins labeled "XIO-P0"
through "XIO-P5".
The relay inputs 1 through 6 where wired to the CHIP pins labeled "XIO-P0"
through "XIO-P5".
How not to drill a hole in glass
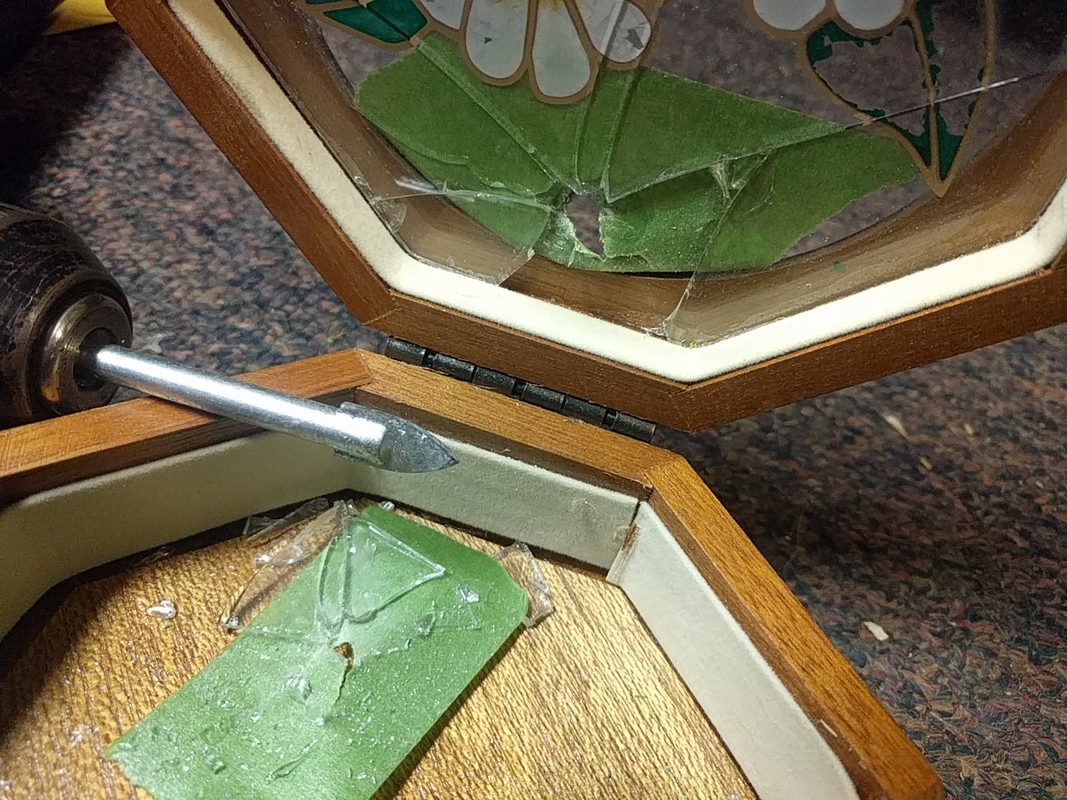 Bummer. I wanted to run some wires through the glass on the jewelry box, so
I tried to drill a hole through the glass. It didn't work out as I had planned,
and ya know, that's OK. Don't be afraid to celebrate a failure. By finding
the joy in failing, one owns the event, the event doesn't own them. carry on.
Bummer. I wanted to run some wires through the glass on the jewelry box, so
I tried to drill a hole through the glass. It didn't work out as I had planned,
and ya know, that's OK. Don't be afraid to celebrate a failure. By finding
the joy in failing, one owns the event, the event doesn't own them. carry on.
Thank you, dull chainsaw
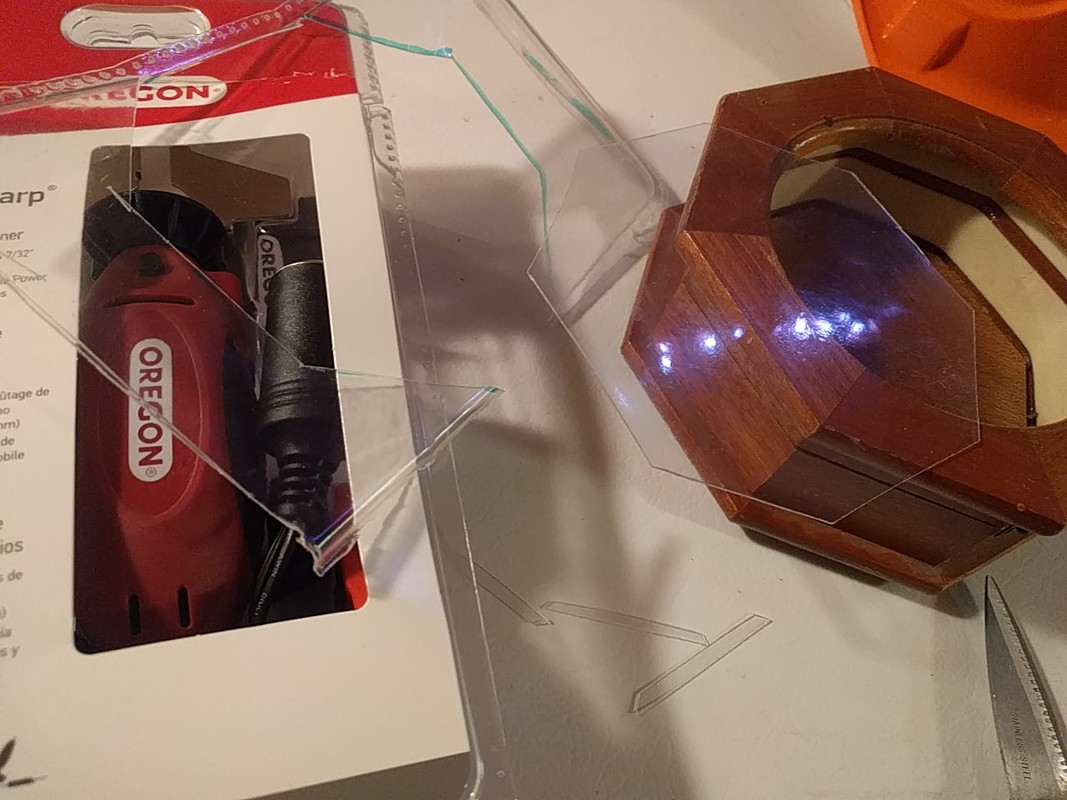 Fortunately for me, my chainsaw was dull and I recently purchased an electric
sharpener for the chain, and the plastic packaging for the sharpener
just happen to be a decent size for making a replacement window for the
computer case. Booyah!
Fortunately for me, my chainsaw was dull and I recently purchased an electric
sharpener for the chain, and the plastic packaging for the sharpener
just happen to be a decent size for making a replacement window for the
computer case. Booyah!
Fire up the glue gun
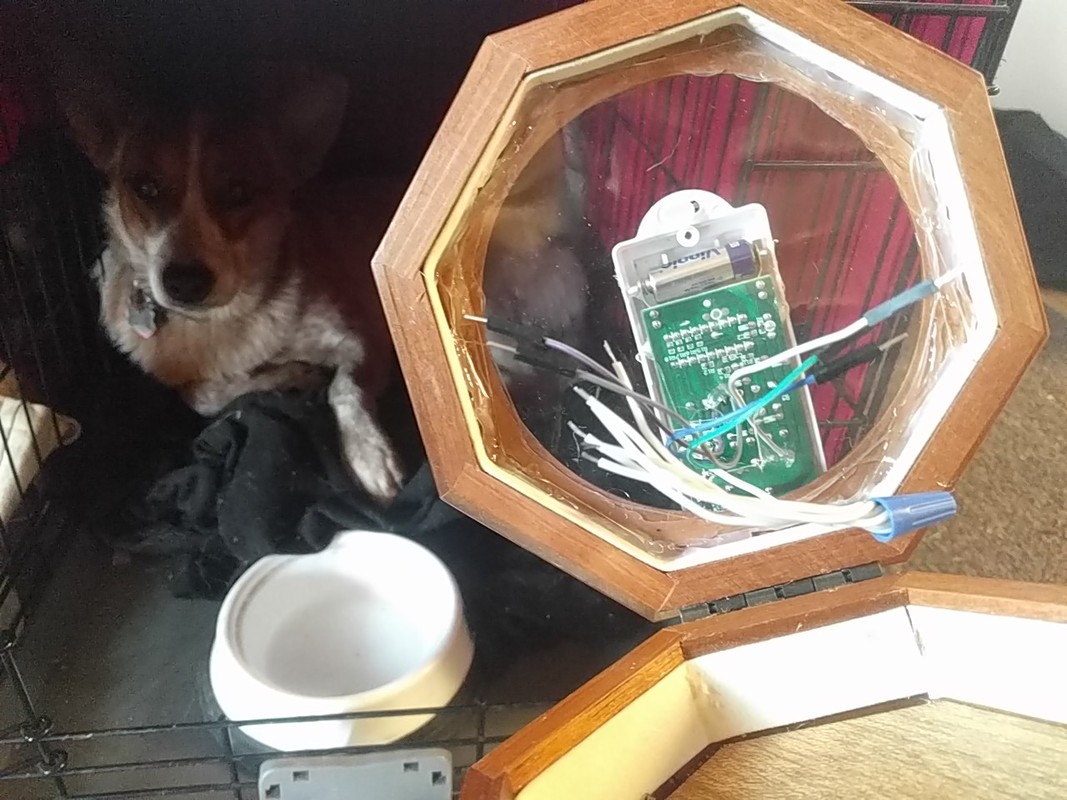 Some hot glue keeps the new plastic window in pace, and also keeps the
remote control firmly attached to the top of the case.
Some hot glue keeps the new plastic window in pace, and also keeps the
remote control firmly attached to the top of the case.
Ah... crap; a wire is missing. Pry up the remote, solder on a new lead, and then reattach the remote to the top of the case. Also.... puppers.
All wired up
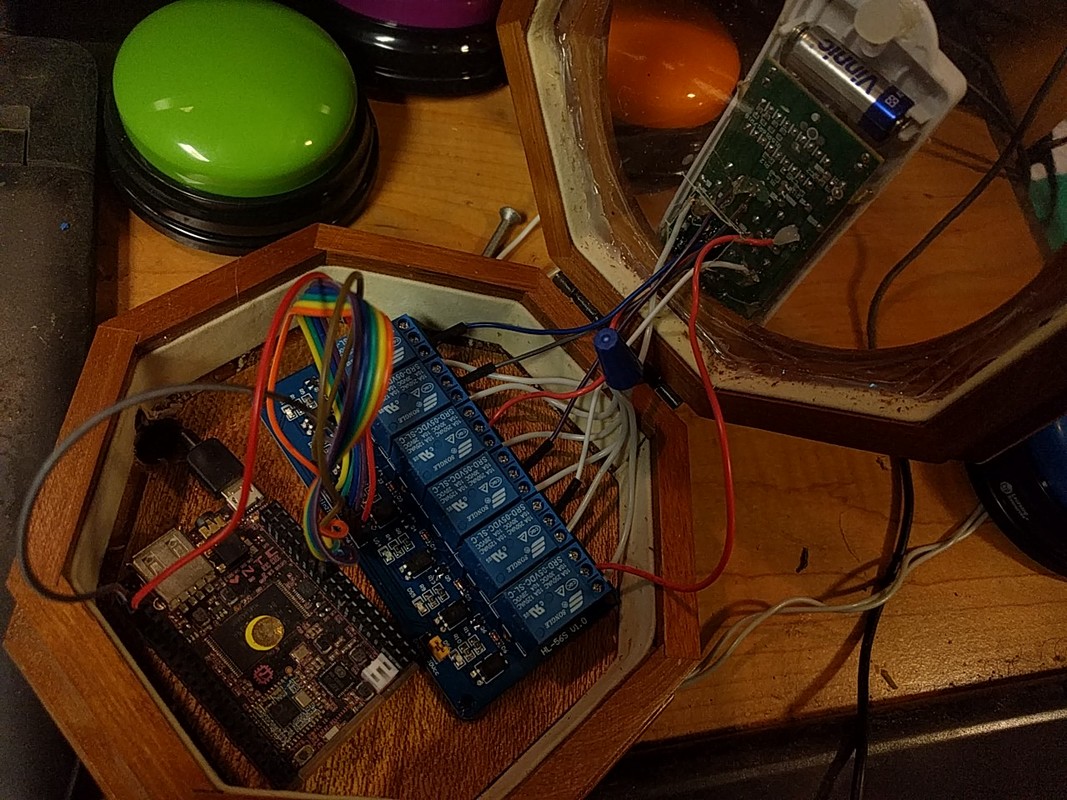 The relay board and CHIP were hot glued to the bottom of the case, and a hole
was drilled in the case to allow access for USB power.
The relay board and CHIP were hot glued to the bottom of the case, and a hole
was drilled in the case to allow access for USB power.
Hardware Complete
The coffee
The computer
The remote outlet
Cheers!
jezra